Taking Your High-Speed Internet With You
Relocating starlink is simpler than you might think. It involves two key steps: updating your service address online and physically re-mounting your dish at the new location.
Quick Answer: Relocating Your Starlink
- Moving on the same property: Unplug, move, and plug back in. No account changes are needed.
- New address, same area: Update your service address in your Starlink account.
- New address, different area: Check availability on the Starlink map, update your address, and await approval.
- Moving to a new country: Cancel your service, save your Starlink Identifier, and create a new account.
- Temporary travel: Add the Roam (portability) feature to your plan for a monthly fee.
The physical installation is just as crucial as the digital side. Your dish needs a secure, weather-resistant mount with a clear view of the sky, as obstructions will degrade your connection. An incorrect mount can lead to rust, signal loss, or storm damage.
I'm Aaron Wroblewski, founder of SpaceTek Australia. With 25 years of experience installing satellite systems across Australia, I know that safely relocating starlink requires the right mounting hardware and a clear understanding of the process.
Explore more about relocating starlink:
The Official Process for Relocating Starlink
Relocating Starlink isn't just about moving the dish; the digital side of the move is crucial for a seamless transition. Here’s what you need to do on the account side.
Moving Within Your Property vs. A New Address
The process for relocating Starlink depends on how far you're moving.
If you're just shifting the dish to a better spot on your property for fewer obstructions, the process is simple. Power down, move the dish and router, and plug it back in. No account changes are needed. However, finding the best position is vital for performance, as explained in our Starlink Installation Guide: Where Should You Set Up Your Dish?.
Moving to a new address, even down the road, requires you to update your Starlink account. Your service is tied to a specific address to ensure optimal satellite performance.
- Within the same service area: Log into your Starlink account and update your service address. The change is usually instant.
- To a different service area: First, check the Starlink availability map to confirm service at your new postcode. If it's available, update your address in your account. Approval typically takes less than an hour.
The main catch is capacity limits. If your new area is full, you may be put on a waitlist. In this case, switching to a Roam plan can be a temporary solution to get you online while you wait for a residential spot to open up. Moving your dish outside its registered area without updating your address will lead to poor performance or a complete loss of service.
Temporary Moves and Travel: Starlink Portability Explained
For those who travel, Starlink's portability feature, Starlink Roam, is a game-changer. This add-on transforms your Starlink into a mobile internet solution, letting you take your high-speed connection anywhere with active service.
It's perfect for grey nomads, families with holiday homes, or anyone spending time in remote locations. For an extra monthly fee, you can add portability to your residential plan and travel without constantly updating your service address. The system connects automatically wherever you set it up.
For extended travel, the Roam plan is invaluable. To get the most out of it, you'll need the right gear. We stock robust Starlink RV and portability accessories for life on the road and have a guide on Starlink on the Go: 12-5.6V DC Power Supplies to keep you powered up.

The Challenge of Relocating Starlink to a New Country
Relocating Starlink internationally is the most complex scenario. You cannot simply change your service address to a new country due to differing regulations. Instead, you must perform a full account transfer.
This involves cancelling your current service and removing the hardware from your account. Before you do, you must note your Starlink Identifier Number. You will need this to activate service in the new country.
Next, create a new account at starlink.com/setup with a new email address. During setup, you'll enter your Starlink Identifier, new address, and new billing details. Once configured, you can activate the service.
Be aware of activation restrictions: you generally can't transfer internationally until 90 days after activation, and your account must be in good standing. For the latest official rules, always check Starlink's guide on what to do if you've moved to a new country.
Safely Re-Mounting Your Dish After the Move
Once you've handled the digital side of relocating Starlink, it's time for the physical installation. A proper mount means reliable internet, while a rushed job can lead to dropouts, weather damage, or worse.
Choosing the Right Mount for Your New Location
Your new property might require a different mounting solution. The golden rule is to ensure your dish has a completely unobstructed view of the sky, as trees and buildings will block the signal.
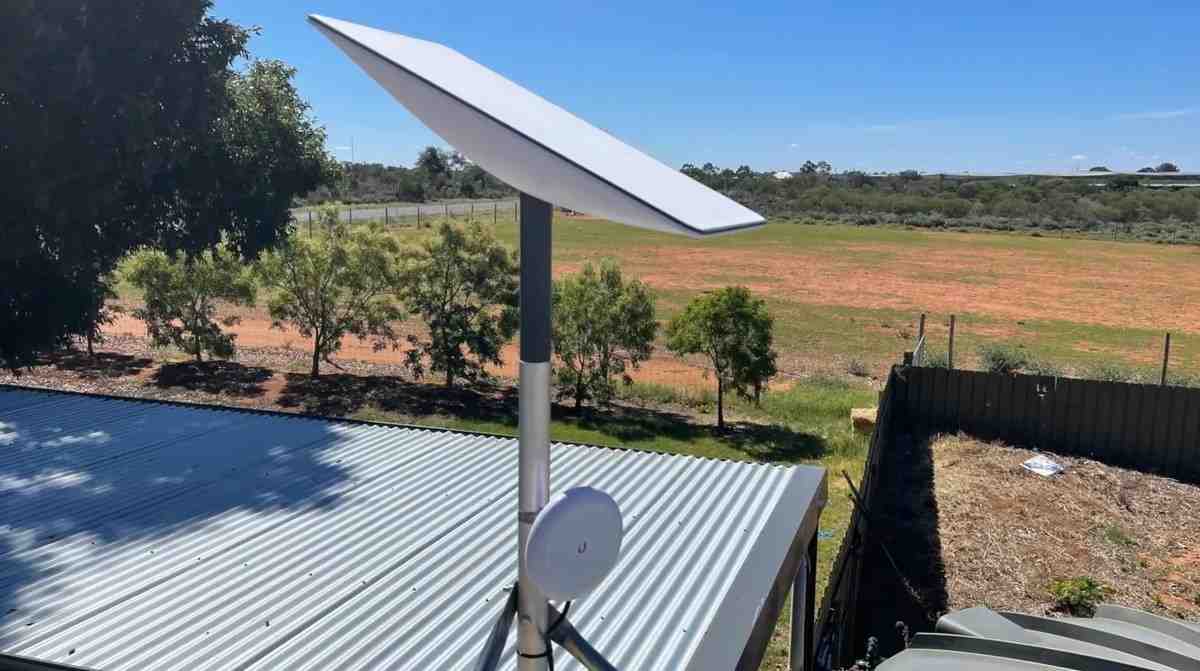
- Roof mounts are the most popular choice for permanent installations, providing the clearest sky view and security against harsh weather.
- Pole mounts offer flexibility to get your dish above obstructions like trees or neighbouring buildings, making them ideal for rural properties.
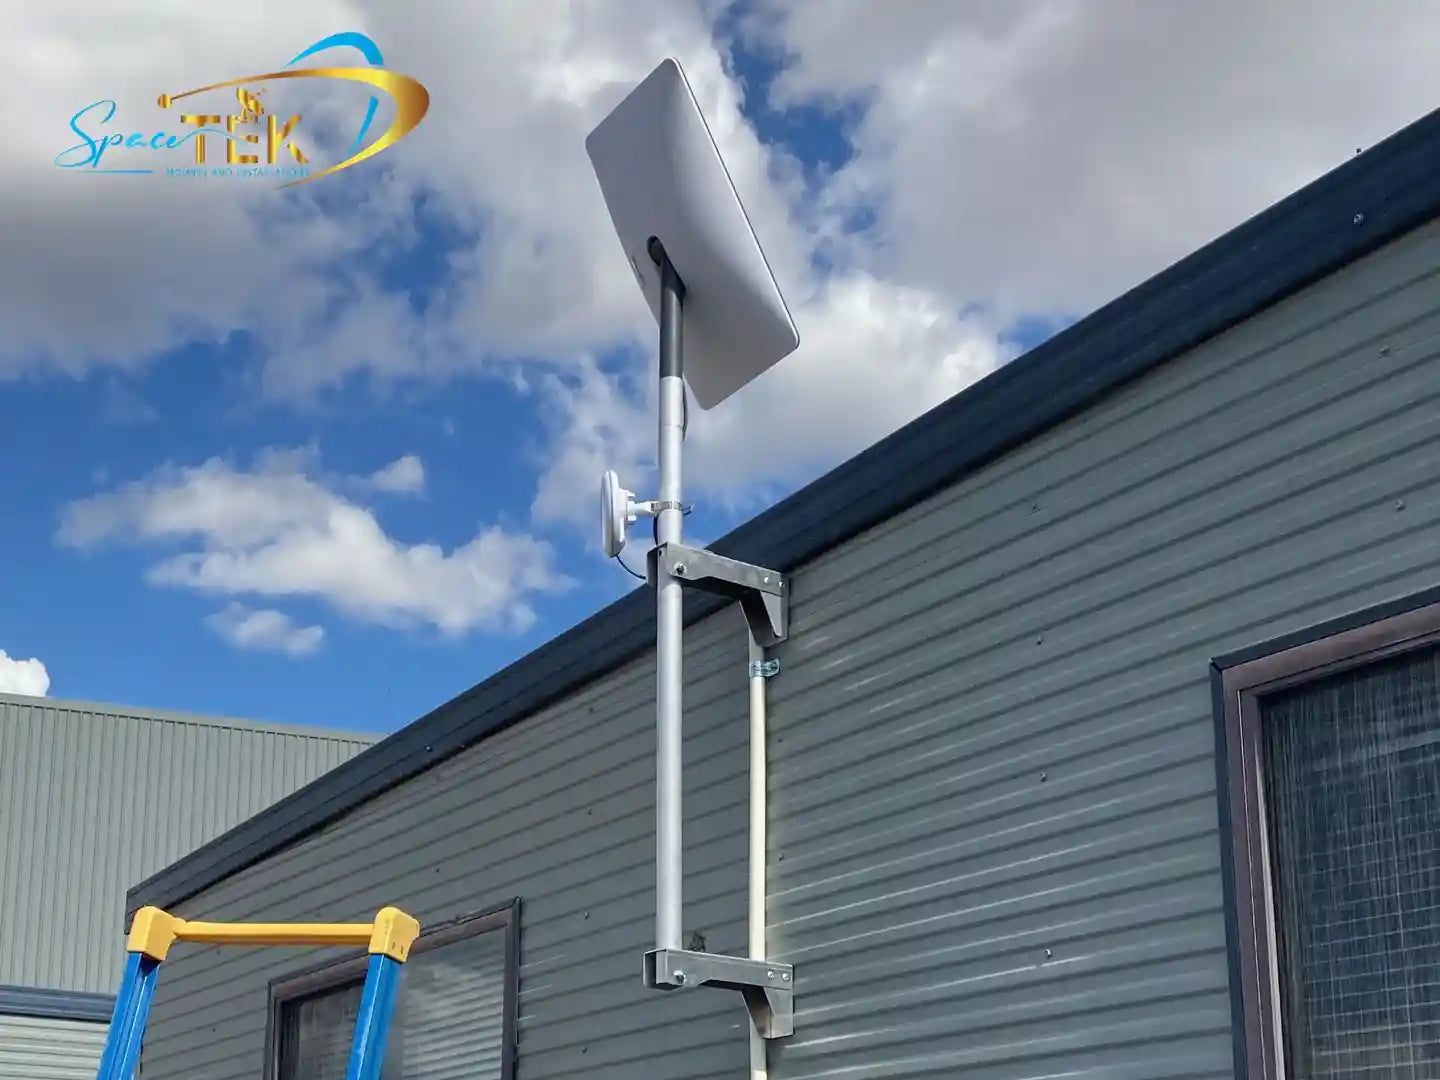
- Wall mounts are great when roof access is difficult or you prefer a lower-profile installation on a house or shed.
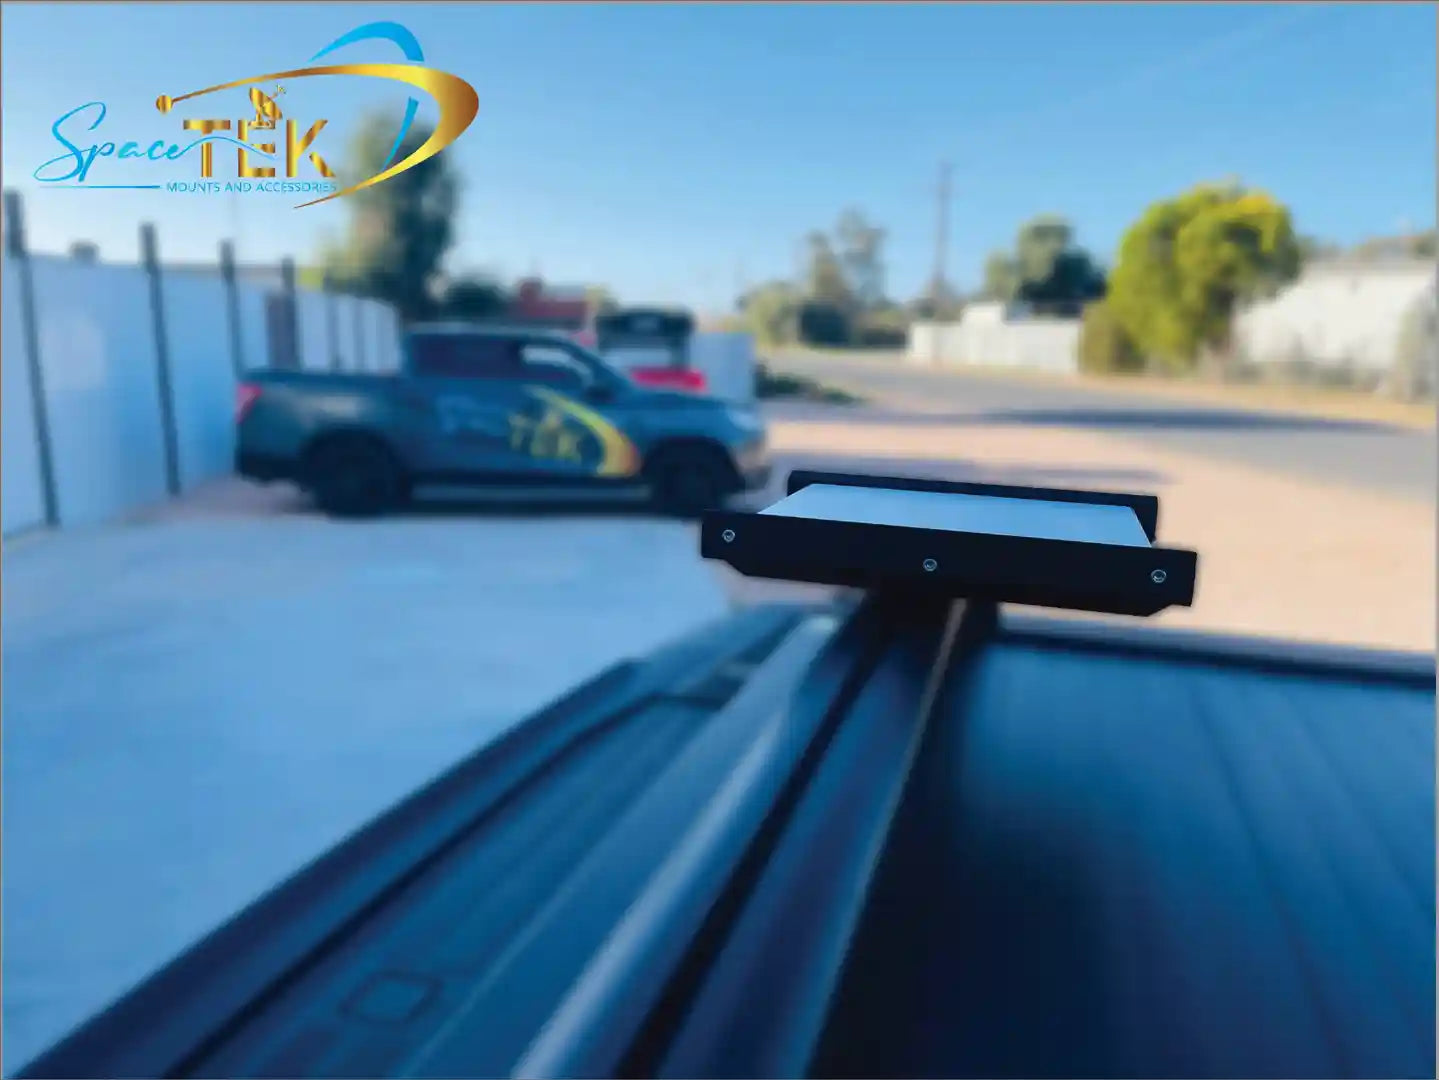
- Portable mounts are essential for those who are frequently relocating Starlink, with options from ground bases to vehicle-specific mounts for life on the road.
Our guide on choosing the right mount for Starlink can help you select the best solution for your specific needs.
Secure Mounting Solutions for Every Starlink Generation
After thousands of installations, we know the harsh Australian climate demands durable mounting hardware. At SpaceTek Australia, our mounts are engineered for these conditions, using premium, rust-resistant materials like marine-grade aluminium and stainless steel to withstand everything from coastal salt to outback sun.
Our mounts are engineered for perfect compatibility with the Starlink hardware, making your relocation process as straightforward as possible.
For Gen 2 dishes (the rectangular model), we offer a comprehensive range of tough, permanent mounting solutions. Explore our mounts and accessories for Gen 2.
Gen 3 users can benefit from our latest mounting innovations, designed for perfect compatibility and rock-solid performance. See our Gen 3 collection.
The Starlink Mini is a game-changer for portability, and our mounting solutions match its versatility. Check out our Starlink Mini options for stable use anywhere.
Travellers and adventurers need mounts that can handle constant movement. Our Starlink RV and Portability Mounts, Adapters & Accessories are purpose-built for life on the road.
Troubleshooting and Final Steps for Relocating Starlink
After setting up, it's time to test your connection. If you hit a snag, here are the most common issues:
Obstructions: This is the number one cause of problems. Use the obstruction checker in the Starlink app to scan for anything blocking the dish's view, like a tree branch. A clear line of sight is essential. We have practical tips to navigate around dish obstructions that can help.
Connection Problems: Check that all cables are firmly seated at both the dish and the router. If issues persist, try unplugging the router for a full minute before plugging it back in.
Account Status: Log into your Starlink dashboard to confirm your new address is saved, your subscription is active, and there are no outstanding billing issues.
Installation Security: Double-check that every bolt is tight. A mount that works loose over time will cause your connection to drop.
If you've tried these steps and still have issues, don't struggle alone. For personalised guidance on the best mounting solution and help with any installation challenges, get in touch with our expert team at SpaceTek Australia.
Conclusion
Moving house or hitting the road doesn't mean leaving high-speed internet behind. Relocating Starlink is straightforward when you handle both sides of the process: the digital account updates and the physical re-installation.
While the digital steps are simple, the key to a successful move is a secure mount with an unobstructed view of the sky. A poor installation risks not only signal drops but also equipment damage from weather and rust, leading to ongoing frustration. With 25 years of experience, I've seen that the right mounting solution is critical for long-term performance.
That's why we created SpaceTek Australia. We understand the challenges of the Australian landscape, from corrosive salt air to the relentless outback sun. Our custom-engineered mounts are built with high-quality, rust-resistant materials like aluminium and stainless steel to deliver secure, optimal performance for every Starlink generation.
Don't let a mounting challenge compromise your connection. For expert advice on the best solution for your Gen 2, Gen 3, Starlink Mini, or RV setup, get in touch with our team. We're here to help you stay connected, anywhere in Australia.
Leave a comment
This site is protected by hCaptcha and the hCaptcha Privacy Policy and Terms of Service apply.