
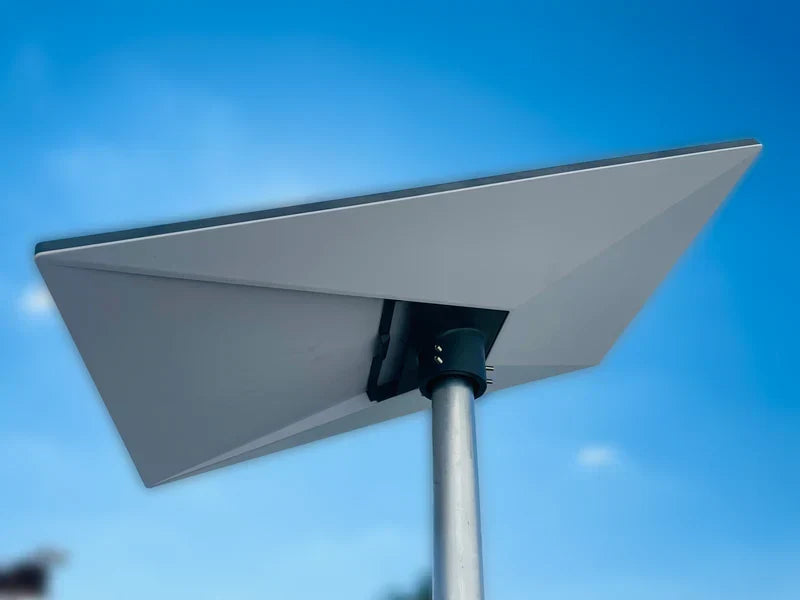
How do you choose a heavy-duty Starlink mount?
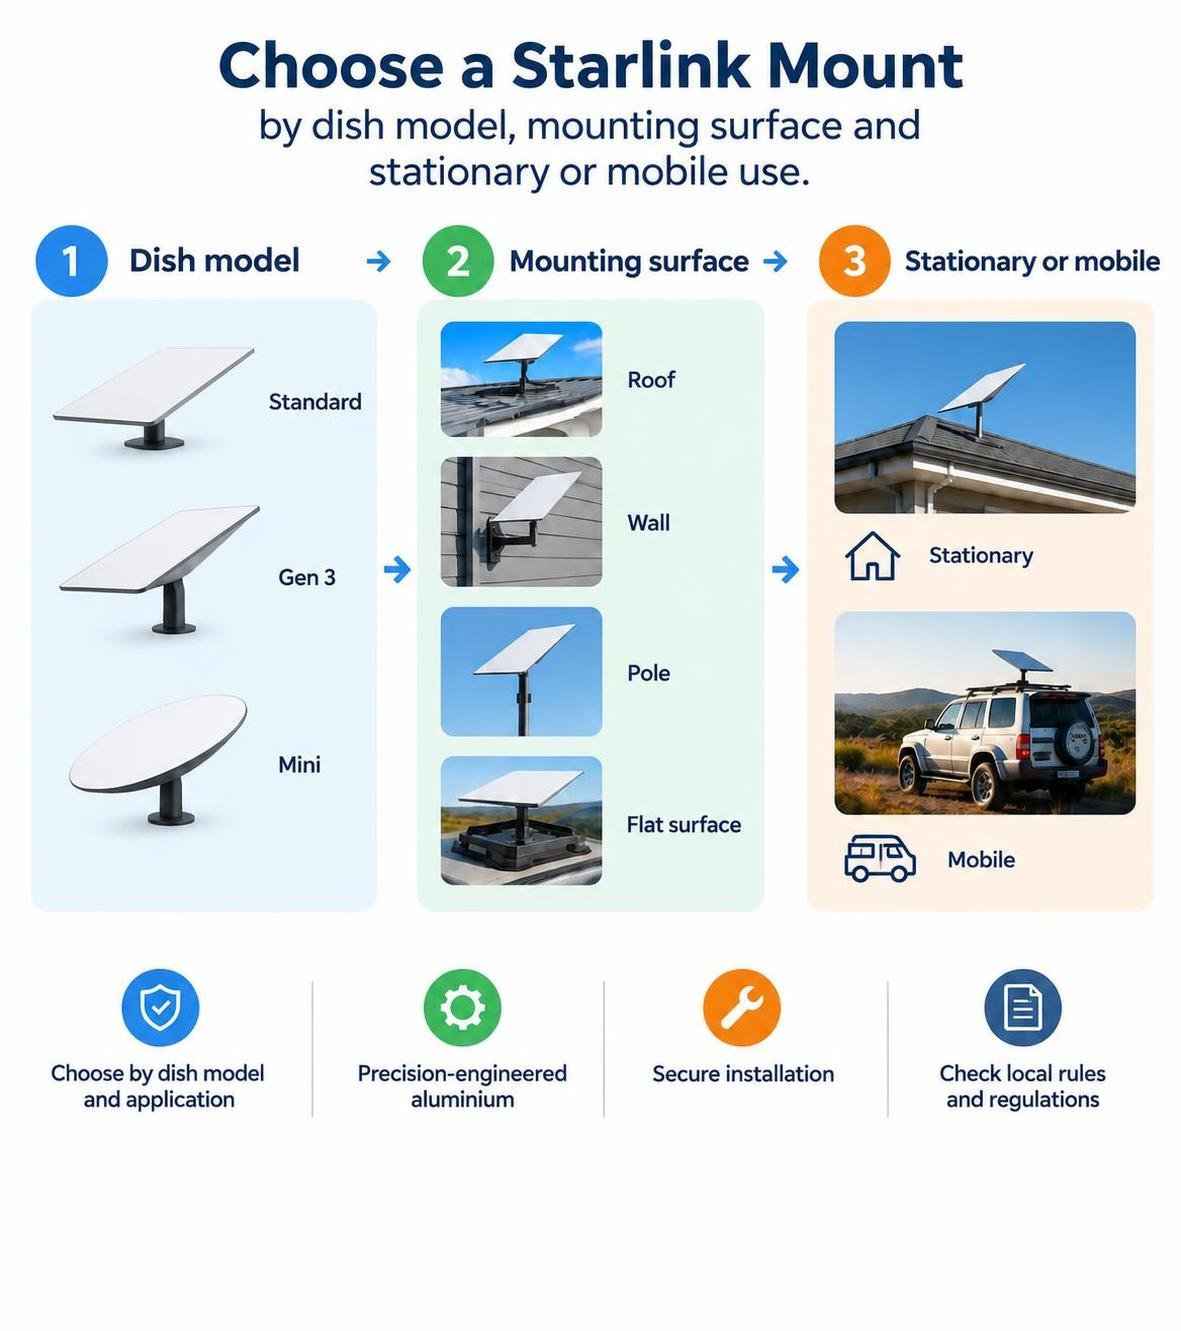
Choosing the right heavy-duty Starlink mount depends on your specific dish model, your mounting surface, and your planned application. Pairing your hardware generation with a precision-machined or folded aluminium dish mount ensures a secure mechanical fit for your vehicle, caravan, building, or vessel.
SpaceTek Australia manufactures dish mounts using precision-machined alloy, folded aluminium, and rugged composites designed to handle demanding outdoor conditions. This guide outlines the verified options available for permanent roofs, caravans, 4WDs, commercial sites, and mobile setups to help you select the right mounting solution.
Hi, I'm Andrew Zio, Managing Director of SpaceTek. I've spent much of my career in technology, where I learned how important it is to find solutions that work in the real world. That's something I bring to SpaceTek, where we focus on developing practical, reliable products for different satellite internet setups.
Choosing the right mount isn't always straightforward, so in this guide, I'll share what to look for and how to find a mounting solution that suits your Starlink model and intended use.
Key Takeaways
- Choose Materials for Your Conditions: Look for durable materials such as precision-machined alloy and folded aluminium for demanding outdoor applications.
- Match Your Starlink Model: Choose a mount designed for your specific dish generation, as mounting requirements vary between models.
- Consider Your Installation Surface: Roofs, walls, roof racks and other mounting points require different mounting solutions.
- Think About How You'll Use It: Stationary installations and mobile setups have different mounting requirements. Always choose a product approved for your intended application.
What Makes a Starlink Mount Heavy-Duty?
Australia presents demanding climate conditions, from inland heat and intense solar exposure to coastal winds, driving rain, and corrugated tracks. Satellite equipment installed on vehicles, vessels, or buildings faces ongoing physical stress, meaning standard domestic hardware or unreinforced plastic alternatives can degrade or fail over time.
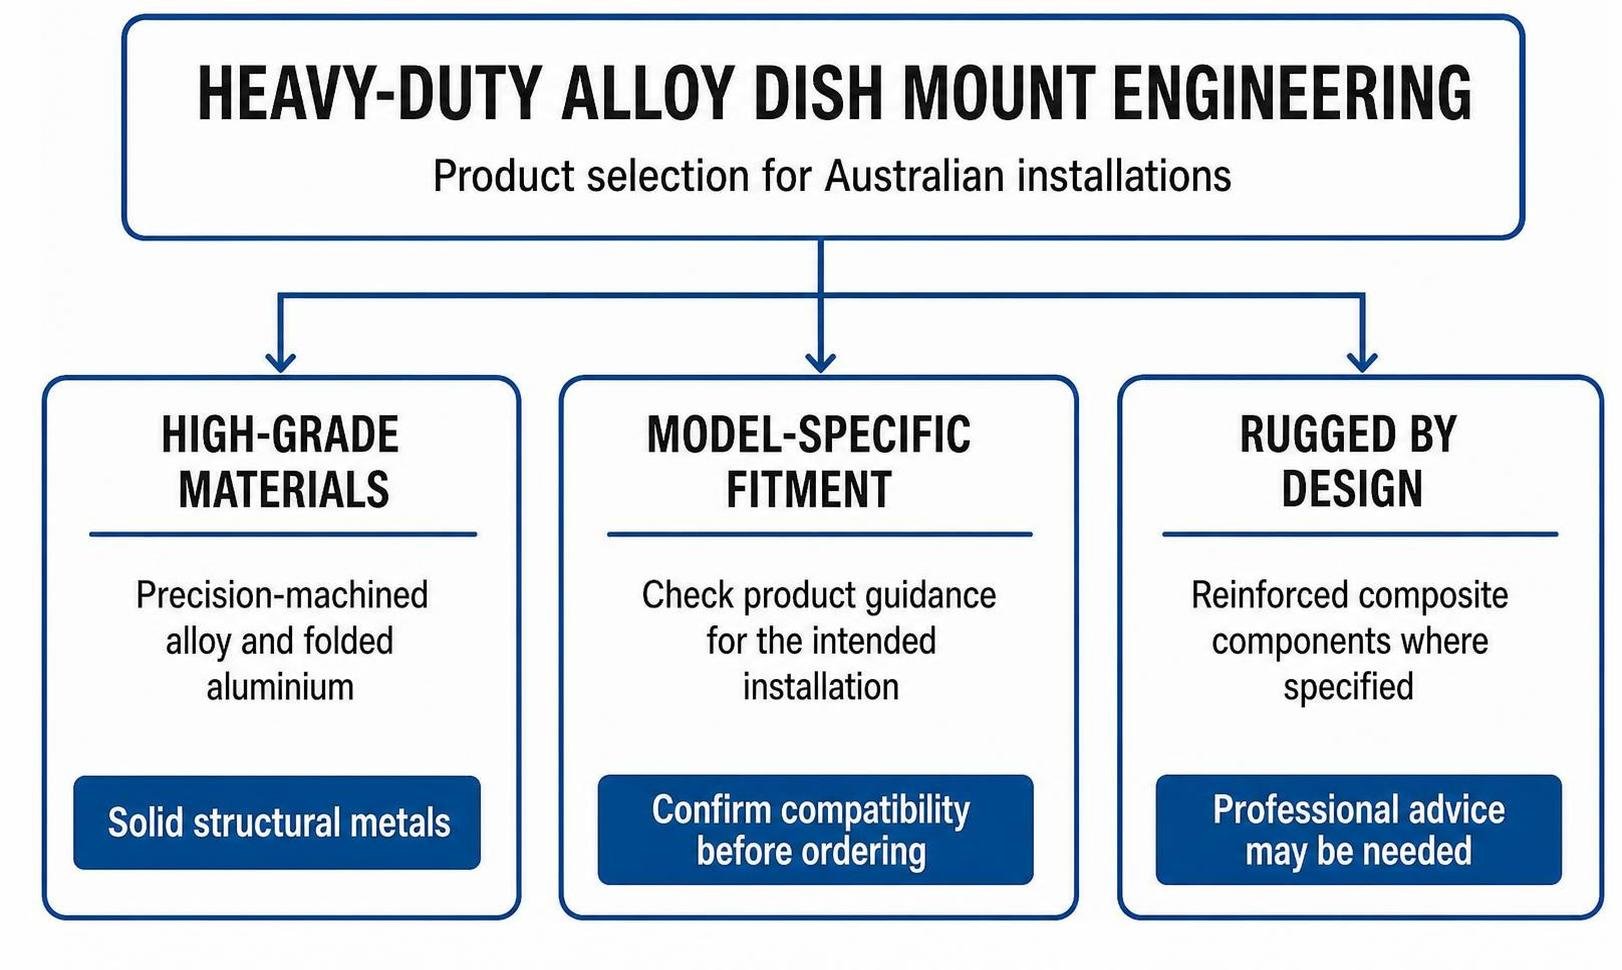
SpaceTek Australia manufactures dish mounts using structural materials, focusing on precision-machined alloy, folded aluminium, and reinforced composites rather than unreinforced plastics that can degrade under long-term solar exposure.
Key attributes of a heavy-duty Starlink mount include:
- Precision-machined and folded aluminium construction
- Reinforced composite components where specified for the product
- Model-specific fitment for the Starlink terminal
- Mounting options suited to the listed surface and application
- Product-specific installation guidance from SpaceTek
Why Choose a Starlink Mount Built from Folded Aluminium?
Folded aluminium offers an exceptional strength-to-weight ratio. It delivers the rigid foundation needed to keep a phased-array satellite antenna properly secured without adding unnecessary weight to vehicle roofs, caravan frames, or building structures.
How Do Weather and Vibration Impact Remote Satellite Setups?
Environmental factors directly influence dish stability and hardware longevity in remote areas:
- Wind Exposure: Consider the installation location, structural fixing points and the product guidance for the selected dish mount.
- Road Vibration: For vehicle or caravan use, choose a SpaceTek product specifically listed for that application and follow its installation instructions.
- Changing Temperatures: Check the selected product’s specifications and inspect the installation periodically.
Explore SpaceTek’s Starlink Mount Range by Dish Model
We build our Starlink mount range around the differences between each dish generation. The right fit depends on the terminal you have and how you plan to install it, whether that is a permanent roof setup, a pole-mounted installation, a removable option or a mobile application. Our model-specific ranges make it easier to choose a compatible mounting solution without assuming one Starlink mount suits every dish.
Starlink Standard Gen 3 / V4 Mounting Options
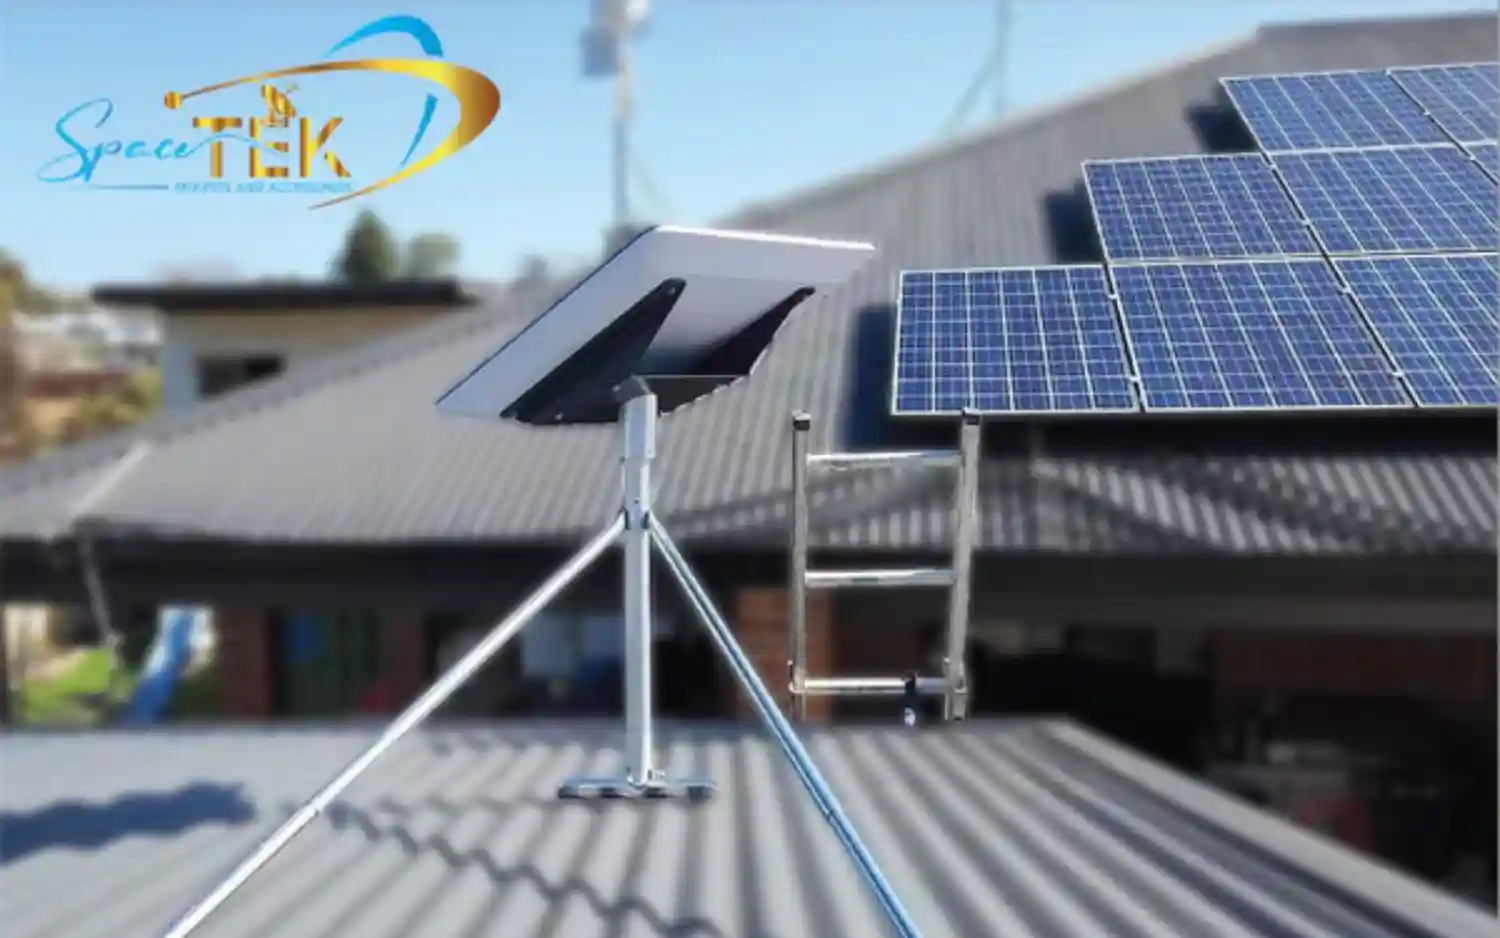
The Standard Gen 3 / V4 terminal has its own mounting interface, so it needs hardware made for that model. Our range covers common fixed-installation paths, from roof and ridge-cap mounting to wall, eave and pole setups.
- Tin/Metal Roof Mount Kit for Starlink Standard (Gen 3 / V4) – Heavy Duty: Our heavy-duty option for compatible Standard Gen 3 / V4 installations on tin and metal roofs.
- Ridge Cap Roof Mount Kit for Starlink Standard (Gen 3 / V4): A practical choice where a compatible ridge-cap installation suits the roof layout.
- Starlink Wall & Eave Mount – Gen 2, Standard (Gen 3 / V4) & Mini: A wall or eave mounting option that includes compatibility with Standard Gen 3 / V4 terminals.
Starlink Mini Mounting Options
Starlink Mini is a compact terminal with its own mounting requirements. We offer several options for portable and vehicle-based setups, so you can choose a Starlink mount that matches the surface, mounting position and intended use.
- Starlink Mini In-Motion Mount – Premium Aluminium Construction: Choose this dedicated option when your compatible Starlink Mini setup calls for an in-motion mount.
- Starlink Mini Magnetic Roof Mount – 87mm Magnets & Handle: Our removable roof-mounting option for positioning a Starlink Mini on an appropriate metal surface.
Mounting Options for Starlink Gen 3 Performance
The Gen 3 Performance terminal needs mounting hardware that matches its commercial-dish format. Our range includes roof, pole, flat-surface and wall-mounting options, allowing you to select the configuration that suits the site and installation surface.
- Tin/Metal Roof Mount Kit – Starlink Performance Models – Aluminium: Choose this kit for a compatible Starlink Performance installation on a tin or metal roof.
- Gen 3 Performance – Flat Surface Mount, Low Profile, Stainless Steel: This option suits a compatible flat-surface installation where a low-profile mount is preferred.
- Wall Mount Kit – Starlink Performance Models – Heavy Duty Aluminium: Our wall-mounting choice for a compatible Starlink Performance installation.
Starlink Gen 2 Mounting Options
For the actuated rectangular Gen 2 terminal, we offer model-specific roof and pole-mounting options. Start with the surface you need to mount to, then choose the Gen 2 product designed for that installation.
- Tin Roof Mount Kit for Starlink Gen 2 Rectangle: Our Gen 2 Rectangle roof-mounting option for a compatible tin-roof installation.
- Roof Mount Starlink – Ridge Cap Mount – Gen 2: A Gen 2-specific option for a compatible ridge-cap roof setup.
- Heavy Duty Mast Adapter for Starlink Gen 2: A Gen 2-specific mast-adapter option where the installation calls for that configuration.
Starlink Gen 2 Flat High Performance Mounting Accessories
The larger Gen 2 Flat High Performance terminal requires hardware made for that dish format. Our range includes two pole-adapter options, giving you a choice based on the mounting approach you need.
- Starlink Flat High Performance Gen 2 Pole Adapter – Basic Wedge-Mount Version: A model-specific pole-adapter option for a compatible Gen 2 Flat High Performance installation.
- Starlink Flat High Performance Gen 2 Pole Adapter – Advanced Quick-Release Version: An alternative pole-adapter option for the same terminal, with a quick-release configuration.
Starlink V5 Mounting Options
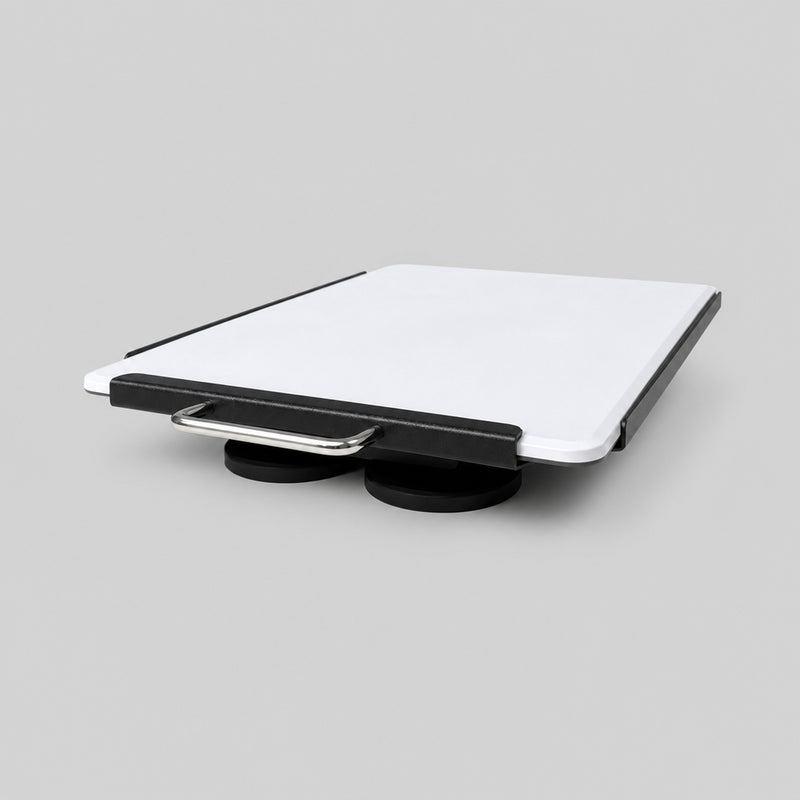
Our V5 range is currently focused on compatible mounting options for the newer terminal. Check the product page for the selected setup before ordering, as fitment should always be confirmed against the V5 model.
- Starlink V5 Magnetic Roof Mount – 87mm Magnets & Handle: A V5-specific removable roof-mounting option for suitable metal surfaces.
As the V5 range develops, confirm the current product page and intended installation type before choosing a Starlink mount.
Where Can You Install a Heavy-Duty Satellite Mount?

A heavy-duty Starlink mount allows you to install your terminal across various surfaces, provided the mount and fasteners are appropriate for the specific structure.
How Do You Select a Dish Mount for Vehicles and 4WDs?
Touring setups demand stable, vibration-tolerant mounting:
- Roof Racks and Platform Trays: Confirm the selected SpaceTek product is listed for the Starlink model, mounting surface and intended application.
- Temporary Placement: SpaceTek lists Starlink Mini magnetic roof mounts for suitable metal surfaces; follow the product-specific guidance.
- Mobile Use: SpaceTek lists dedicated in-motion options for Starlink Mini and Standard Gen 3 / V4. Do not treat a stationary mount as suitable for use while driving.
Where Can You Mount Dishes on Permanent Roofs and Buildings?
Fixed installations on residential properties, sheds, and commercial sites provide a clear line of sight to the sky:
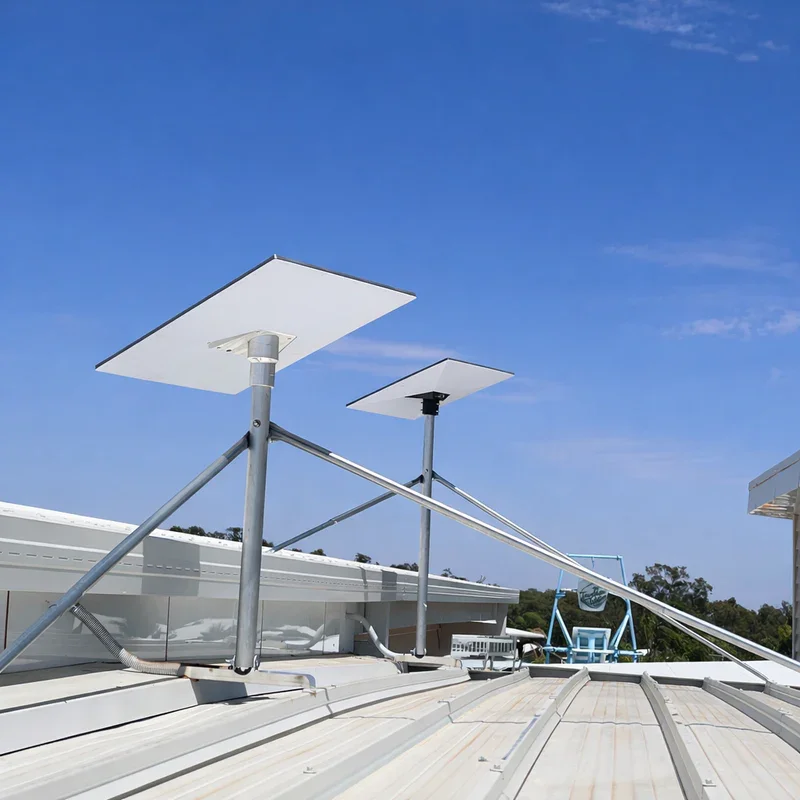
- Tin and Metal Roofs: Choose a SpaceTek roof-mount kit listed for the dish model and roof type.
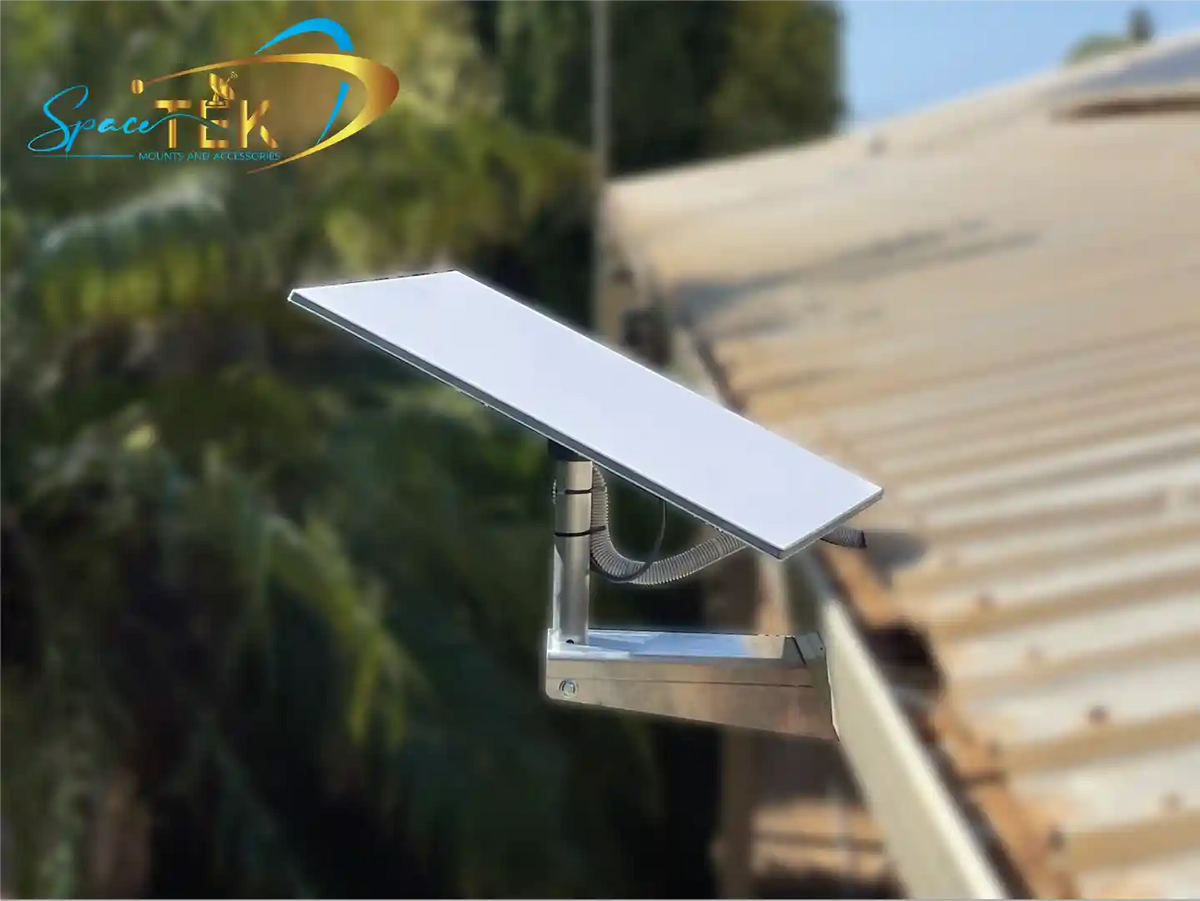
- External Walls: Use a product specifically listed for wall or eave mounting and confirm that the site has suitable fixing points.
- Commercial Sites: Select a model-specific mount from the relevant SpaceTek range and obtain professional advice where the installation is elevated or structurally demanding.
How Are Dish Mounts Used in Marine and Boating Setups?
Marine environments involve moisture, vessel movement and installation-specific fixing considerations. Confirm that the selected SpaceTek product is listed for the Starlink model and intended application, and seek professional advice where needed.
What Are the Key Installation and Power Considerations?
A reliable installation depends on proper surface preparation, appropriate structural fixing, and efficient power delivery.
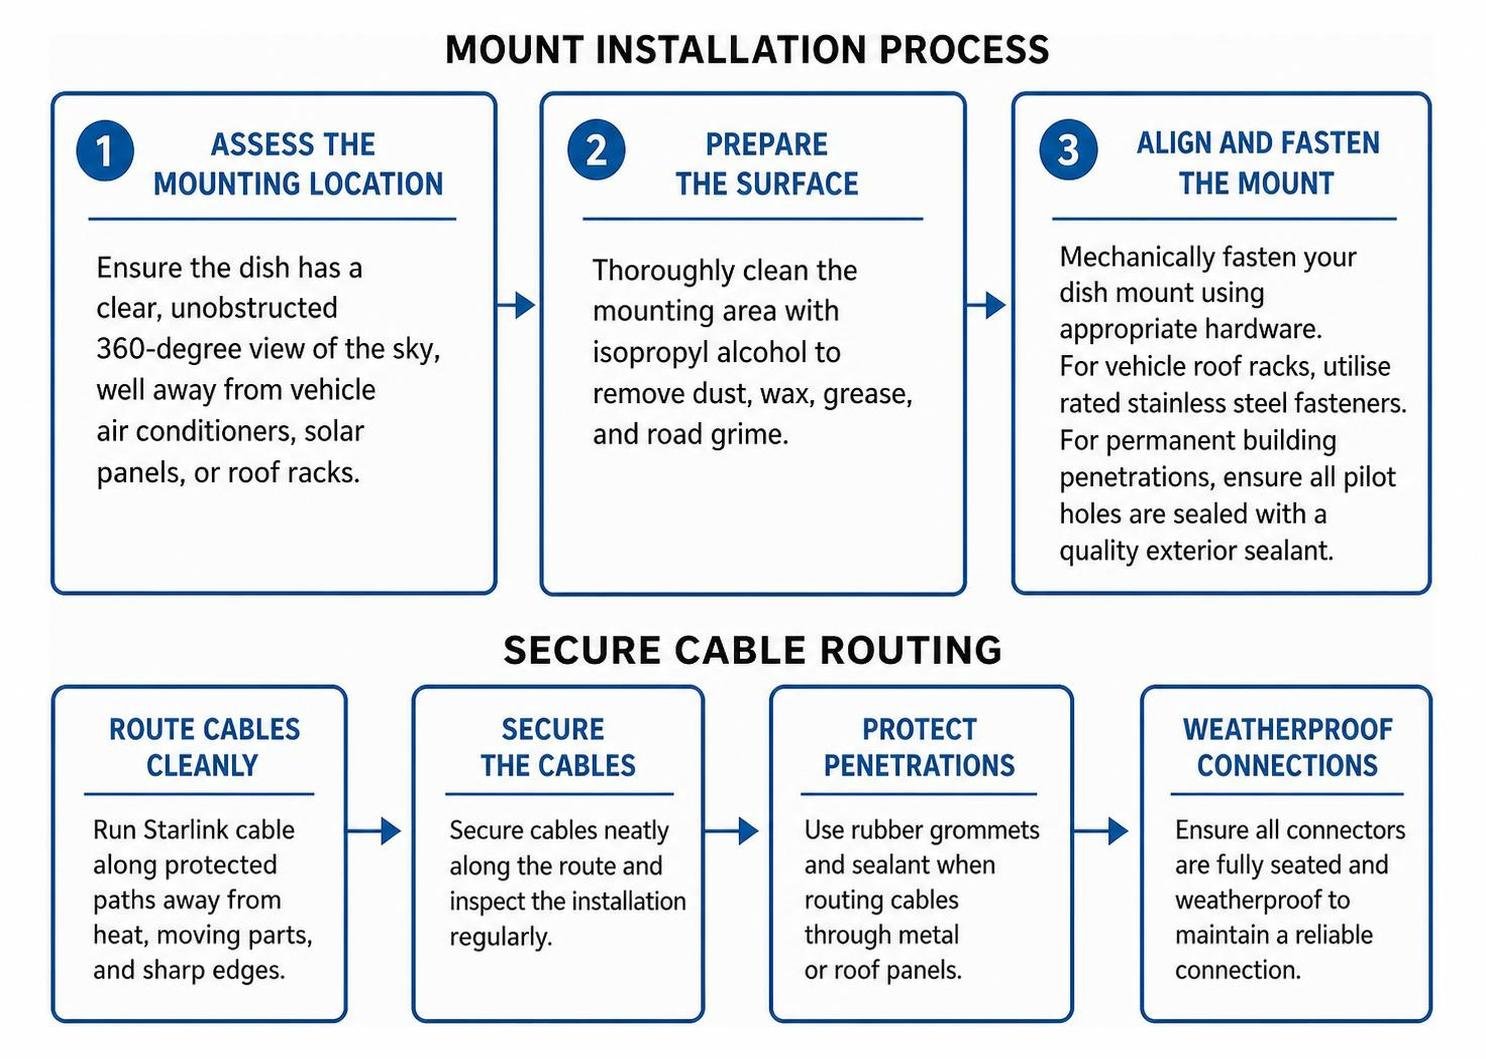
General steps for vehicle or building installations:
- Assess the Mounting Location: Confirm the dish has an unobstructed view of the sky, clear of roof accessories, air conditioners, or structural overhangs.
- Prepare the Mounting Surface: Ensure the contact area is clean, dry, and free of debris, grease, or dirt.
- Fasten the Dish Mount: Fasten your mount using hardware suited to your specific base material and dish model, ensuring all fixings are tightened securely according to the surface requirements.
- Route and Secure Cables: Route cables neatly along the structure or vehicle roof line and protect them from obvious abrasion.
- Set Up Direct DC Power: For mobile and vehicle setups, use a dedicated DC-to-DC power supply to deliver efficient power. Direct DC power provides greater electrical efficiency than an inverter, lowers auxiliary battery drain, and allows you to bypass the standard router.
- Verify Mechanical Stability: Inspect the dish mount and terminal before travel or operation, following the selected product’s guidance.
Note: For complex, highly exposed, or structurally demanding installations, consult a qualified auto-electrician or professional installer to assess structural requirements.
Frequently Asked Questions About Starlink Mounts
How do you select the correct mount for your setup?
To select the correct dish mount, identify your specific Starlink hardware generation, evaluate your mounting surface (such as a vehicle roof rack, building roof, or wall), and determine whether your installation is stationary or mobile. Choosing a dish mount designed specifically for your hardware model and application ensures a secure and stable fit.
How do Starlink Mini and Standard Gen 3 mounting solutions compare?
The Starlink Mini is designed for compact, ultra-portable, and low-profile setups, making use of lightweight mobility mounts, suction mounts, and magnetic dish mounts. The Standard Gen 3 dish has a larger footprint, making folded aluminium in-motion mounts, dedicated drop-down mounts, wall mounts, and heavy-duty pole adaptors the appropriate choice for caravans, vehicles, and buildings.
Which dish mounts are compatible with each Starlink model?
Mount compatibility depends directly on the hardware generation. The Standard Gen 3 requires mounts shaped for its kickstand profile, the Starlink Mini requires dedicated compact mounts, and the Gen 2 actuated dish requires specific mast adaptors. Always select a dish mount engineered specifically for your hardware model rather than assuming cross-generation fitment.
How do you fit a Starlink mount to a caravan or 4WD?
On caravans and 4WDs, dish mounts can be mechanically fastened to roof platform channels, bolted directly to flat roof surfaces, or attached temporarily using magnetic or suction mounts when stationary. For permanent touring, direct bolt-down in-motion dish mounts provide the most secure mechanical connection.
How do you install a Starlink mount on a tin roof?
A tin roof installation involves attaching the dish mount base to a structural roof point using appropriate fixings tailored to your specific roof profile and building construction.
Are magnetic mounts suitable for in-motion use?
Magnetic mounts can be useful for temporary Starlink Mini setups on suitable metal surfaces. Whether a mount is appropriate while stationary or in motion depends on the exact product, surface condition and product-specific guidance. Choose a dedicated in-motion product where SpaceTek lists one for your Starlink model.
How Can You Choose the Best SpaceTek Mount for Your Dish?
Choosing a heavy-duty dish mount starts with matching the Starlink model, installation surface and intended application. SpaceTek’s range includes model-specific options for home, caravan, vehicle and other installations, so product fitment should be confirmed before ordering.
- Browse SpaceTek's dedicated Standard Gen 3 / V4 mounts for compatible mounting options.
- Explore portable Starlink Mini mounting solutions for compact setups.
- View the full range of caravan and RV mounting kits to find the right dish mount for your setup.

Leave a comment
This site is protected by hCaptcha and the hCaptcha Privacy Policy and Terms of Service apply.