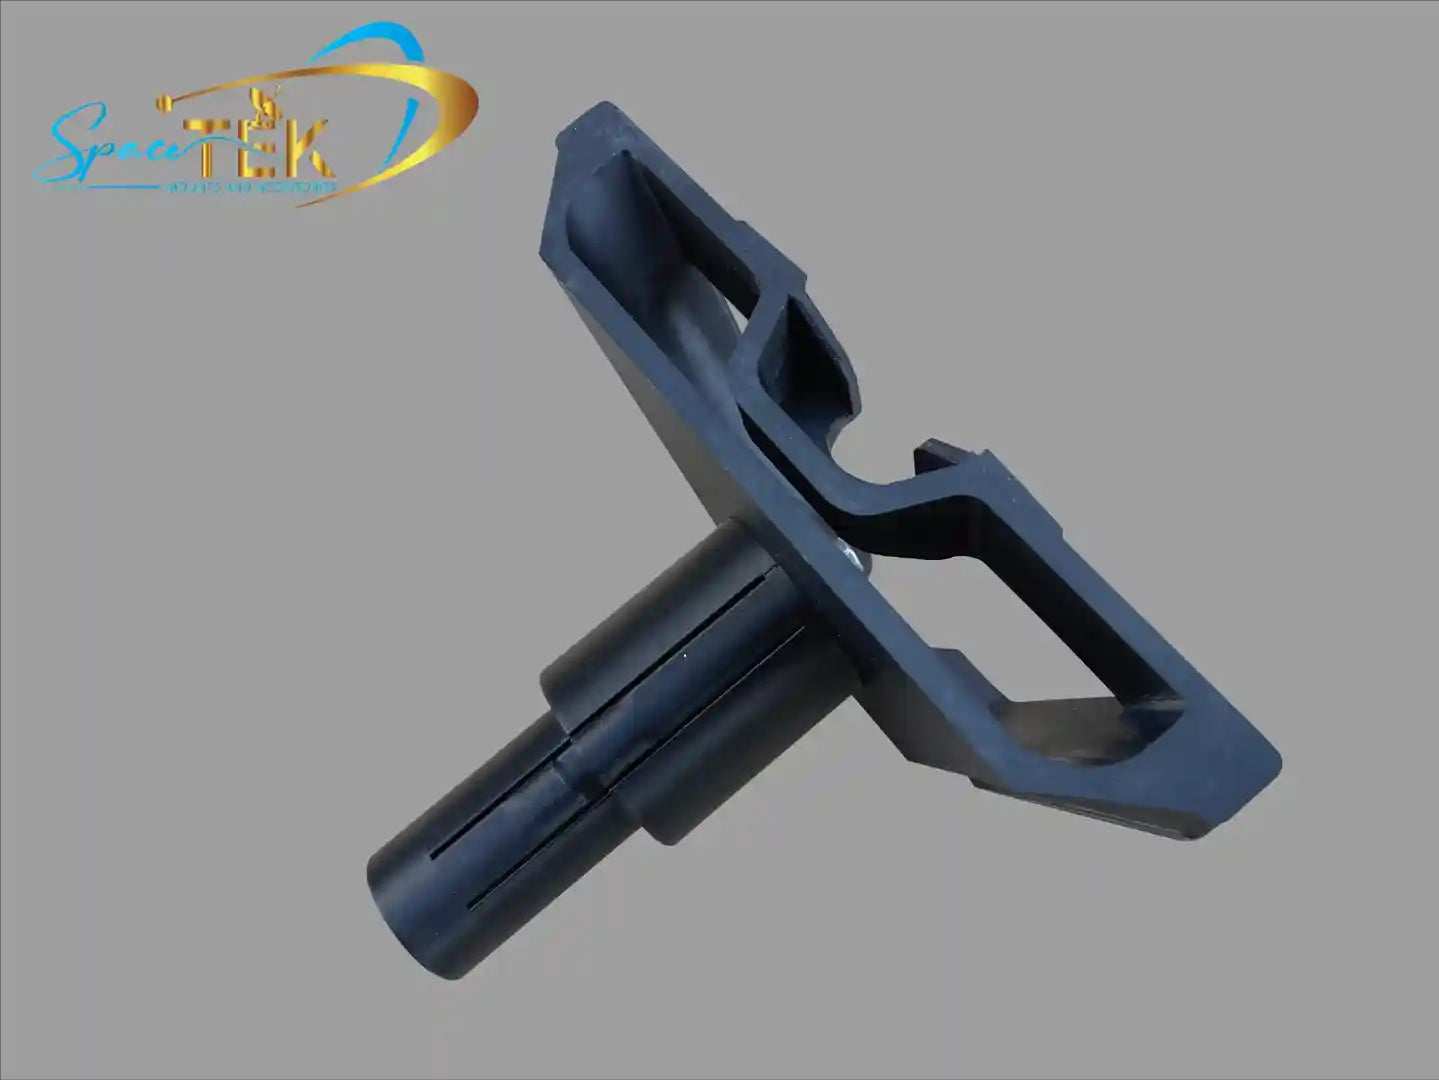
What is a Starlink Pipe Adapter and Why Do You Need One?
A Starlink pipe adapter is a mount that attaches your Starlink dish to a vertical pole. If you have signal dropouts or obstruction alerts, a pipe adapter is the solution. It lifts your dish above trees and buildings for a clear view of the sky.
Quick Overview:
- Function: Connects a Starlink dish to a pole (31mm - 50.8mm diameter).
- Benefit: Lifts the dish to overcome signal obstructions.
- Use Case: Perfect for using an existing mast or pole, avoiding roof installation.
This simple accessory is often the key to reliable, high-speed internet. It replaces the standard base that comes with your dish, allowing it to be mounted on a pole. Quality adapters use corrosion-resistant aluminium and stainless steel to withstand harsh Australian conditions. At SpaceTek, we know a quality mount is crucial for a stable connection.
Your Complete Guide to the Starlink Pipe Adapter
This section covers everything you need to know about selecting, installing, and optimising your setup for peak performance.
Choosing the Right Starlink Pipe Adapter: A Compatibility Guide
Selecting the correct Starlink pipe adapter is vital for a secure fit. First, identify your Starlink model, as each has unique mounting needs:
- Gen 2 (Rectangular): The classic rectangular dish.
- Gen 3 (Standard): The newer model with a different kickstand.
- Starlink Mini: The compact, portable version.
Next, measure your mast pipe's diameter. Most quality adapters fit poles between 31mm (1.25 inches) and 50.8mm (2 inches). This standard range allows you to use existing infrastructure, like an old TV antenna pole. A pole that is too thin or thick will not provide a secure grip.
For more details, see our Gen 3 Pole Adapter Compatibility Guide or our overview on Using a Pole Adapter for Your Starlink Dish.
We stock compatible mounts for every generation: Gen 2, Gen 3/V4, and Starlink Mini.
Step-by-Step: How to Install Your Adapter
Installing your Starlink pipe adapter is a straightforward process that can be done in under an hour.
- Find the Location: Use the Starlink App's obstruction tool to find a spot with a clear view of the sky. This is the most critical step.
- Prepare the Dish: Detach the dish from its original base (e.g., kickstand or four-legged mount). Route the Starlink cable through the pipe adapter before attaching it to the dish.
- Attach the Adapter: Plug the cable into the dish, then insert the dish's mast into the pipe adapter until it locks securely in place.
- Mount to Pole: Loosen the adapter's set screws and slide the assembly onto your mast pipe (31mm to 50.8mm diameter). Temporarily tighten.
- Power On & Align: Connect the router and power up the system. The dish will automatically align. A "Motors Stuck" alert means the dish may not be vertical enough.
- Secure Everything: Once aligned, firmly tighten all set screws. Use the included clips to secure the cable along the mast.
For a simplified walkthrough, read our guide on How to Install a Starlink Pole Mount in 5 Simple Steps.
Pipe Adapter vs. Other Mounts: Which is Best for You?
The Starlink pipe adapter is versatile, but not the only option. Here’s a quick comparison:
| Feature | Pipe Adapter | Roof Mount (Permanent) | Wall Mount |
|---|---|---|---|
| Installation Ease | Moderate (needs suitable pole) | Complex (roof access, waterproofing) | Moderate (drilling, structural considerations) |
| Cost | Lower (often uses existing pole) | Moderate to High (brackets, sealant, labour) | Moderate (brackets, drilling tools) |
| Versatility | High (portable, multiple locations) | Low (permanently fixed) | Moderate (fixed but relocatable) |
| Obstruction Clearance | High (lifts dish significantly) | Very High (highest point) | Moderate to High (depends on wall height) |
- Pipe Adapters are best for flexibility and portability (caravans, RVs) or using existing poles.
- Roof Mounts offer the highest clearance but require complex, professional installation.
- Wall Mounts are a good compromise when roof access is difficult.
The best choice depends on your needs. For a deeper comparison, read: Wall, Eave or Pole: Which Starlink Mount is Right for You?.
Key Features and Materials: What Makes a Quality Adapter?
Not all Starlink pipe adapters can withstand Australia's climate. A cheap mount can fail, risking your equipment.
Look for these features:
- Durable Materials: High-grade aluminium for a strong, lightweight body and stainless steel hardware to prevent rust.
- Weather Resistance: The mount must handle extreme UV, wind, and rain. Our products are designed and tested for these Australian conditions.
- Solid Warranty: A long warranty, like the 10-year warranty on some premium adapters, signals confidence in the product's durability.
Learn more about our engineering in Heavy Duty Starlink Dish Mount Adapter at SpaceTek: Built for Australian Conditions.
Common Challenges and Pro Tips
Avoid common installation pitfalls with these tips for your Starlink pipe adapter.
Common Pitfalls:
- Incorrect Pipe Diameter: Measure your pole first. Most adapters fit 31mm to 50.8mm.
- Over-tightening Screws: Tighten until snug to avoid damaging the threads.
- Poor Vertical Alignment: Use a spirit level. The dish needs to be near-vertical to avoid "Motors Stuck" errors.
- Cable Strain: Leave slack in the cable and use clips to secure it.
Pro Tips:
- Use the App: The obstruction checker is essential for finding the best location.
- Brace for Wind: In windy areas, add guy wires to your mast for stability.
For more location tips, see our Starlink Installation Guide: Where Should You Set Up Your Dish?.
Safety First: Essential Precautions for Installation
Prioritise safety when installing your Starlink pipe adapter to prevent injury and property damage.
- Work Safely at Heights: Use a sturdy ladder and have a spotter. If you're not comfortable, don't risk it.
- Disconnect Power: Always unplug the Starlink system before you begin.
- Check the Weather: Don't install in high winds, rain, or lightning.
- Drill with Caution: Wear eye protection and check for hidden wires or pipes. Seal all holes with weatherproof sealant.
- Ensure a Secure Mount: A loose dish is a hazard in high winds. Double-check all connections.
If you feel unsafe, hire a professional. You can find a professional installer through our website.
Secure Your Signal: Final Checks and Expert Advice
After mounting, run a final obstruction check in the Starlink App to confirm a clear view and optimal positioning. This ensures your installation is successful.
A properly installed Starlink pipe adapter provides peace of mind by securing a reliable, high-speed connection that withstands Australian conditions. At SpaceTek Australia, we specialise in mounts built for this environment, using high-grade aluminium and stainless steel for guaranteed durability.
For a complete overview of all options, explore our Starlink Mounting Hardware guide. Choosing the right mount is an investment in long-term connectivity.
If you're unsure which setup is right for you, our team is here to help. Please get in touch with our team for expert advice custom to your needs.


Leave a comment
This site is protected by hCaptcha and the hCaptcha Privacy Policy and Terms of Service apply.