
Choosing the right RV satellite internet mount comes down to how you travel, where you camp, and how quickly you want to get online once you pull up. For most Australian touring setups, the best option is a secure dish mount that balances low-profile travel safety with enough flexibility to handle trees, heat, corrugated tracks, and changing campsites.
Key Takeaways
- A permanent roof dish mount is best if you want fast setup, tidy cabling, and less handling at each stop.
- A portable or quick-release setup gives you more freedom when shade, trees, or awkward campsite layouts block the sky.
- Any roof installation needs careful cable routing, UV-stable entry glands, and a watertight seal that can handle Australian conditions.
- DC-to-DC power is usually the better off-grid option because it avoids unnecessary inverter losses and can support cleaner custom setups.
- Start with quality RV & Caravan Starlink Mounts And Accessories that suit your vehicle, dish type, and touring style.
How Do You Choose the Best RV Satellite Internet Mount?
To choose the best RV satellite internet mount, think about your setup routine first. If you want internet ready with minimal fuss, a permanent roof dish mount makes life easy. If you often park under gum trees or move between different vehicles, a portable or quick-release setup may be more practical.
The harsh Australian climate also matters. Good hardware needs to cope with corrugated tracks, coastal salt air, hot roof surfaces, and regular pack-downs without loosening or wearing out. Precision-machined or folded aluminium and reinforced composite dish mounts give you the strength you need without adding unnecessary bulk.
When comparing mounting styles, focus on these practical points:
- Setup speed: Do you want connectivity as soon as you stop, or are you happy to spend a few minutes setting up a stand?
- Touring durability: Your hardware should handle vibration, heat, dust, and repeated travel days.
- Obstruction management: Trees, awnings, and nearby vans can all interrupt satellite visibility.
- Travel security: The dish should be properly stowed, locked down, or mounted low enough to reduce wind and branch damage.
Comparing Permanent vs Portable RV Satellite Internet Mount Styles
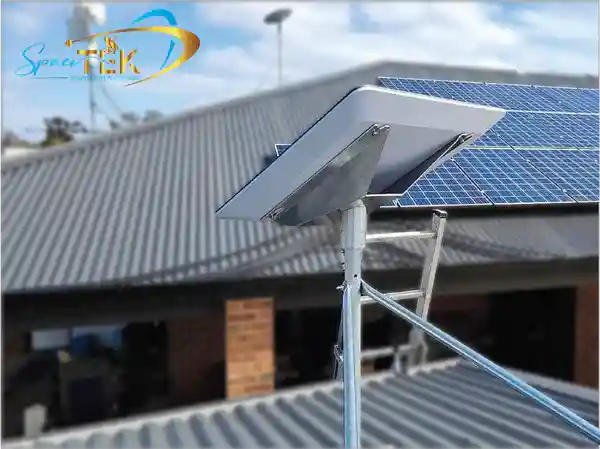
A permanent roof mount is attached to your roof, roof rack, or canopy. Once it is fitted, there is no unpacking at camp. You power up your gear, let the dish connect, and get on with your trip. It also keeps your equipment off the ground, away from trip hazards, curious wildlife, and opportunistic theft.
A portable ground mount gives you more flexibility. You can park the RV in the shade and place the dish in a clearer patch nearby. The trade-off is that you will need to unpack, position, secure, and pack it away each time you move.
When Should You Choose a Quick-Release Pole or Ladder Mount?
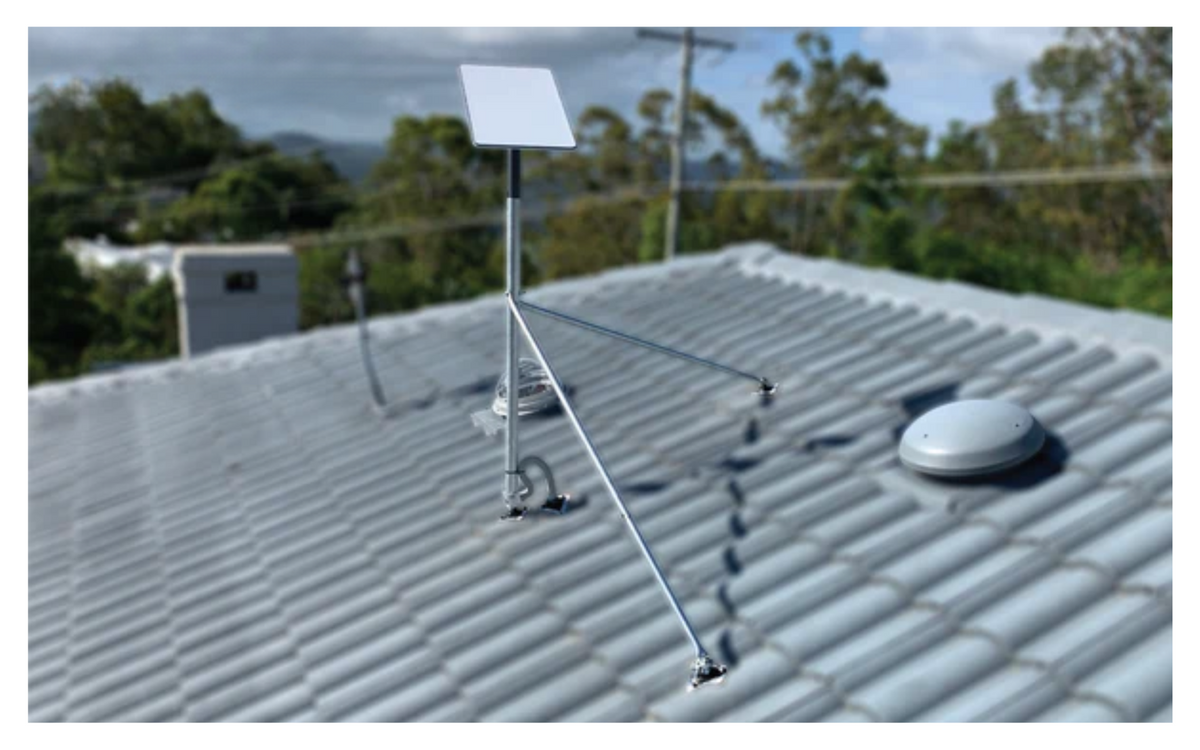
If you want height without drilling directly into roof sheet metal, a pole or ladder dish mount can be a handy middle ground. A quick-release elevated pole, such as a Carbon Fibre Telescopic RV Mount For Starlink, can lift the dish above awnings, air conditioners, and nearby caravans.
These setups usually attach to a rear access ladder, drawbar, or rear bar using secure clamping hardware. They let you remove the dish for travel, lower it when the wind picks up, or move the setup between a caravan, camper trailer, or 4WD when needed.
What Are the Key Installation and Weatherproofing Considerations?
When you install a dish mount on an RV roof, the big priorities are strength, clean cable routing, and a properly sealed roof penetration. Australian roads can be rough on rooftop gear, so every fixing point and seal needs to be planned with vibration, heat, and water ingress in mind. For a practical fitting walkthrough, see the Starlink Mount For Caravan, Van Or RV Complete Installation Guide 2026.
How Do You Route Cables and Seal Roof Penetrations?
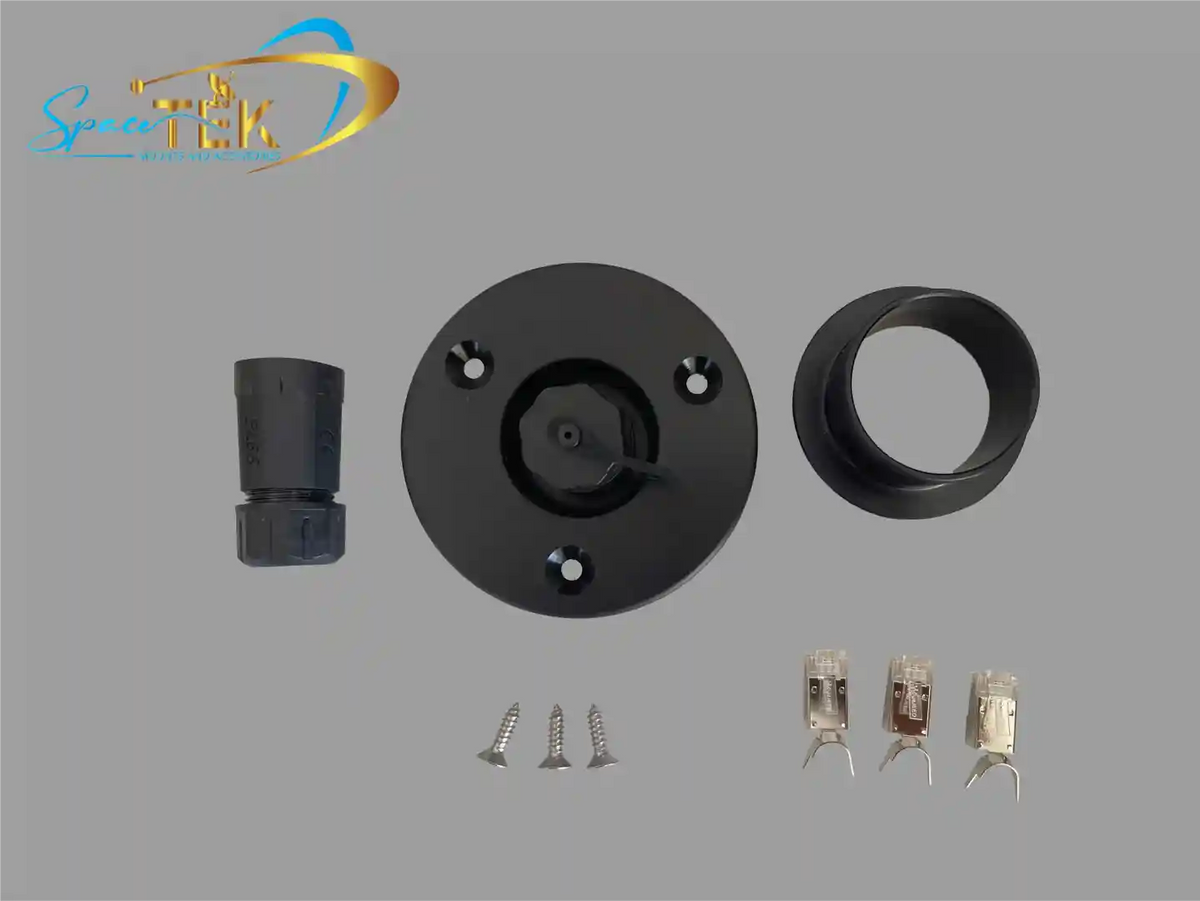
Water ingress is the last thing you want in a caravan or motorhome. To route satellite cables through the roof safely, use a purpose-built, UV-stabilised cable entry gland and take your time with surface preparation.
- Choose the cable entry point: Pick a raised, flat part of the roof near internal cabinetry so the interior cable run can stay neat and protected.
- Prepare the roof surface: Clean the area thoroughly with isopropyl alcohol to remove dust, wax, oxidation, and road grime.
- Seal the penetration: Apply a generous bead of compatible polyurethane sealant around the drilled opening and beneath the gland base.
- Create a drip loop: Leave a small downward loop in the external cable before it enters the gland so rainwater drips away instead of tracking toward the seal.
How Does Vehicle Height Impact Your RV Satellite Internet Mount?
Every bit of added roof height matters when you are dealing with service station canopies, low sheds, carparks, ferries, and overhanging branches on bush tracks. A low-profile dish mount helps reduce clearance risk and keeps the setup tidier while you are moving.
After installation, measure the vehicle from the ground to the highest point of the fitted dish mount. Keep that clearance figure somewhere easy to see from the driver’s seat, especially if several people drive the vehicle. For more detail on this topic, read the Starlink RV Mount Complete Guide.
How Do You Power and Integrate Satellite Internet Off-Grid?
Power management is a big part of reliable satellite internet in a caravan, campervan, or 4WD. Caravan park power makes things simple, but off-grid touring needs an efficient setup that will not chew through your auxiliary battery system faster than necessary.
Why Is DC-to-DC Power Better Than an AC Inverter?
Running a satellite setup through a standard AC inverter usually means converting battery power to AC, then converting it back again for the dish. That extra conversion can waste energy as heat, which is not ideal when you are relying on stored battery power.
Dedicated DC-to-DC power supplies, including SpaceTek’s StarPower V2, StarPower V3, and StarPower V4 units, are the smarter option for many off-grid builds because they are designed for efficient mobile power integration.
- Higher overall efficiency: Reducing unnecessary conversion losses helps preserve battery capacity for the rest of your setup.
- Lower operating draw: A direct DC approach can reduce baseline power use compared with relying on an inverter.
- Router bypass flexibility: StarPower DC power hardware can help bypass the Starlink router for custom network setups.
- Cleaner power delivery: Quality DC-to-DC conversion supports steadier power for sensitive satellite hardware.
How Do Battery Banks and Solar Arrays Support Continuous Use?
When you are free camping, your battery bank and solar panels need to support the satellite system alongside your fridge, lights, fans, and other everyday gear. Lithium battery systems are well suited to this kind of steady load, especially when paired with enough solar input for your style of travel.
If you work remotely from the road, it is worth planning your power setup around real use, not just the best-case sunny day. A good off-grid system should give you enough breathing room for cloudy weather, longer stays, and the odd day when the panels do not keep up.
How Do You Handle Sky Obstructions and Secure Dishes for Travel?
Satellite systems need a clear enough view of the sky to stay connected. That sounds simple until you pull into a leafy campsite, park beside a tall awning, or tuck the van under shade on a hot afternoon. A good mounting setup should help you protect the dish in transit and still find open sky at camp.
How Do Tilting Mechanisms Protect Equipment During Transit?
Standard actuated satellite dishes are designed to move when they are finding satellites, not to sit upright in highway wind or cop branch strikes on rough tracks. Leaving hardware deployed while driving can put unnecessary stress on the dish and mount.
A secure tilting mount lets you stow the dish closer to the roofline before travel. That helps reduce wind load, lowers the chance of impact, and keeps the setup neater on the road. For fixed flat-panel installations, precision-folded aluminium dish mounts keep the profile low and secure against vibration.
What Helps When You Camp Under Dense Tree Cover?
When you pull into a shaded bush campsite, try these practical fixes before giving up on the connection:
- Scan before you settle in: Use your satellite provider’s app to check for obstructions before you unhitch, level, or set up the awning.
- Look for clearer southern sky: In Australia, a clearer view toward the southern sky is often useful, though the dish still tracks satellites across a wide overhead area.
- Keep a flexible mounting option: A permanent roof dish mount is convenient in open country, but a quick-release or portable option can help when the best campsite has heavy tree cover.
- Use mobile backup where available: A 4G or 5G hotspot can provide handy backup when satellite dropouts are caused by thick canopy or awkward terrain.
Frequently Asked Questions About RV Satellite Mounts
Can Standard Satellite Dishes Be Used While Driving An RV?
Standard consumer satellite dishes are generally intended for stationary use. If you need connectivity while the vehicle is moving, you need hardware and a dish mount designed for mobile conditions, secured in a way that suits road vibration, wind exposure, and clearance limits.
What Is the Most Reliable Way To Avoid Campsite Tree Obstructions?
The most reliable approach is keeping your setup flexible. A permanent roof dish mount is great in open terrain, while a quick-release or portable option lets you move the dish into a clearer patch when trees block the sky.
Do Holiday Park Rules Affect Rooftop And Ground-Mounted Dishes?
They can. Some parks prefer tidy, self-contained setups because loose cables across grass or gravel can create trip hazards or get in the way of vehicles and mowers. Rooftop installations keep the dish and cabling within your site footprint, which can make the whole setup cleaner and easier to manage.
Ready For Reliable Internet On The Road?
A rugged satellite setup gives you the freedom to travel through remote parts of Australia while staying connected for work, weather, navigation, streaming, and keeping in touch. The key is choosing dish mounts and power gear that suit how you actually tour.
SpaceTek Australia designs and manufactures premium Australian-made Starlink mounts, precision-machined or folded from high-grade aluminium and reinforced composites. Built for outback tracks, coastal air, and everyday touring, SpaceTek’s mounting systems and StarPower DC power solutions help keep your hardware secure, tidy, and ready for the next stop.
Pre-Trip Mobile Setup Checklist:
- Inspect roof mounting bolts, clamps, and lock pins before departure.
- Check cable entry glands and roof sealant for signs of weathering or cracking.
- Make sure the dish is stowed flat or locked into its low-profile travel position.
- Confirm your DC-to-DC power converter and auxiliary battery connections are clean and secure.
- Pack your quick-release ground mount and spare extension lead for shaded campsites.

Leave a comment
This site is protected by hCaptcha and the hCaptcha Privacy Policy and Terms of Service apply.