
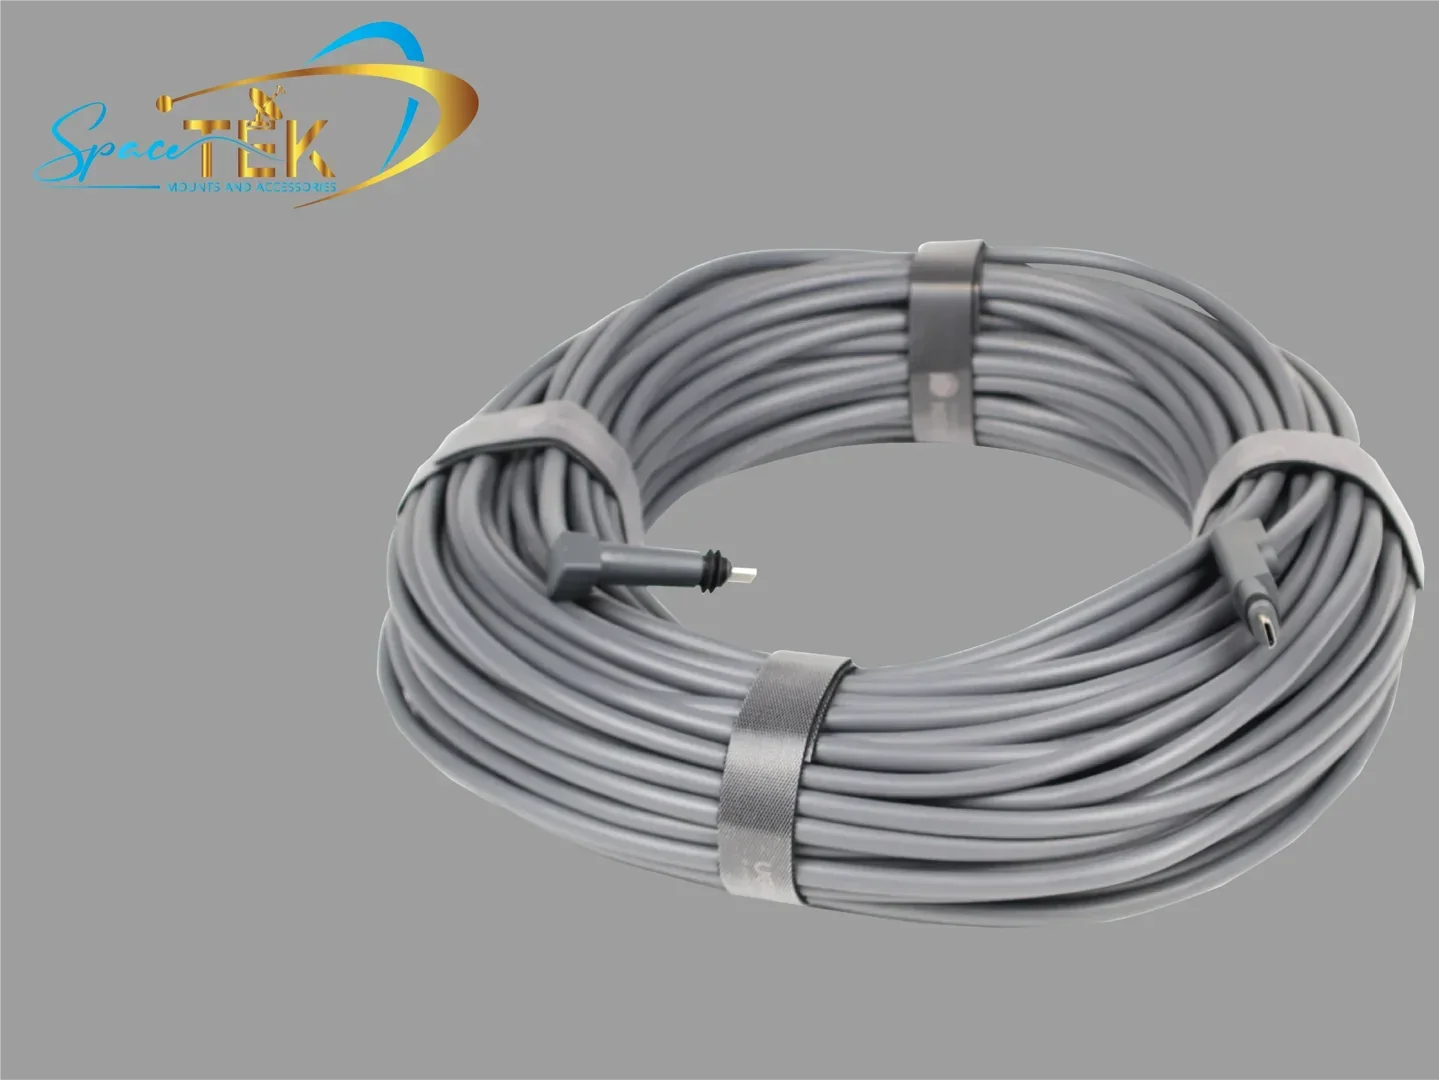
Why does a tidy Starlink cable setup matter?
A Starlink cable management kit helps you route, protect and tidy your Starlink cable as it runs from the outdoor dish to your router, vehicle or indoor setup.
Key Takeaways
- Choose a standard routing kit for timber, plasterboard, cladding and sheet metal walls.
- Use a masonry routing kit for brick, concrete, stone and hard coat stucco.
- Seal the cable entry point properly so rain, dust and insects stay outside.
- Keep bends gentle, avoid pinch points and run underground sections through conduit.
- Use an indoor cable caddy or adapter holder to keep spare cable neat instead of coiled across the floor.
A neat cable setup is not just about looks. In New Zealand conditions, exposed cabling can deal with harsh sun, wind, dust, rain and the odd curious animal, so the right routing gear helps protect your Starlink connection from everyday wear.
If your cable is pushed through a rough wall opening or left hanging loose outside, it can lead to water ingress, strain on the connector or a messy indoor setup. A proper kit gives you a cleaner finish and makes the whole installation feel more deliberate.
What is a Starlink cable management kit?
A Starlink cable management kit is a practical hardware bundle made to route, secure and weatherproof Starlink cables without damaging the moulded connectors or leaving oversized holes in your wall.
Inside a typical routing kit, you will usually find:
- A 19.05 mm, or 3/4 inch, spade bit or masonry drill bit for the entry hole.
- A flexible cable routing tool to help pull the connector safely through the wall.
- Rubber wall grommets to seal around the cable jacket.
- Wall clips to secure the cable along exterior cladding, trim or other suitable surfaces.
- Weather-resistant silicone sealant to help block moisture, draughts and insects.
- An indoor cable caddy or adapter holder to keep excess cable under control.
Because Starlink cables use shaped connectors, it is worth using hardware designed for that job rather than forcing the cable through a tight hole. Good Starlink cable management techniques help protect the cable, the wall opening and the overall look of the installation.

How do you choose the right Starlink cable management kit?
The right kit depends on where the dish is mounted, what your wall is made from and how much cable you need to keep tidy once it comes indoors.
For a regular New Zealand home, that might mean drilling through timber weatherboards, plasterboard or sheet metal. For a brick veneer, double brick or concrete wall, you will need the tougher masonry option instead.
Standard wall kit or masonry kit?
Wall construction is the main thing to check before you start drilling. The wrong drill bit can make a simple job harder and may damage the wall surface.
-
Standard cable routing kit:
- Suits timber framing, plasterboard, standard exterior cladding and sheet metal exterior walls.
- Includes a 19.05 mm, or 3/4 inch, wood spade bit for clean entry holes.
- Works well for many residential wall penetrations where masonry is not involved.
-
Masonry cable routing kit:
- Suits solid concrete, double brick, cinder block, stone and hard coat stucco.
- Requires a hammer drill to cut through dense masonry cleanly.
- Helps reduce the risk of cracking or rough, oversized holes when the wall is hard and brittle.
What about indoor cable caddies and adapter holders?
Once the cable is safely inside, you still need somewhere tidy for the spare length. Starlink setups often leave more cable than you need sitting near the router, especially in a lounge room, office, caravan or off-grid setup.
A 2-in-1 cable caddy and adapter holder can help by:
- Giving the spare cable a dedicated place to wind neatly.
- Keeping the ethernet adapter supported instead of dangling from the cable.
- Reducing clutter around shelves, desks and vehicle interiors.
- Working well alongside Starlink Mini accessories for portable and off-grid setups.
How do you install a Starlink cable routing kit?
Installing a Starlink cable management kit is straightforward if you measure carefully, scan before drilling and take your time with the seal.
What should you prepare before drilling?
Before you pick up the drill, gather your tools and check the wall area properly:
- Stud finder and electronic live wiring detector.
- Standard power drill, or a hammer drill for masonry.
- Included 19.05 mm spade or masonry bit.
- Safety glasses and dust mask.
- Silicone sealant tube and caulking gun.
- Soft cloth to clean the wall surface.
Always mark your drill point away from electrical wiring, plumbing, structural steel and anything else hidden in the wall.
How do you route and seal the cable?
- Locate and scan the entry point: Use a stud finder and live wire detector on both internal and external wall faces to confirm a clear pathway.
- Drill the wall penetration hole: Fit the included 19.05 mm, or 3/4 inch, bit to your drill, hold it square to the wall and drill through from outside to inside.
- Clean the hole: Remove timber shavings, plaster dust or masonry debris so the grommets can sit properly.
- Pull the cable through carefully: Feed the routing tool through the hole from outside, attach the flat moulded connector and gently pull the cable into the room.
- Fit the rubber wall grommets: Slide the grommets onto the cable on both sides of the wall and press them into place until they sit flush.
- Seal the outside entry point: Apply silicone sealant around the exterior grommet and cable entry point to help create a weather-resistant barrier.
- Secure the outdoor cable run: Use wall clips along the exterior cable path so wind and movement do not pull on the grommet or dish connector. For a more complete setup, pair the cable route with suitable Starlink dish mounts and accessories.
- Tidy the indoor cable: Mount the cable caddy where it is easy to reach, wrap excess slack around the spool and secure the adapter neatly in its holder.
How do you protect Starlink cables and power off-grid setups?
Cable care matters because a neat-looking setup still needs to protect the internal wiring and the connection points over time.
Keep these cable care habits in mind:
- Avoid tight bends or sharp folds that can crush the internal pairs.
- Do not run standard Starlink cables directly underground without protective conduit.
- Keep cables out of window tracks, door jambs and other pinch points.
- Secure loose outdoor runs so wind does not tug on the wall entry or dish connector.
For caravans, touring rigs and remote New Zealand properties, power management is just as important as cable routing. Running Starlink from standard AC power usually means using an inverter, which adds conversion losses and can draw more from the battery system.
Dedicated StarPower V2, V3 and V4 DC power supplies are a cleaner option for many off-grid setups because DC-to-DC power can be more efficient, reduce unnecessary draw and bypass the standard Starlink router for custom configurations.
That can mean less bulky gear in a caravan, 4WD or compact off-grid installation. For a broader mobile setup, SpaceTek’s caravan and RV Starlink accessories can help match cable routing, dish mounting and power hardware to the way you actually travel.
Frequently asked questions
What size hole is needed to pass a Starlink cable through an exterior wall?
A hole around 19.05 mm, or 3/4 inch, is typically used to pass the moulded Starlink cable connector through an exterior wall. Standard and masonry routing kits include drill bits sized for this type of pass-through.
Are Starlink satellite cables waterproof or safe for direct burial?
Starlink cables are designed for outdoor exposure, including rain and UV, but they should not be treated as direct-burial cable. If the cable needs to cross a yard, driveway or exposed ground, run it through continuous protective conduit.
Is a cable management kit compatible across Gen 2, Gen 3 and Mini hardware?
Routing grommets and indoor cable caddy systems are made to manage common Starlink cable lengths across Gen 2, Gen 3 and Mini setups. Always check the specific product listing before ordering so the kit matches your hardware and cable length.
Ready for a cleaner Starlink setup?
A reliable Starlink installation starts with a secure dish mount and finishes with a clean, protected cable route. The right Starlink cable management kit helps prevent messy cable coils, reduces strain on connectors and keeps the wall entry better protected from New Zealand weather.
SpaceTek New Zealand designs premium Starlink mounts and accessories for local conditions, with precision-machined or folded aluminium and reinforced composite components built for tough outdoor use. Pair the right dish mount with tidy cable routing and efficient DC-to-DC power, and your Starlink setup will be much easier to live with on the road, at home or off-grid.

Leave a comment
This site is protected by hCaptcha and the hCaptcha Privacy Policy and Terms of Service apply.