
Why Is the Right Starlink Mount So Important on a Farm?
A Starlink farm installation mount keeps your dish high, secure, and clear of trees, sheds, silos, dust, and daily farm activity. For most New Zealand properties, the best option is a permanent Starlink mount that gives the dish a clear sky view and stays steady through wind, rain, heat, and busy working conditions.
Key Takeaways
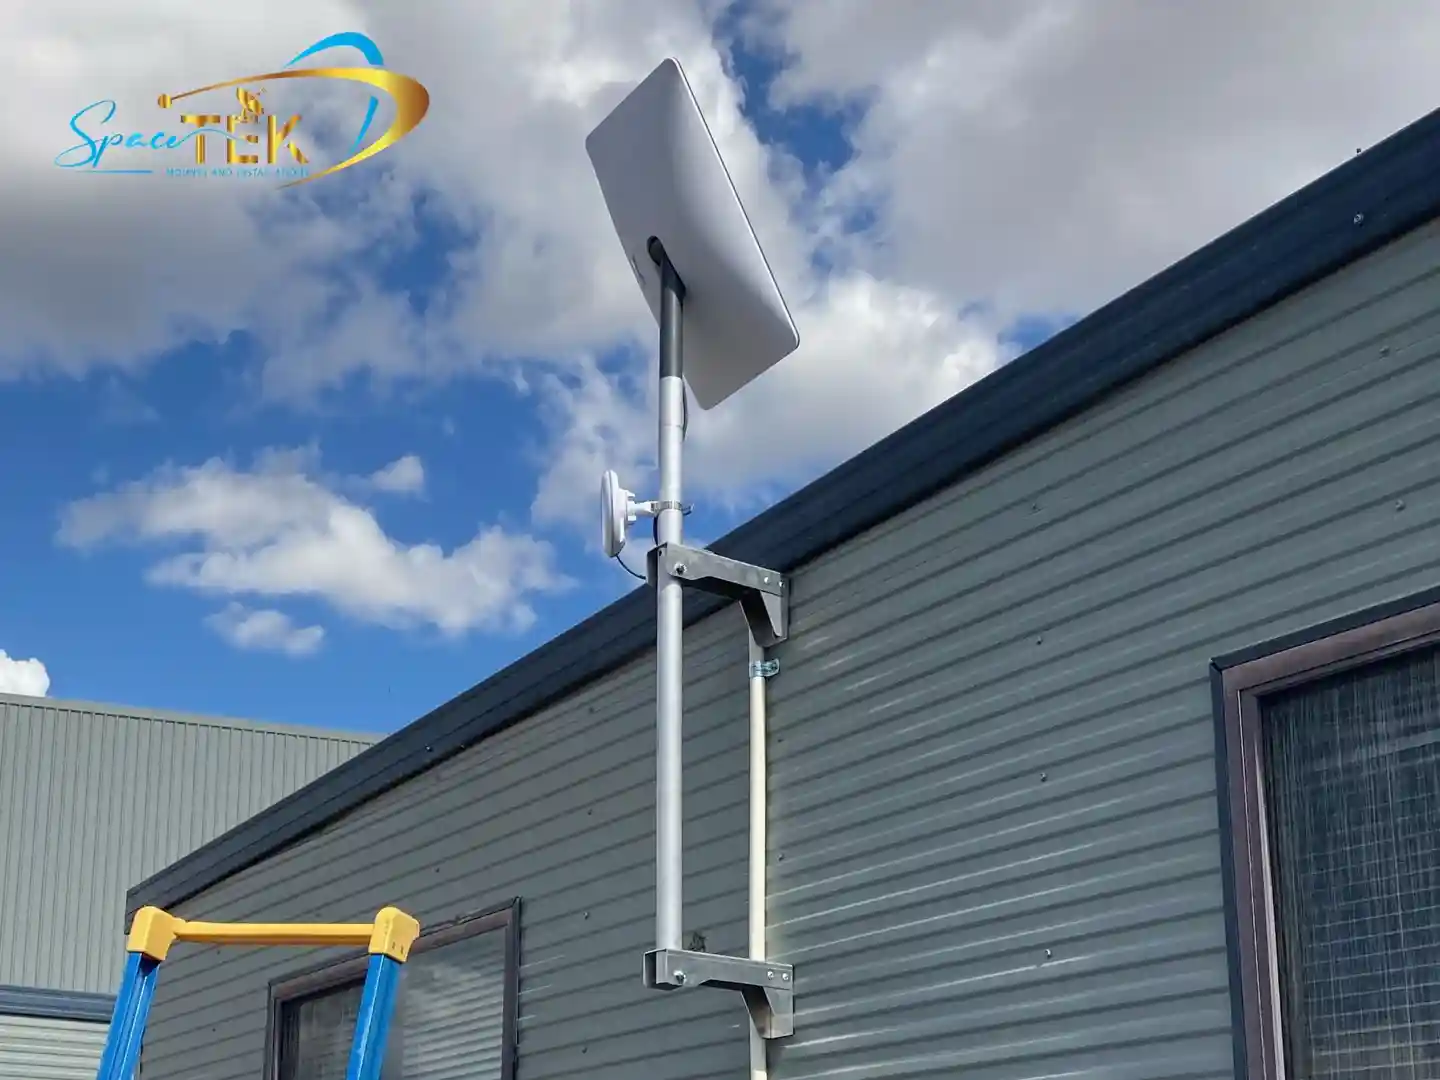
- Use a ground Starlink pole dish mount when you need extra height, flexible placement, or a position away from farm buildings.
- Use a roof or shed Starlink dish mount when the structure is sound and already clears nearby obstructions.
- Choose a taller Starlink mast or elevated dish mount where trees, silos, ridgelines, or terrain block the dish’s sky view.
- Protect cables with conduit, drip loops, and weatherproof entry points so livestock, machinery, rodents, and UV exposure do not damage the connection.
- Plan power and network coverage early, especially if barns, workshops, pumps, offices, or grain systems also need reliable internet.
Reliable broadband is now part of everyday farm infrastructure. It helps run farm management platforms, security cameras, remote monitoring, weather telemetry, staff communication, and precision agriculture tools.
Starlink can perform well on rural properties, but the Starlink mount makes a real difference. Even a small amount of tree interference can cause dropouts when branches move in the wind. A solid, well-positioned Starlink mount gives your system the best chance of staying online during harvest, storms, and long workdays.
At SpaceTek New Zealand, we focus on New Zealand-designed Starlink accessories, DC power solutions, and mobile or fixed Starlink dish mounting options. Our precision-machined folded aluminium and reinforced composite components are made for real-world installations where long-term durability matters.
How Do You Choose the Best Starlink Farm Installation Mount?

Choosing the right Starlink farm installation mount starts with matching the property layout to hardware that can handle real New Zealand farm conditions. A compact hobby farm, a remote station, and a broadacre operation will all have different mounting needs, so it pays to look at sky visibility, cable runs, structure strength, and future network coverage before you drill or dig.
Durable hardware matters because farms are tough on equipment. Mounting gear can face strong UV, open-paddock wind, heavy rain, corrosive dust, machinery vibration, and the odd knock from day-to-day work. High-grade folded aluminium and powder-coated steel give the dish a secure fixing point without relying on light-duty generic parts that are not built for continuous rural exposure.
To narrow down your options, start with where the dish can see the sky clearly while still being practical to access for maintenance:
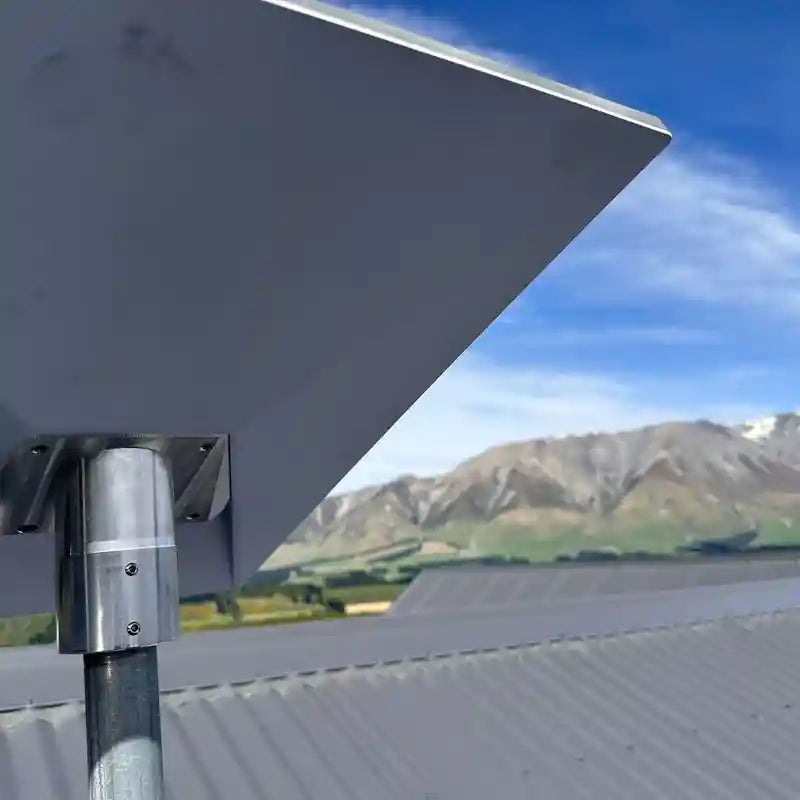
- Elevated Starlink Pole Dish Mount: Best for open acreage with nearby tree lines, sheds, silos, or uneven ground. It gives flexible placement and extra height, but usually needs a proper footing.
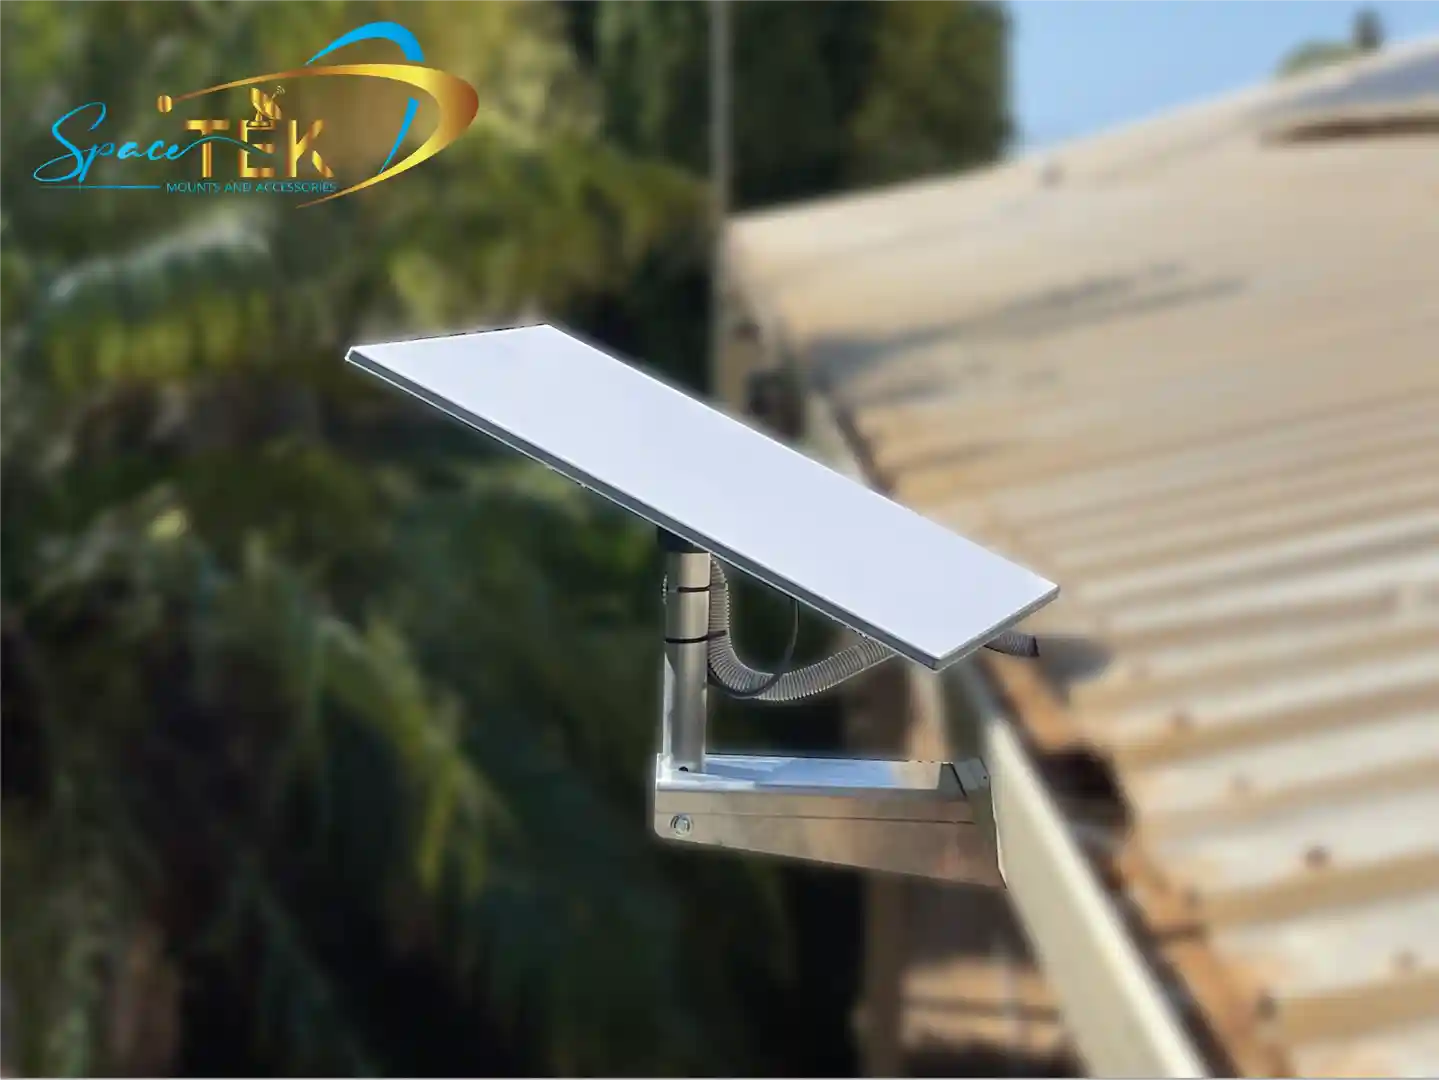
- Roof and Fascia Starlink Dish Mount: Ideal for farmhouses, machinery sheds, workshops, and offices where the structure is sound and already provides height.
- Silo and High-Structure Starlink Dish Mount: Useful around busy farmyards where tall storage or handling infrastructure blocks lower mounting points.
- Non-Penetrating Starlink Roof Dish Mount: Suited to flat shed roofs or temporary site offices where you need stability without putting holes through the roof surface.
For a closer look at load profiles and attachment methods, read our Starlink Pole Mounts complete guide.
How Do Sky Visibility and Obstructions Affect Mount Placement?
A Starlink dish needs a clear field of view so it can maintain a steady connection with Low Earth Orbit satellites. In plain English, the dish needs enough open sky around it to keep talking to passing satellites as they move across the horizon.
In New Zealand and the Southern Hemisphere, the dish’s best orientation depends on your exact location, so do not guess from ground level. Check the proposed mounting spot using the obstruction tool in the official Starlink app at the same height where the dish will actually sit.
Even small obstructions can create frustrating dropouts:
- Swaying tree canopies: One branch entering the dish’s viewing area can interrupt video calls, telemetry, or remote equipment monitoring when the wind picks up.
- Dust from grain handling: Mounting too close to augers, silos, feed mills, or driveways can coat the dish face with dust and debris.
- Ridges and windbreaks: Nearby hills, shelterbelts, or dense tree lines may mean a standard roof height is not enough.
Before fixing any Starlink mount permanently, scan the location at the actual mounting height. That simple check can save a lot of frustration later.
What Structural Details Matter for a Permanent Starlink Farm Installation Mount?
A permanent Starlink farm installation mount needs to stay rigid in open, windy locations. Farm paddocks often lack the wind protection found in suburban areas, so elevated dish installations can take a fair bit of force during storms.
When attaching a Starlink dish mount to a machinery shed or corrugated iron roof, fix into structural timber, rafters, steel purlins, or wall girts rather than thin sheet metal alone. For ground installs, use a strong pole dish mount set into a proper concrete footing so the mast stays plumb as the soil moves through wet and dry seasons.
For high-structure installations, vibration control also matters. Silos and metal farm structures expand, contract, and vibrate during loading and unloading. Precision-machined folded aluminium Starlink mounts, paired with appropriate isolation and secure fixings, help reduce the chance of hardware working loose over time.
How Should You Protect Cabling and Power the System?
A solid Starlink farm installation mount is only part of the job. The cable path and power setup also need to suit a working farm, where exposed leads can be damaged by livestock, rodents, machinery, UV exposure, washdown spray, and weather.
For more advice on rugged outdoor deployments, read our guide to Mounting Starlink in remote mining or agricultural sites.
When running the Starlink cable from the dish mount to your equipment area, keep these basics in mind:
- Use protective conduit: Do not leave raw cable exposed along the ground or outside walls. Run exterior cabling inside UV-stabilised electrical conduit or heavy-duty corrugated tubing.
- Protect crossings: Where a cable route crosses a farm track, driveway, or machinery path, trench the conduit safely underground in a suitable protective conduit.
- Avoid tight bends: Keep cable bends gentle so the internal conductors are not strained.
- Create drip loops: Before the cable enters a wall, form a downward loop so rainwater drops away instead of tracking into the building.
- Seal wall penetrations: Use outdoor-grade sealants or weatherproof grommets to reduce moisture, dust, insects, and rodents entering the wall cavity.
Off-grid workshops, pumping stations, and remote field yards often do not have standard mains power nearby. Running an AC inverter continuously can waste energy because power is converted more than once, which is not ideal when you are relying on batteries or solar.
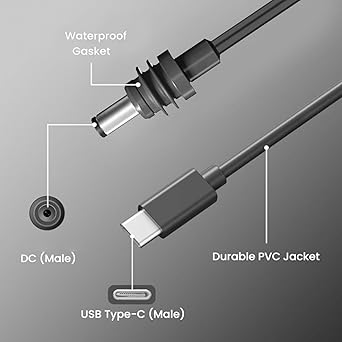
A direct DC-to-DC setup with SpaceTek StarPower V2 and V3 DC power supplies can be a better fit for remote farm sites because it improves efficiency, lowers idle draw, and can bypass the Starlink router for custom networking setups.
SpaceTek StarPower V2 and V3 DC power supplies are designed to provide clean, regulated DC power directly to Starlink hardware, helping off-grid farm connections run more efficiently without overcomplicating the setup.
How Do Grounding, Lightning Protection, and Surge Mitigation Fit In?
Because a Starlink farm installation mount is often placed on a high structure or isolated steel mast in an open paddock, grounding and surge protection should not be treated as an afterthought.
To help protect connected machinery and network gear:
- Use dedicated earthing where appropriate: Bond metal mounting hardware to a suitable earthing path installed to local electrical requirements.
- Add surge protection: Place outdoor-rated surge protection on data lines before they enter the building, with grounding handled correctly.
- House equipment properly: Keep network switches, DC power modules, and surge devices inside sealed, weatherproof enclosures to protect them from dust, moisture, insects, and washdown spray.
Should You DIY the Installation or Bring in a Professional?
Whether you install the Starlink mount yourself or call a professional depends on mount height, roof access, trenching distance, and network complexity.
A straightforward shed fascia or low roof installation may be manageable with basic tools and sensible safety gear. Bigger projects are different. Elevated pole footings, long underground cable runs, high roof work, nearby power lines, or multi-building wireless links can turn a simple job into something that needs specialist help.
If the installation involves elevated work, trenching across hard ground, or connecting several farm buildings, it is worth reviewing the options before starting. Our Starlink ground mount installation guide can help you decide whether a ground pole dish mount setup is a practical DIY job or one better handled by an installer.
How Can You Extend Coverage Across Barns, Workshops, and Fields?
A Starlink dish on the homestead or main machinery shed is a strong starting point, but many farms need internet across more than one building. Workshops, shearing sheds, offices, grain storage, cameras, pumps, and yards may all need a stable connection.
The right way to extend coverage depends on distance, line of sight, and whether trenching is practical:
- Direct-burial Ethernet: Works well for nearby buildings when you can run UV-rated Cat6 in underground conduit.
- Point-to-point wireless links: Useful for sheds, scale houses, or pump sites across open paddocks where trenching would be costly or disruptive.
- Outdoor mesh access points: Helpful for work yards, equipment areas, and sheds where staff need practical Wi-Fi coverage outside the main building.
Broadband connectivity supports precision agriculture, including data tools that help optimise fertiliser, chemical, and seed placement across a property.
IoT sensors and LoRaWAN-style networks can also feed low-bandwidth farm data back through the main broadband connection. For example, grain storage monitoring may only need small amounts of data, but continuous monitoring can help spot moisture or temperature issues before they become expensive problems.
What Installation Mistakes Should Farmers Avoid?
A few common mistakes can make an otherwise good Starlink setup unreliable:
- Mounting downwind of grain handling: Dust from augers, silos, feed mills, and driveways can build up on the dish face.
- Leaving cables unsupported: Heavy cables hanging from roof edges can fatigue in the wind, so use UV-resistant clips and proper strain relief.
- Skipping drip loops: Without a drip loop, rainwater can track along the cable and into the building.
- Forgetting grounding: A metal mast without suitable earthing can create a risk for connected equipment.
- Leaving wall penetrations unsealed: Open holes invite water, spiders, insects, and rodents into offices, sheds, and workshops.
Frequently Asked Questions About Starlink Farm Installations
Can You Mount Starlink Directly on a Moving Tractor or Harvester?
Standard residential and enterprise Starlink dish units are designed for fixed installations rather than being attached to moving farm machinery. A standard dish fitted to a moving tractor, harvester, or ute may drop out because the system is intended to work from a stable location.
For mobile field equipment, many farmers rely on cellular modems or high-gain mobile hotspots for in-cab telemetry, while using the stationary Starlink mount at the homestead, workshop, or main office as the main high-speed data hub.
How Far Can You Run the Starlink Cable from the Dish to the Router?
The standard Starlink cable supplied with most kits is designed to connect the dish to the power supply or router unit.
If the Starlink mount needs to sit further away from the building to clear trees, silos, or ridgelines, house the router or power unit inside a weatherproof enclosure near the mount. From there, use UV-rated Cat6 or a point-to-point wireless link to bring connectivity back to the office network.
Will Severe Weather or High Winds Misalign a Farm Dish Mount?
Starlink dishes use electronic beamforming, which means they track satellites electronically rather than needing constant manual adjustment. A small amount of pole movement will not usually cause a problem.
The issue is persistent swaying from a weak Starlink mount or unbraced mast. A rigid, heavy-gauge folded aluminium or powder-coated steel dish mount fixed to structural timber, steel, or concrete helps keep the system stable during thunderstorms and high winds.
Ready to Build a More Reliable Farm Internet Setup?
A well-planned Starlink farm installation mount can make rural internet far more dependable. By choosing a strong mounting point, keeping the dish clear of obstructions, protecting the cable run, and planning power properly, you give your farm network a much better chance of staying online when the workday gets busy.
For New Zealand conditions, durable mounting hardware is worth getting right from the start. Whether you need an elevated ground Starlink dish mount to clear tree lines or a shed-mounted Starlink dish mount for corrugated roofing, corrosion-resistant components help keep the connection stable season after season.
At SpaceTek New Zealand, we build high-performance Starlink mounts and power solutions for demanding New Zealand conditions. Explore our Gen 3/V4 mounts and accessories collection to find a practical setup for keeping your farm connected, no matter how remote the property is.

Leave a comment
This site is protected by hCaptcha and the hCaptcha Privacy Policy and Terms of Service apply.