
How do you extend Starlink Gen 3 Wi-Fi coverage?
Add a compatible mesh router where it can receive a useful connection from the main router, then pair it in the Starlink app. Putting a wireless node in the middle of a dead zone may leave that node with the same weak connection you were trying to fix.
First check that the main Starlink connection works. Mesh expands the local network around your home; it does not repair a dish obstruction or make an unavailable internet service work.
This October 2026 guide focuses on a Gen 3 router used with Starlink mesh. It distinguishes that setup from installing a separate third-party network and explains what to check before buying additional hardware.
Confirm which router you have
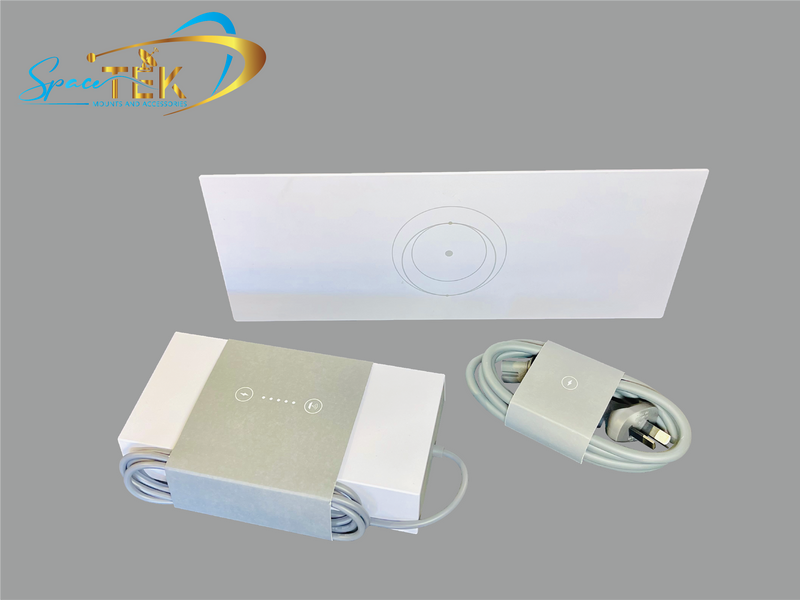
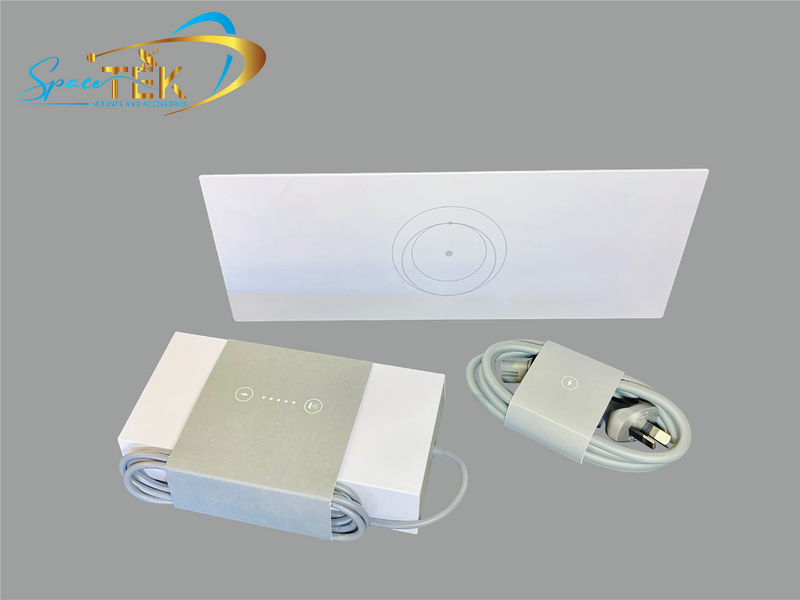
Starlink's Gen 3 router specification sheet lists Wi-Fi 6, tri-band radios and two additional Ethernet LAN ports. It also describes the router as configured for indoor use despite its water-resistance rating. Do not use that rating as permission to mount it outside.
Check the model of the router as well as the dish. Similar-looking Starlink accessories do not necessarily have the same connections or mesh compatibility. When ordering a node, verify compatibility with your existing router and confirm that the required power equipment is included.
Published capacity figures are not a promise of a particular speed in each room. Your device, layout and connection between routers still matter. A useful starting test is to compare the same device beside the main router and in the room where coverage is poor, rather than comparing unrelated speed tests from different homes.
Pair a wireless node or use a wired connection
Wireless pairing
Follow Starlink's mesh setup instructions:
- Finish setting up the main Starlink kit and confirm it is online.
- Choose a suitable position for the mesh node and connect its power supply.
- Keep your phone connected to the existing Starlink Wi-Fi and open the app.
- When the new-node notification appears, select Pair and check the Network screen as it connects.
Do not switch your phone onto the separate, newly appearing STARLINK network of the unpaired node. Start with one node so you can check its effect before adding another.
Wired mesh
The Gen 3 mesh setup guide shows the cable running from an additional LAN port on the main router to the main input port on the second router. Starlink's mesh troubleshooting guide identifies the node's input with the dish icon. These are different roles: do not assume any free socket is interchangeable.
Check the manufacturer's diagram against your actual hardware before connecting it. Each router also needs its appropriate power supply. A wired connection can avoid a weak wireless link between rooms, but the route and installation of that cable need their own assessment.
Place nodes where they can communicate
Starlink recommends keeping wireless nodes within roughly one or two rooms of each other and putting the main router centrally. Use the app to see how nodes connect. A direct link to the main router is preferable to a chain through several other nodes, and adding more than three mesh nodes can reduce performance.
Treat these as placement guidance, not a guaranteed coverage radius. Try a position, check the connection in the room you want to use, and adjust before deciding that another router is necessary.
For a detached shed or office, avoid assuming that an indoor mesh kit will solve the entire link. Distance, the building layout and the available cable route need assessment. Have a network installer evaluate a suitable building-to-building connection rather than improvising buried Ethernet or placing an indoor router outside.
Write down which position you tested and what changed. Keeping the device and test location consistent makes the result more useful than moving everything at once.
If a node will not connect
Use Starlink's mesh troubleshooting guidance before replacing hardware:
- Confirm the main router is online and your phone remains on its Wi-Fi network.
- Move the node closer for the pairing attempt.
- Check that the Starlink app is current.
- Confirm the router combination supports Starlink mesh.
The guide also describes temporarily using an Ethernet connection for pairing, with a LAN port on the main router connected to the dish-icon input on the node. Follow the exact instructions for your hardware.
If a reset is required, use the model-specific reset instructions. Reset methods differ and can erase settings; an arbitrary button-hold sequence is not a substitute for the guide. For an unresolved problem, tell support which routers you have, how they connect, and what the app reports.
Distinguish a node that will not pair from a paired node with poor coverage. Those observations help determine the next step.
Common questions about Gen 3 mesh
Do I enable bypass mode to add a Starlink mesh node?
No. Follow the Starlink mesh pairing flow. Bypass mode disables the Starlink router's Wi-Fi so a third-party router can manage the network. That is a different setup.
Can I mix a third-party mesh node into Starlink mesh?
Starlink's compatibility guidance does not support combining third-party mesh hardware with its mesh nodes. If you want a separate third-party system, use its instructions alongside Starlink's guidance for your exact kit. Check required features, such as guest access, before buying rather than assuming every mesh product provides them.
Will mesh increase my satellite download speed?
The purpose is to improve access to your existing connection in areas with weak local coverage. It does not create additional satellite service capacity. If performance is poor even beside the main router, investigate that before adding nodes.
Do I need a different dish power supply?
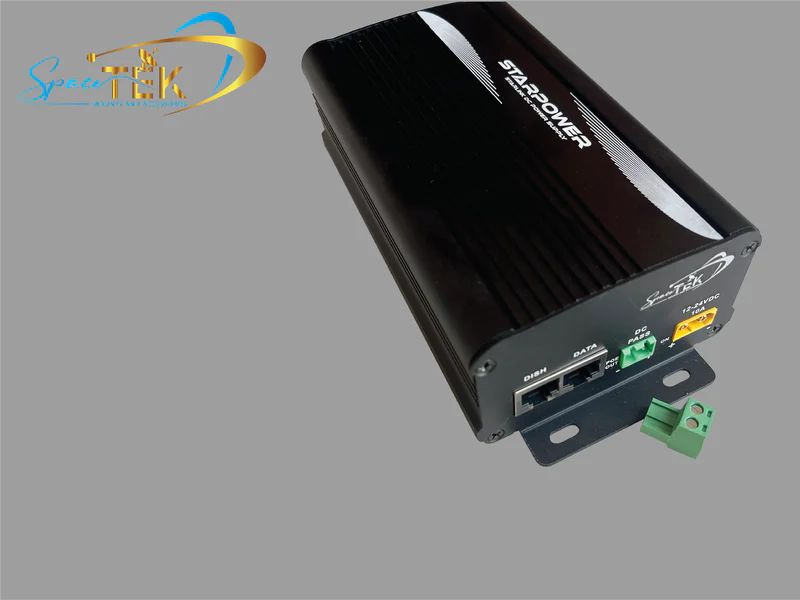
Adding a mesh node is not a reason to change the dish's power arrangement. Use the correct supplied power equipment for each router and keep power-product compatibility separate from Wi-Fi expansion.
Improve coverage one step at a time
Start with a working main connection, identify the weak area and try one compatible node in a useful position. Confirm pairing and test the result before purchasing more equipment. Use a planned wired connection when the layout calls for it, with appropriate help for permanent cabling or separate buildings.
For questions about SpaceTek hardware, contact the team with your router model and intended setup. For pairing or service faults, include the app's information when contacting Starlink support. A clear description of the problem is more useful than assuming a mounting accessory will eliminate every dead zone.


Leave a comment
This site is protected by hCaptcha and the hCaptcha Privacy Policy and Terms of Service apply.