
How to Set Up Starlink Mini in a Car Without the Headaches
Setting up a Starlink Mini in your car is simple once you have the right mount, a stable 12V power setup, protected cabling, a clear view of the sky, and the correct Roam plan for travel around Australia.
Key Takeaways
- Use a proper vehicle mount so the dish stays secure on highways, corrugations, and rough tracks.
- Run the Starlink Mini from a stable DC power supply rather than relying on a loose cigarette lighter setup.
- Route cables carefully so they are protected from heat, sharp edges, water entry, and wind movement.
- Check for sky obstructions before you rely on the connection at camp or on the road.
- Choose a Starlink Roam plan that supports how you want to use the Mini while travelling.
So, the box has arrived. You have plugged the Starlink Mini in at home, connected to the Wi-Fi, and thought, this thing is brilliant. Now you want to take it on the road.
The good news is that the Starlink Mini is genuinely built for mobile use. It is compact, electronically steered, and suitable for travel when it is paired with the right plan and installation. No manual pointing, no fragile dish motor, and no need for a fixed address when you are touring.
The catch is that the box ships with a 240V AC power adapter and no complete 12V vehicle setup. If you are heading out on a remote Aussie run, whether that is the Gibb River Road, a mining site in the Pilbara, or a weekend in the bush, you will need to sort your own power and mounting solution before you leave the driveway.
That is exactly what this guide covers. Whether you are a caravanner doing a big lap, a contractor running a remote job site, or just someone who needs reliable internet away from town, we will walk you through a clean, reliable in-car Starlink Mini setup.
Helpful reading: Starlink Mini Camping Setup
How to Set Up Starlink Mini in a Car for Reliable Off-Grid Travel
When you are touring the vast Australian outback, mobile connectivity can go from patchy to non-existent in a matter of minutes. The Starlink Mini changes that by using phased array technology to connect directly with overhead satellites. Unlike older satellite dishes that needed you to stop, unpack a tripod, and manually point the dish, this compact unit electronically steers its beam.

For travellers, tradies, remote workers, and touring families, that makes a big difference. You can keep maps, messages, work calls, streaming, and weather updates available in places where mobile coverage simply does not reach.
Setting up your dish for off-grid touring means building a system that is as rugged as your vehicle. Whether you are bouncing along corrugated tracks or cruising at highway speed, the gear needs to be securely mounted and efficiently powered. If you want the basics before tackling the vehicle install, start with our guide on How to Set Up Starlink Mini.
Once the dish is on your vehicle, reliability comes down to three things: a clear sky view, a solid mount, and stable power. Get those right and the Starlink Mini becomes a practical internet option for remote Australian travel.
7 Steps to Install and Power Your Starlink Mini on the Road
To help you get online quickly and safely, we have broken the vehicle installation into seven practical steps. Follow them in order and you will avoid the usual headaches, like pulling trim apart twice, dealing with loose cables, or draining the wrong battery at camp.
Step 1: Choose Your Starlink Mount
The first job is deciding where and how the dish will sit on your vehicle. Because the Starlink Mini is light and compact, you have a few strong options depending on your setup:
- Magnetic mounts: Great for steel-roofed vehicles without roof racks. High-strength, silicone-coated magnets grip the roof while helping protect the paintwork.
- Suction mounts: Handy for temporary setups or mounting to smooth panels and glass. They are quick to remove when you do not want the dish left on the vehicle.
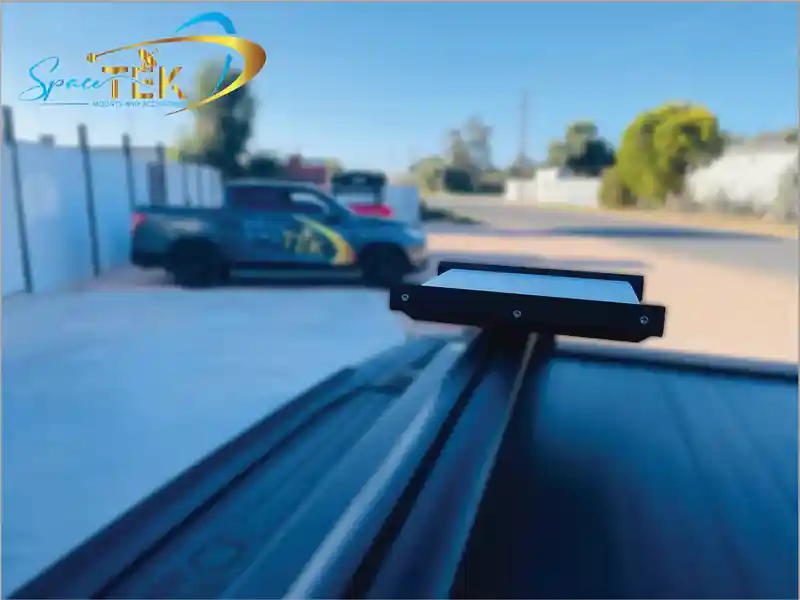
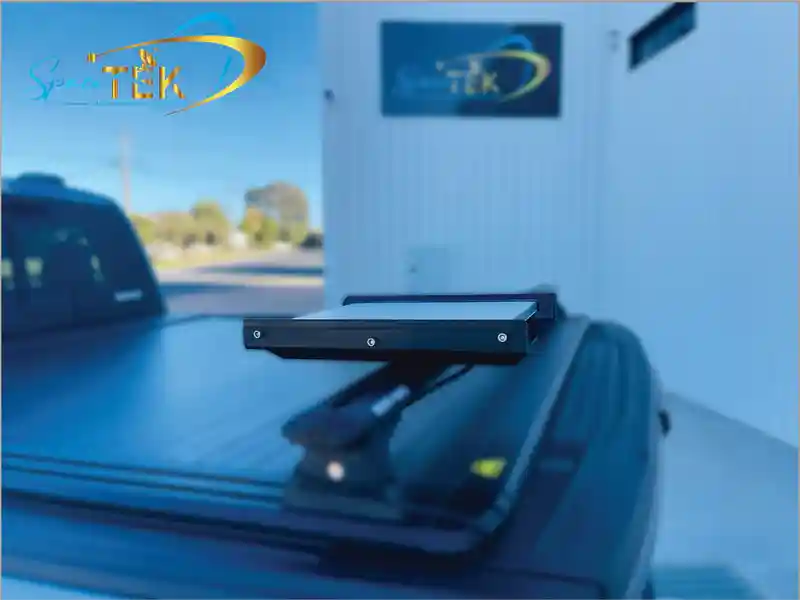
- Roof rack mounts: Best for long-term touring. A dedicated low-profile aluminium mount keeps the dish secure, reduces wind drag, and helps protect it from branches.
When choosing a mount, avoid cheap plastic options. Australian sun, heat, and corrugated roads can punish low-quality materials quickly. Look for precision-machined aluminium or heavy-duty composite Starlink mounts that are built for local conditions.
Step 2: Plan Your Power Supply and Avoid Voltage Drop
The Starlink Mini is efficient, but it still needs clean, steady power. It accepts a wide DC input range, but the important part is making sure the dish receives enough voltage at the dish end of the cable.
If you try to run it from a standard 12V cigarette lighter plug over a long, thin cable, voltage can drop during startup or updates. That can make the dish reboot again and again, which is the last thing you want when you are relying on it away from town.
A better option is a quality DC-to-DC step-up converter or a dedicated StarPower V2 or V3 DC power supply. By boosting the voltage before it travels down the cable, you reduce the risk of voltage drop and get a more dependable setup. For more detail, read our Starlink Mini Power Supply Guide.
Step 3: Run and Protect Your Cables
Cable management is one of those jobs that feels small until something fails on the road. Take your time here and your setup will be much easier to live with.
- Keep cables away from hot exhaust parts, moving suspension components, and sharp metal edges.
- Use rubber grommets or waterproof cable entry points when passing cables through the vehicle body.
- Secure cables along the roof rack with UV-stabilised cable ties or solar clips so they do not flap at speed.
- Leave a small drip loop before the cable enters the vehicle or the dish so rainwater does not track into the connection.
Step 4: Mount the Dish Securely on Your Vehicle
Once the mount is chosen and the cables are planned, fit the dish properly. If you are using a permanent roof rack mount, use stainless steel fasteners and nyloc nuts so vibration does not work anything loose on corrugated roads.
For a secure, aerodynamic, and durable option, the Starlink Mini Mobility Mount is made for in-motion use. It holds the dish at a practical angle, keeps the profile low, and helps reduce wind noise and drag. Slide the dish into the mount until it clicks, then tighten any locking screws by hand so it stays exactly where it should.
Step 5: Check for Obstructions and Align the Dish
With the dish mounted, make sure it has a clear path to the satellites. Phased array dishes do not need to physically rotate, but they still need a wide, unobstructed view of the sky.
Open the Starlink app and use the obstruction tool. It uses your phone camera to scan the sky above your vehicle. Keep these points in mind:
- Trees, roof racks, solar panels, and UHF antennas can block the satellite signal.
- Even a small branch in the wrong spot can cause dropouts or slower speeds.
- If you are parked under shade at camp, you may need to remove the dish from the vehicle mount and place it in a clearer spot.
Step 6: Configure Your Wi-Fi Settings and Network
The Starlink Mini has a built-in Wi-Fi router inside the dish housing. That keeps the setup compact because you do not need to mount a separate router box inside the car.
Once it powers up, connect your phone to the default Starlink Wi-Fi network. The app will prompt you to set a custom network name and a strong password. It is worth doing this straight away so people nearby at a caravan park or campsite cannot jump onto your connection.
Step 7: Select the Right Starlink Plan for In-Motion Use
To use your Starlink Mini while your vehicle is moving, you need the right service plan for mobile use.
A Residential plan is tied to a fixed service address, while Roam plans are designed for travel. If you want internet active while driving, check your Starlink account or app and make sure your plan supports in-motion use. Also check the current data allowance and plan terms before you head off, because options can vary by region and subscription tier.
Direct DC Power vs AC Inverters for In-Car Starlink Setups
When powering gear in a vehicle, plenty of people reach for an AC inverter. That means taking 12V DC battery power from the car, converting it to 240V AC through an inverter, plugging in the standard Starlink power brick, and converting it back to DC for the dish.
It works, but it is not the most efficient way to do the job. You lose battery capacity through conversion losses, and you also add more gear, more heat, and more possible failure points inside the vehicle.
A direct DC-to-DC setup is usually the cleaner choice:
- Better efficiency: Bypassing AC conversion helps your auxiliary battery last longer.
- Less clutter: You do not need to find room for a bulky inverter in the cabin or canopy.
- Lower heat: Direct DC setups usually run cooler, which matters in tight 4WD, ute, and caravan installs.
Using StarPower V2 or V3 DC power supplies lets you run your Starlink Mini directly from your vehicle's auxiliary battery system while maintaining clean, boosted voltage without the inverter losses.
Setting Up Starlink Mini in a Car with 12V DC Power
If you are setting up a 12V DC power system, you have three common connection methods:
- Cigarette lighter sockets: Fine for a temporary parked setup, but the plugs can vibrate loose on rough roads and cause instant power cuts.
- Anderson plugs: A strong option for mobile 12V setups. They lock together securely, handle current well, and are much less likely to shake loose on corrugations.
- Auxiliary battery systems: Wiring your DC-to-DC booster into a fused distribution panel powered by an auxiliary LiFePO4 battery helps protect your starter battery and lets you keep the Starlink running at camp.
For most touring setups, direct DC power is the better long-term solution. It is neater, more efficient, and better suited to the way Australians use 4WDs, caravans, utes, and work vehicles in remote areas.
Protecting Your Starlink Mini from Harsh Australian Conditions
The Australian outback is one of the toughest testing grounds in the world. Between blistering summer heat, dust, heavy tropical rain, coastal air, and relentless corrugations, your Starlink Mini needs to be installed with protection in mind.

To help your dish survive the journey, keep these protection tips in mind:
- Manage heat: Avoid mounting the dish directly onto flat black metal in full summer sun. Heat radiating off a roof platform can cause the dish to throttle or shut down. Keep a small air gap under the dish where possible.
- Protect against dust and water: The Starlink Mini is designed to handle harsh outdoor use, but the power connection still needs to be seated properly. Make sure the cable is plugged in firmly and protected from water tracking along the lead.
- Guard against impacts: If you drive through overgrown tracks, a low-profile aluminium mount can help protect the dish from branches catching an exposed edge.
Mounting Starlink Mini on a Car Roof Safely
When installing a roof mount, safety matters. A dish coming loose at highway speed is dangerous for you and for anyone behind you.
- Clean the mounting surface before using magnetic bases. Dust, mud, or grit under a magnet can reduce holding force and scratch the paint.
- Use stainless steel fasteners with nyloc nuts or thread-locking compound so vibration does not loosen the mount.
- Route cables so they do not catch on branches or create wind whistle at speed.
- If you notice dropouts, slow speeds, or power problems, use our Starlink Mini Troubleshooting Guide to narrow down the issue before your next trip.
Frequently Asked Questions About In-Car Starlink Mini Setups
Does Starlink Mini Work While Driving at Highway Speeds?
Yes, the Starlink Mini can be used in moving vehicles when it is installed correctly and paired with a suitable plan that supports in-motion use. For Australian touring, the important pieces are a secure mount, stable power, and a clear view of the sky.
Can I Run Starlink Mini Directly Off My Car's Cigarette Lighter?
You can use simple cigarette lighter adapters for short, temporary setups, but they are not the best choice for reliable touring. Long cable runs, thin factory wiring, and loose plugs can cause voltage drop or sudden power cuts. For dependable use, a quality DC-to-DC voltage booster or dedicated vehicle power supply is the safer option.
What Is the Difference Between the Built-In Router and a Third-Party Router?
The Starlink Mini has an integrated Wi-Fi router inside the dish, which is convenient and saves space in the car. The trade-off is that the signal may need to pass through metal panels, roof racks, or canopy walls, which can reduce range around camp.
If you need stronger Wi-Fi around a campsite, worksite, or caravan, you can use bypass mode and run a third-party 12V router inside the vehicle. That gives you more control over range, device connections, and network placement.
Get Your Starlink Mini Road-Ready
Setting up your Starlink Mini in a car is one of the easiest ways to get reliable internet for touring, remote work, and off-grid travel. With a secure mount, a clean DC power setup, protected cabling, and the right Starlink plan, you can avoid the common problems of voltage drop, flat batteries, and wind-damaged gear.
At SpaceTek Australia, we design and manufacture high-quality, rust-resistant Starlink mounts and accessories for Australian conditions. From low-profile roof rack mounts to robust 12V power solutions, our gear helps you build a tidy, secure setup that is ready for the long road ahead.
Have questions about your vehicle setup or need help choosing the right mounting option for your next trip? Contact SpaceTek to chat with our local team.

Leave a comment
This site is protected by hCaptcha and the hCaptcha Privacy Policy and Terms of Service apply.