
How to Install Starlink Mini in Your Van: What You Need to Know First
To install a Starlink Mini in your van, you need to secure the dish to your roof using a robust magnetic, suction, or permanent flat dish mount, power it directly from your 12V house battery system using an efficient DC-to-DC step-up converter, route the cable safely inside through a weatherproof cable gland or existing D-pillar access point, and configure your Wi-Fi network via the Starlink app. This setup ensures reliable, high-speed satellite internet almost anywhere in New Zealand while keeping your power consumption minimal.
Getting this right the first time saves you a lot of headaches, especially when you're parked hours from the nearest town with a deadline looming.
If you've spent any time relying on 4G in remote New Zealand, you already know the frustration. Patchy coverage in valleys, dead zones across the outback, and data throttling mid-video-call are the kinds of problems that make a permanent Starlink setup feel less like a luxury and more like essential infrastructure.
The Starlink Mini is purpose-built for exactly this kind of use. It's compact, surprisingly light, draws far less power than older Starlink dishes, and has a built-in Wi-Fi router, meaning fewer devices to power and fewer things to go wrong.
But the dish itself is only half the story. How you mount it, how you power it from your van's 12V system, and how you get the cable inside without compromising your weatherproofing are the details that determine whether your setup is rock-solid or a constant source of frustration.
This guide walks you through every step of a proper Starlink Mini installation in a van, from picking the right mounting solution to wiring it cleanly into your auxiliary battery system.
Why the Starlink Mini is the Ultimate Vanlife Internet Solution
When Starlink first entered the mobile market, van lifers and overlanders had to make do with bulky hardware designed for residential roofs. Those early setups pulled massive amounts of power, required modified storage cases, and forced you to run thirsty AC inverters just to get online.
The Starlink Mini completely changes the equation for off-grid travel. Weighing in at just under 1.1 kilograms (including the kickstand) and measuring roughly the size of a thick laptop, it fits easily into a standard backpack or a shallow drawer in your van build.
The biggest game-changer for off-grid travel is the power draw. While standard dishes easily pull 50 to 75 watts, the Starlink Mini runs highly efficiently, averaging just 20 to 35 watts during active use and dropping to a mere 11 to 17 watts when idle. This means you can run it off a modest dual-battery system or a portable power station for hours without making a dent in your state of charge.
Additionally, the Mini integrates the Wi-Fi router directly into the back of the dish. This eliminates the need for a separate, bulky router taking up precious cabinet space inside your van.
For those who love to move, the Roam plan allows the Mini to remain active while in motion. Thanks to its phased-array antenna, it can track satellites and maintain a solid broadband connection at highway speeds of up to 160 km/h. Whether you need to keep your passengers entertained on long outback stretches or upload files while cruising down the highway, this tiny dish handles it effortlessly.
Choosing the Best Starlink Mini Van Install Mounting Option
How you choose to secure your dish to your vehicle depends entirely on how you travel. Are you looking for a permanent, set-and-forget setup, or do you prefer the flexibility of moving the dish to avoid tree canopy shading?
There are four primary ways to mount your Starlink Mini, each with distinct advantages:
Magnetic Starlink Mounts
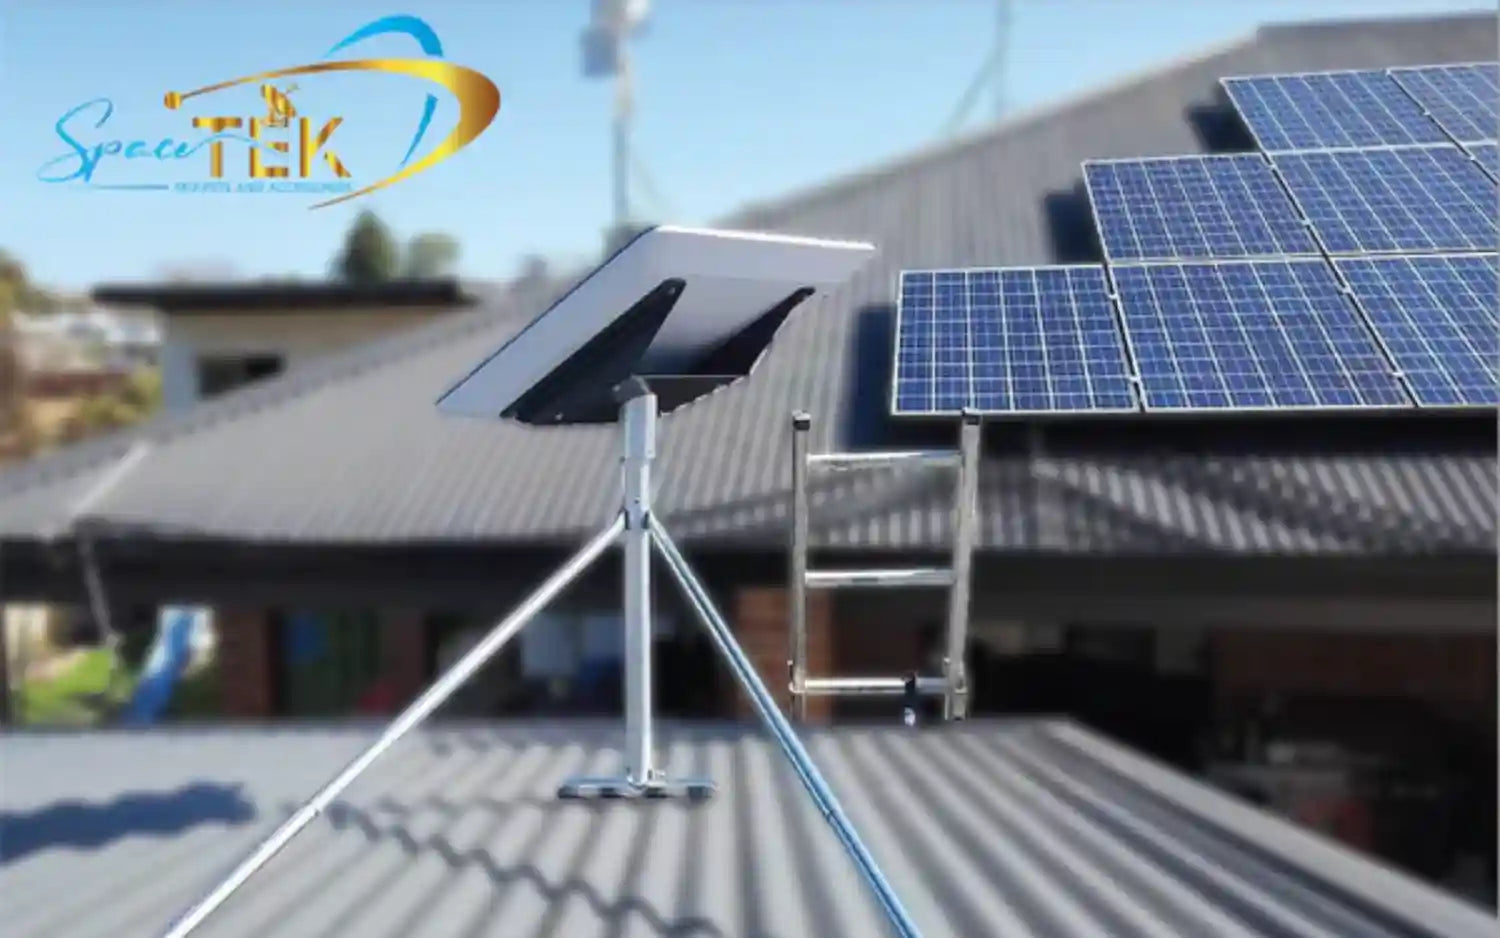
For steel-roofed vans like the Ford Transit, Toyota HiAce, or older Mercedes Sprinters, magnetic Starlink mounts are an incredibly popular choice. These setups use heavy-duty, rubber-coated neodymium earth magnets that clamp onto your roof with immense pull force. They are strong enough to withstand corrugated outback roads and highway speeds, yet they allow you to pop the dish off and place it on a tripod if you are parked under shade trees.
Suction Starlink Mounts
If you have a fibreglass pop-top, a carbon fibre roof, or an aluminium-skinned camper, magnetic options won't work directly. Heavy-duty suction Starlink mounts are a brilliant alternative. High-quality industrial suction cups can easily hold substantial loads on clean, non-porous surfaces. This is a fantastic temporary option if you want to mount the dish to a side window, a sunroof, or the bonnet while parked.
Permanent Roof Mounts
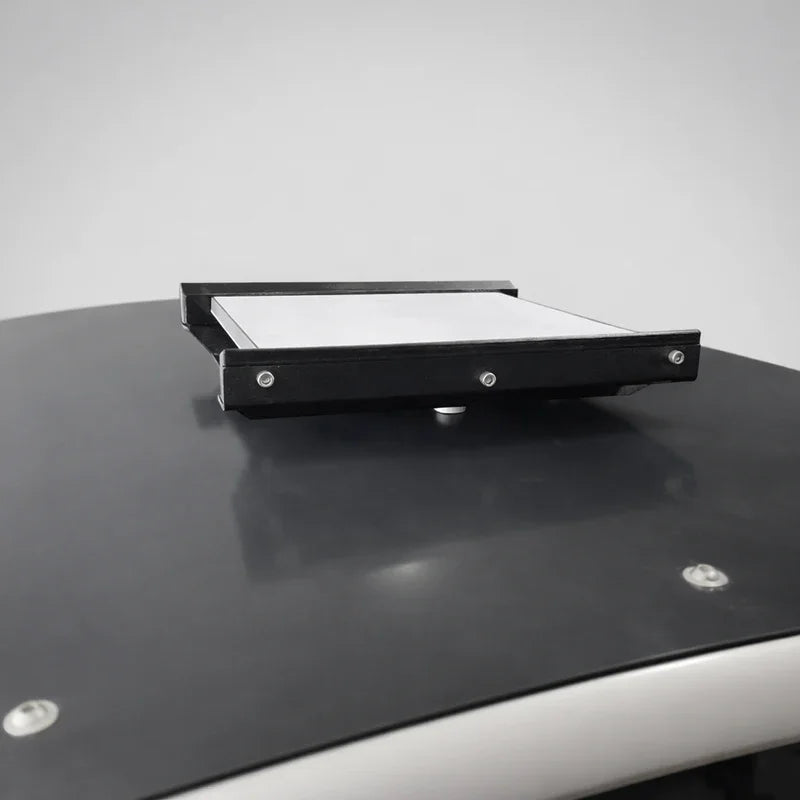
If you want a true "set-and-forget" experience, a low-profile flat dish mount on your van's roof is the way to go. These dish mounts secure directly to your roof panel or crossbars. By keeping the dish completely flat and close to the roofline, you minimise aerodynamic drag, protect the unit from low-hanging branches, and keep the installation looking incredibly clean. For a deep dive into these options, check out our Starlink Mini mounting options complete guide.
To ensure your dish stays exactly where you put it, we highly recommend our robust, New Zealand-made Starlink Mini mobility mount. Precision-engineered from folded, marine-grade aluminium and finished with a durable powder coat, this dish mount is designed to withstand the harshest outback corrugated roads and UV exposure without cracking or rusting.
How to Power Your Starlink Mini on a 12V Van System
One of the most common mistakes people make when setting up a Starlink Mini installation in a van is using the included 240V AC power adapter plugged into an inverter. While this works, it is incredibly inefficient.
Inverters consume power just to stay turned on, and converting your van's 12V DC battery power up to 240V AC, only for the Starlink power brick to convert it back down to DC, wastes a significant portion of your battery capacity.
To maximise your off-grid runtime, you should run your Starlink Mini directly off your 12V DC house battery system. The Starlink Mini is designed to accept a wide DC input range, but running it on a bare 12V line can cause issues. When the dish first boots up or searches for satellites, it experiences power spikes. If your battery voltage drops slightly, or if you are using a long power cable, you will experience a voltage drop. This drop in voltage can cause the Starlink Mini to randomly reboot, dropping your internet connection right in the middle of an important call.
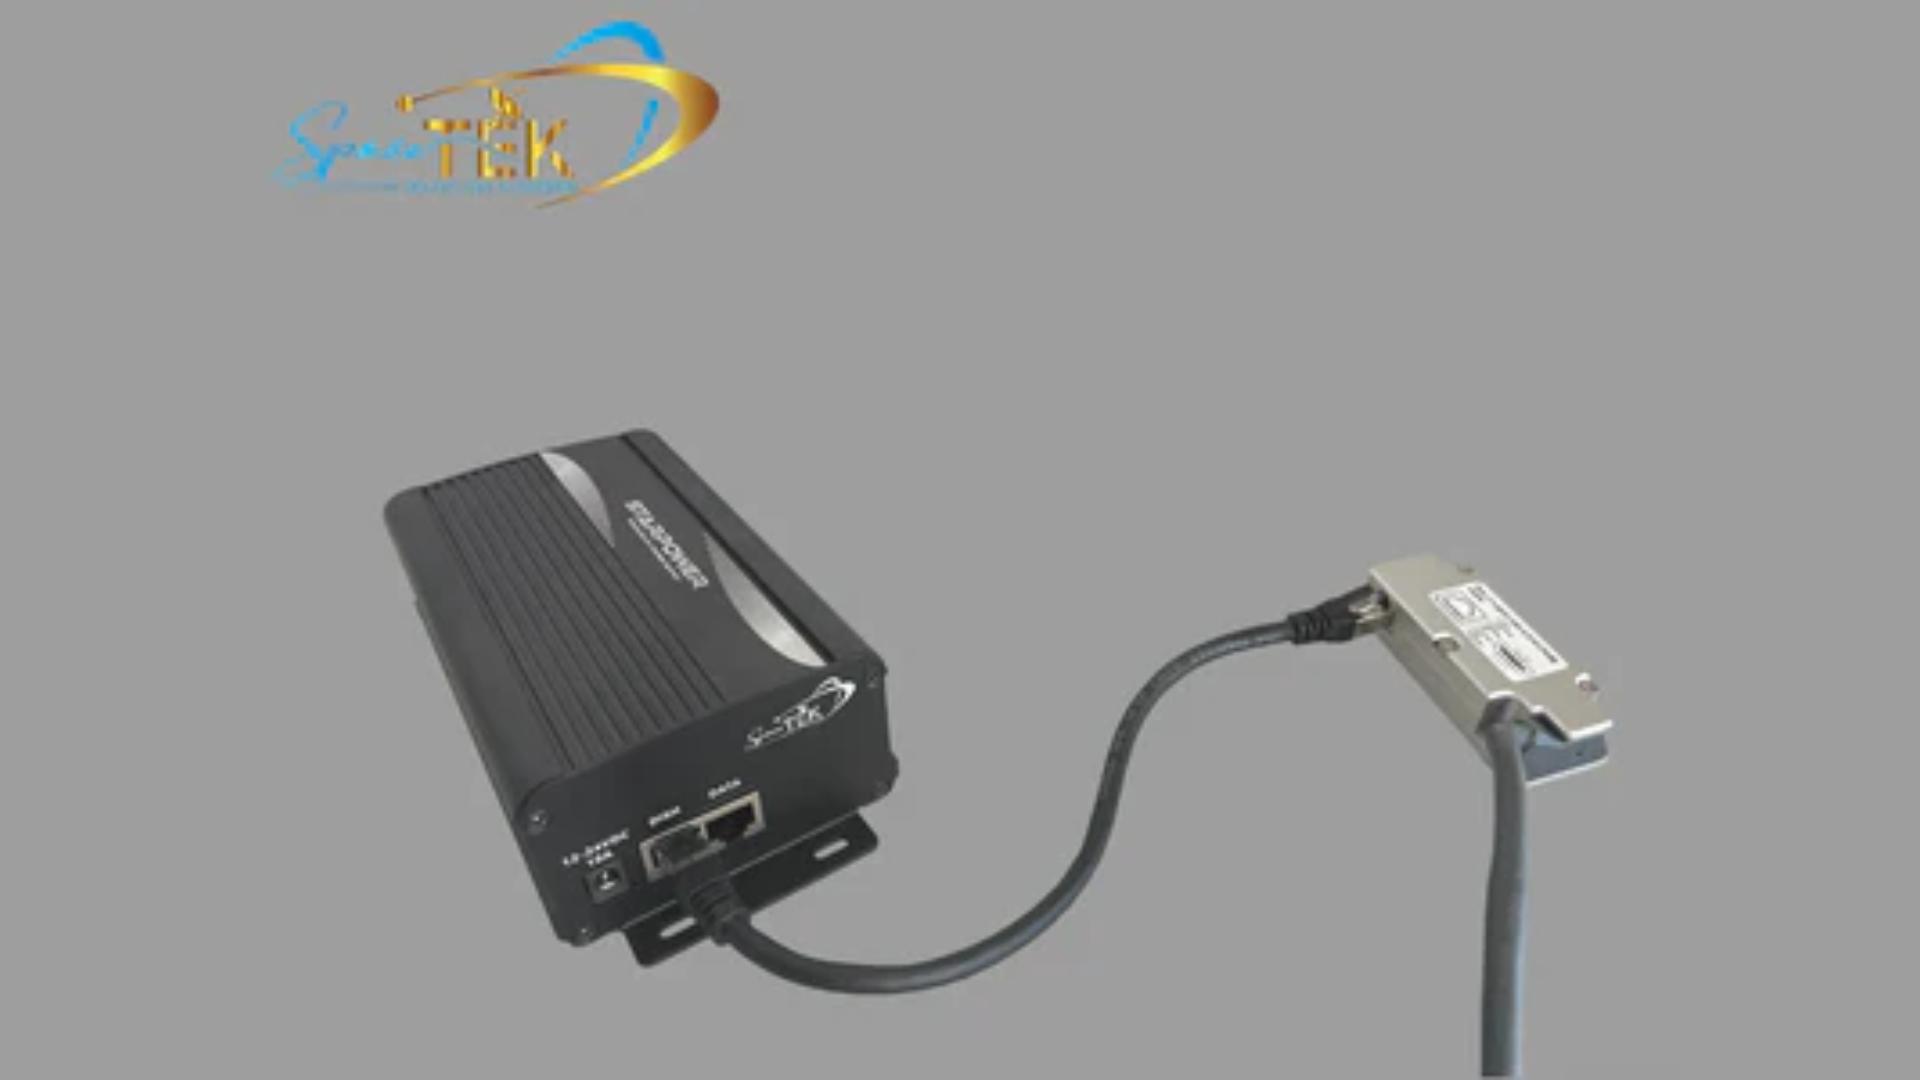
To prevent this, we recommend using our StarPower V2 and V3 DC power supplies. These units act as highly efficient DC-to-DC step-up converters, boosting your van's nominal 12V or 24V power up to a stable 48V. This higher voltage eliminates the risk of voltage drop, allowing you to run long cable runs without any performance loss. These StarPower V2 and V3 DC power supplies offer massive DC-to-DC efficiency advantages over AC inverters, ensuring your auxiliary batteries last much longer off-grid.
If you are planning your power distribution, take a look at our comprehensive Starlink Mini power supply guide to choose the right setup. For a detailed look at how other builders have integrated their power systems, you can also read about this real-world Starlink Mini install guide on FarOutRide.
Step-by-Step Guide to Installing Your Starlink Mini
Once you have chosen your mounting style and power setup, it is time to perform the physical installation. Taking your time during this process ensures your van remains completely weatherproof and your dish has the best possible view of the sky.
Planning Your Starlink Mini Van Install Roof Location
Before you drill any holes or stick down any Starlink mounts, you must carefully plan where the dish will sit on your roof.
First, download the Starlink app on your phone and use the built-in "Check for Obstructions" tool. The Starlink Mini has a wide field of view and needs a clear, unshaded view of the sky to maintain a stable connection with low-Earth-orbit satellites.
When positioning the dish mount on your roof, keep these critical factors in mind:
- Avoid Solar Shading: Ensure your solar panels do not cast shadows on the Starlink dish. Conversely, make sure the flat-mounted dish doesn't block sunlight from reaching your solar cells.
- Keep Clear of Vents and Skylights: Avoid mounting the dish directly next to high-profile roof components like air conditioners, campervan vents, or openable skylights that could block its view.
- Minimise Wind Drag: If you are using a permanent roof dish mount, position it slightly behind a roof rack wind deflector or an air conditioning shroud to shield it from direct high-speed wind blasts.
For more detailed tips on layout planning, consult our Ultimate Starlink Mini RV mounting guide.
Cable Routing and Weatherproofing Your Starlink Mini Van Install
Getting the power cable from the roof into your living space is often the most intimidating part of the install. Fortunately, there are several ways to do this cleanly without creating leaks.
If you want to avoid drilling through your metal roof panel, look for existing entry points. Many modern vans, like the Ford Transit and Mercedes Sprinter, have factory-installed plastic plugs or access points in the D-pillar (the rear-most vertical pillar of the van). You can run your cable down through these cavities and bring it out near your house battery system.
If you do need to drill a hole through the roof, always use a high-quality, marine-grade cable entry gland. These glands use rubber compression seals to clamp tightly around the cable, preventing water from seeping inside. Always apply a generous amount of high-quality polyurethane adhesive sealant (such as Sikaflex) around the gland and any mounting screws to ensure a permanent, watertight seal.
Note that while the Starlink Mini dish itself is weatherproof, using a standard RJ45 ethernet cable in the rear port will void this rating unless you use a specialised, weatherproof connector. If you are running the cable permanently outdoors, stick to the heavy-duty, sealed DC power cable provided in the kit or high-quality aftermarket equivalents.
For a great step-by-step breakdown of a clean, real-world van routing process, you can read this Medium guide on installing Starlink Mini on a campervan roof.
Frequently Asked Questions About Starlink Mini Van Installations
What is the Real-World Power Consumption of the Starlink Mini?
In the real world, the Starlink Mini is incredibly gentle on your batteries. Once it has booted up and locked onto the satellite network, it draws minimal power during active web browsing, video calls, and streaming.
When you aren't actively using the internet, the dish drops into an idle standby state, drawing even less power.
If you want to conserve even more power overnight, you can configure "Sleep Mode" via the Starlink app. This schedules the dish to go into a deep sleep during specific hours, reducing the draw further.
However, because sleep mode still draws some power without providing a usable connection, we always recommend installing a simple physical on/off switch on your 12V DC power line so you can completely shut the system down when it isn't needed.
How Does a Metal Van Roof Affect the Internal Wi-Fi Signal?
Because a van is essentially a large metal box, it acts as a "Faraday cage." This means that if your Starlink Mini is mounted flat on your roof, the metal skin of your vehicle will block or significantly degrade the Wi-Fi signal trying to penetrate inside.
While you might get a decent connection if you are sitting directly under a plastic ceiling vent or skylight, the signal will drop off quickly toward the front or rear of the van.
To solve this, you have two excellent options:
- Bypass Mode: You can log into the Starlink app and put the Mini into "Bypass Mode." This disables the built-in Wi-Fi router on the dish. You can then run an ethernet cable from the dish into a compact, 12V-powered travel router mounted inside your living area. This gives you a perfect, full-strength Wi-Fi signal throughout your entire build.
- Auxiliary Access Point: Keep the Starlink router active for when you want to sit outside the van, but run a secondary, low-power access point inside to boost the signal indoors.
What are the Total Costs of a Permanent Starlink Mini Setup?
When budgeting for your install, you need to factor in a few key components:
- The Hardware: The upfront cost of the Starlink Mini kit directly from Starlink.
- The Mount: A high-quality, rust-resistant aluminium dish mount to secure the unit safely to your roof rack.
- Power Conversion: A dedicated 12V DC-DC step-up converter, such as our StarPower V2 and V3 DC power supplies, to run the dish efficiently off your house batteries.
- Cabling and Glands: High-quality marine-grade cable glands, fuses, and heavy-gauge wire to prevent voltage drop.
- The Service Plan: A monthly Roam plan, which can be paused whenever you aren't travelling.
Building a Reliable Starlink Mini Van Setup
Installing a Starlink Mini in your van is one of the best upgrades you can make for modern off-grid travel. By taking the time to mount the dish securely with a low-profile, rust-resistant aluminium mount, powering it directly from your 12V auxiliary system with a stable DC-DC booster, and routing your cables with proper weatherproofing, you create a seamless, high-speed internet system that is always ready to connect the moment you park.
At SpaceTek New Zealand, we specialise in designing and manufacturing premium, rugged Starlink mounts and DC power accessories built specifically to survive the toughest New Zealand conditions. Whether you are tackling corrugated outback tracks or camping along our salty coastlines, our gear ensures your connection remains rock-solid.
If you have any questions about choosing the right setup for your caravan, 4WD, or campervan, Contact SpaceTek New Zealand today. Our team is always happy to help you get connected for your next big adventure!

Leave a comment
This site is protected by hCaptcha and the hCaptcha Privacy Policy and Terms of Service apply.