
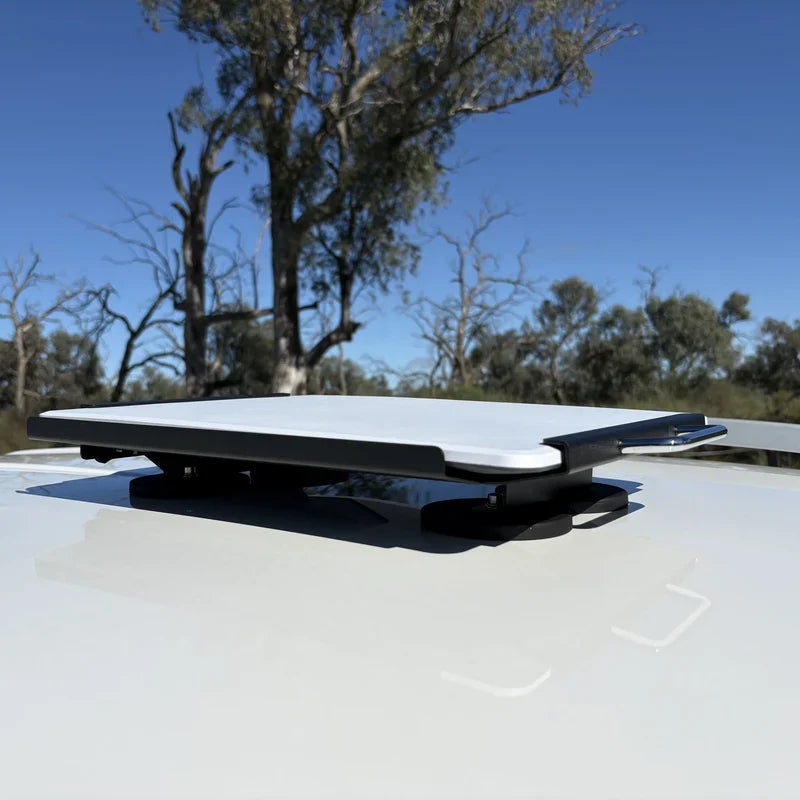
How do you choose the right Starlink V5 mount in Australia?
Choosing the right Starlink V5 mount starts with confirmed compatibility. Check the terminal’s V5-specific attachment method, the mounting surface, cable route and clear sky view before selecting any hardware. A dish mount, pole adaptor or accessory made for an earlier Starlink generation should not be assumed to fit V5.
Start by matching the mounting location to the job at hand. The chosen surface needs to support the fixing method, keep the cable protected from damage and provide the open sky view identified in the Starlink app before the dish is secured.
SpaceTek Australia supplies Starlink-compatible dish mounts and accessories, while Starlink supplies the terminal and service. Confirm the exact terminal model, included parts and product-page compatibility before ordering.
Treat the final position as something to recheck, not a set-and-forget decision. If the dish, cable path or surrounding environment changes, review the Starlink app’s obstruction guidance and inspect the mounting point before using the installation again.
Starlink V5 Mount Compatibility: Key Takeaways
- Confirm that any dish mount, pole adaptor or accessory is specifically listed as compatible with the Starlink V5 terminal.
- The supplied Pipe Adapter and a separate dish mount serve different purposes, so check both the interface and the mounting surface.
- Choose the mounting approach around the installation location, including roof, wall, pole or vehicle requirements.
- Plan safe cable routing, weather sealing where needed and a clear sky view before permanently fixing the dish.
- Check current product-page availability and compatibility rather than assuming hardware for another Starlink generation will fit V5.
I'm Andrew Ziogas, SpaceTek Australia’s Managing Director, and I have seen how easily an otherwise sound installation can be undermined by an assumed fit between Starlink generations. I recommend confirming the terminal model, attachment interface and mounting surface before choosing a dish mount, especially for outdoor and vehicle installations.
What Are the Key Design Features and Mounting Requirements of the Starlink V5 Mount?
Official Starlink V5 information confirms that the terminal uses a V5-specific form factor and includes a Pipe Adapter. That adapter is not evidence that a third-party roof, wall or pole mount is V5-compatible, so confirm compatibility on the relevant product page before purchase.
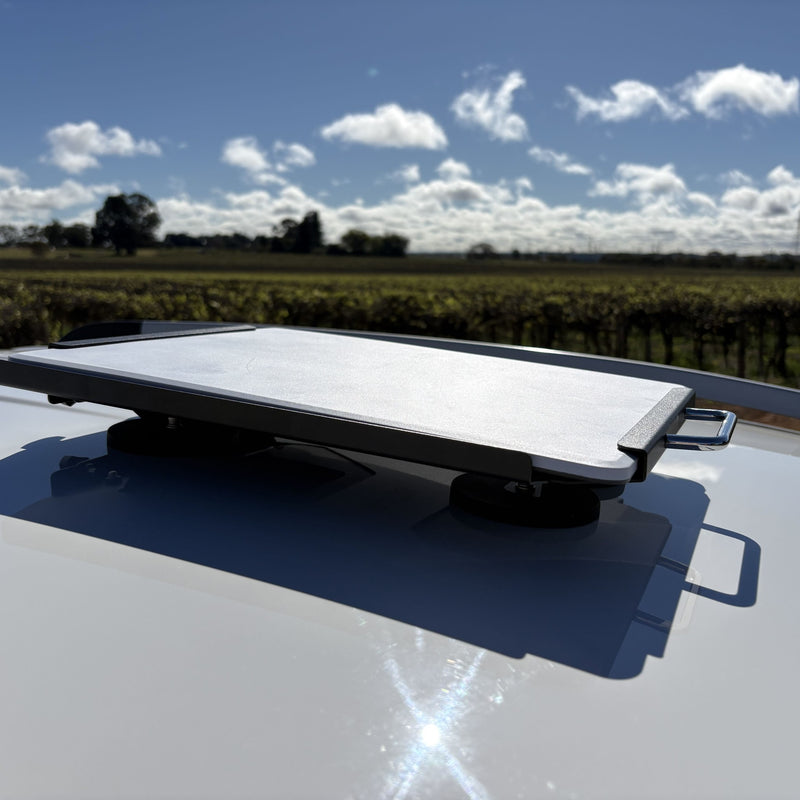
According to the official Starlink V5 Specifications Sheet, the listed V5 terminal specifications relevant to mounting and outdoor placement are:
- Dish dimensions: 384 × 306 × 34 mm
- Dish weight: 1.1 kg
- Kit weight: 3.8 kg
- Field of view: 110 degrees
- Environmental rating: IP67 Type 4
- Operating temperature: -30°C to 50°C
- Mounted operational wind speed: up to 265 km/h
- Snow-melt capability: up to 40 mm per hour
These are terminal specifications, not ratings or guarantees for a separate dish mount, roof surface or installation method.
The V5 Specifications Sheet identifies the included Pipe Adapter, but it does not establish that a Gen 3 or V4 pole adaptor fits V5. It also does not provide a V5 Pipe Adapter pole-diameter range in the source used here.
For a model-by-model overview, see SpaceTek’s Starlink V5 comparison with Mini and Gen 3/V4 hardware, then measure the pole and confirm the exact adapter requirements with Starlink or the applicable V5-compatible product page before installation.
Before selecting mounting hardware, check:
- The terminal model and exact V5 compatibility
- The attachment method supplied with the terminal
- The mounting surface and structural fixing point
- Pole or mast dimensions where an adaptor is required
- Safe cable routing and weather sealing appropriate to the installation
- The Starlink app’s obstruction guidance for the final dish position
A compatibility check should be specific. Start with the Starlink model printed on the kit or shown in the Starlink app, then compare it with the product page’s exact compatibility statement. A product described for Mini, Gen 2, Gen 3, V4 or Performance hardware should not be treated as V5-compatible unless the current listing says so. If a product page does not state the model, contact the supplier before buying rather than relying on a photo or a similarly named accessory.
Which Starlink V5 Mount Options Work Best for Australian Roofs, Walls, Poles, and Vehicles?
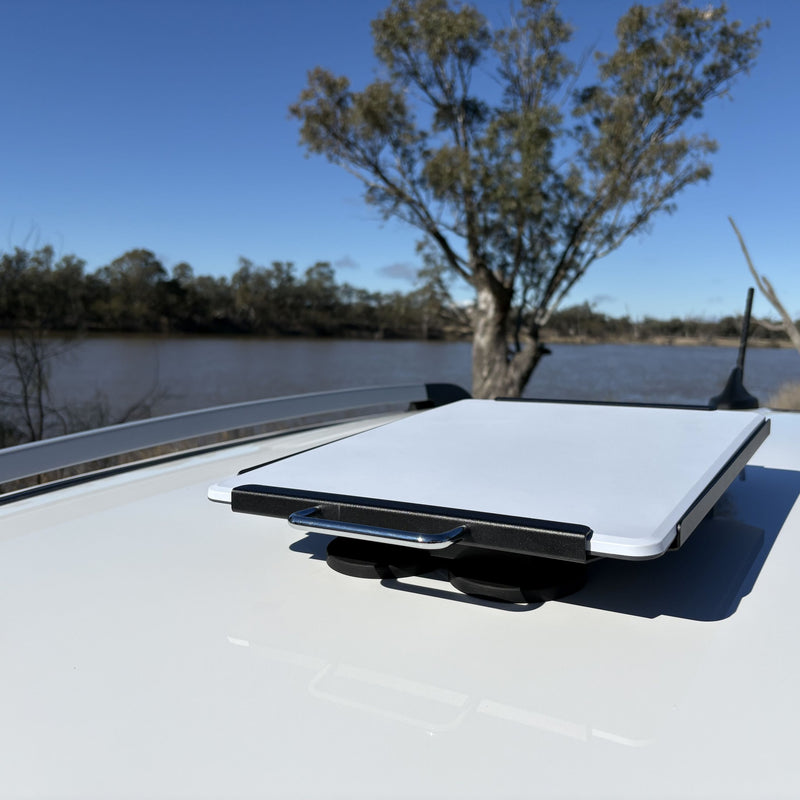
The right Starlink V5 mount depends on the installation surface and the exact V5-compatible attachment method. A roof, wall, pole or vehicle setup may each require different hardware, but compatibility must be confirmed for the individual product rather than assumed from its mounting style.
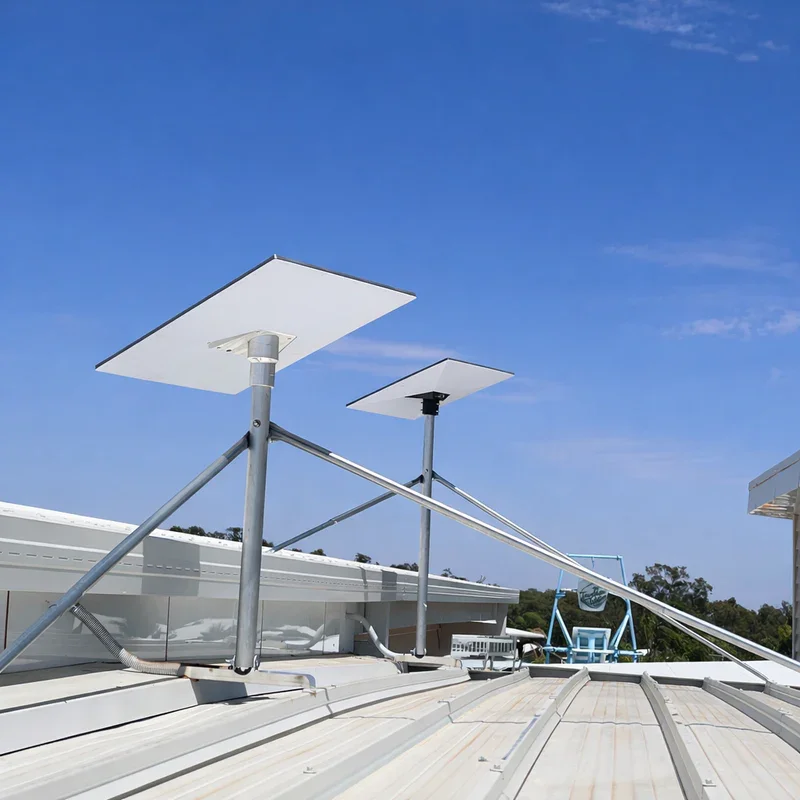
Mounting on Tin and Metal Roofs
A metal-roof installation needs a structurally suitable fixing point and correctly sealed penetrations. Choose a V5-compatible solution only after checking the product’s listed terminal compatibility and the roof manufacturer’s installation requirements.
For any roof installation, check:
- Whether the product page explicitly lists Starlink V5 compatibility
- Whether the roof structure can support the proposed fixing method
- How penetrations will be sealed against water ingress
- Whether the final location has a clear sky view
- Whether the cable can be routed without sharp edges, heat or pinch points
Wall and Pole Mounting Considerations
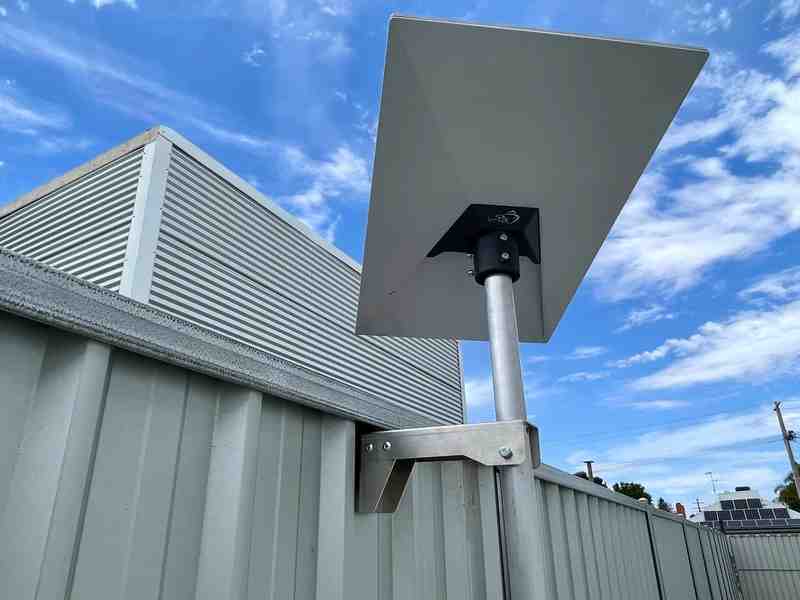
Wall and pole installations can be considered where the mounting surface is suitable and the final location improves sky clearance. Do not use a wall mount, pole mount or adaptor unless its current product page confirms compatibility with the Starlink model being installed.
For a pole installation, the key question is not whether a pole looks similar to one used with another Starlink terminal. Confirm the outside diameter, the adapter interface and the fixing method for the V5-specific hardware. For a wall installation, check the wall material, fixing points, cable path and clearance from eaves or other obstructions. If the listing does not clearly state V5 compatibility, do not treat the product as an option for this article.
Mobile and Vehicle Touring Options
Vehicle and touring installations require an accessory specifically listed for the terminal model and intended use. Do not assume a mount designed for Starlink Mini, Gen 3 or another generation is suitable for V5.
Before using a V5 setup on a vehicle, confirm:
- The product page names Starlink V5 as compatible
- The mounting surface is suitable for the stated installation method
- The dish will be used only as permitted by the Starlink terminal, service plan and product guidance
- Cables are protected from movement, heat, sharp edges and pinch points
How Do You Install a Starlink V5 Mount with a Pipe Adapter?
The official V5 Specifications Sheet identifies a Pipe Adapter as an included part, but the Gen 3 or V4 adaptor image previously used in this article does not verify V5 compatibility. Use only the V5-specific supplied adapter or another accessory whose current product page explicitly confirms V5 compatibility.
Use this verification sequence before installing the V5 Pipe Adapter:
- Confirm that the terminal is Starlink V5 and identify the exact Pipe Adapter supplied with that kit.
- Read the current Starlink instructions supplied with the terminal before fitting the adapter.
- Measure the pole or mounting point and confirm that it meets the adapter’s stated requirements. Do not use the Gen 3 or V4 pole-adapter dimensions for V5.
- Confirm that the mounting surface is structurally suitable and that any penetrations can be weather-sealed correctly.
- Check the intended position in the Starlink app for obstructions before permanently fixing the dish.
- Route the cable away from sharp edges, heat and pinch points.
- Recheck the dish position and cable route after the installation is complete.
Frequently Asked Questions About Starlink V5 Mounts
Is the Starlink V5 mount backward compatible with Gen 2 or Gen 3 hardware?
Do not assume backward compatibility. A mount or adaptor may fit only when its dimensions, attachment method and current product page explicitly confirm compatibility with Starlink V5.
What should you check for outdoor installation?
Outdoor suitability depends on the individual product’s materials, finish, fixing method and installation location. Check the current product page for the exact product details, and do not treat Starlink’s terminal weather specifications as a rating for separate mounting hardware.
Is a Starlink V5 mount included in the standard retail box?
The official V5 Specifications Sheet lists a Pipe Adapter among the kit components. Whether a separate dish mount is needed depends on the installation surface and the V5-compatible hardware selected. Starlink also publishes guidance on a temporary base designed for basic ground setup; confirm that the instructions and included parts apply to the specific V5 kit before relying on it.
The Pipe Adapter and a separate dish mount serve different purposes. The adapter is part of the V5 kit, while a separate mount provides the fixing method for a roof, wall, pole or vehicle surface. Before combining them, confirm that the accessory listing names Starlink V5, states the compatible adapter or interface and matches the dimensions of the mounting point. Do not rely on an image of an earlier-generation adapter as proof of fitment.
Why is structural rigidity important for satellite dish mounts?
A stable installation helps keep the dish in its intended position. It does not guarantee connection quality or broadband performance, which can also be affected by obstructions, service conditions and Starlink system operation.
After a period of strong weather or travel, inspect the mount, adapter connection, cable path and fixing points before using the dish again. Look for loose hardware, damaged cable insulation, movement at the mounting surface or new obstructions from growing trees and nearby structures. If the dish has been moved, use the Starlink app’s guidance again rather than assuming its previous position remains suitable.
Finding the Best Starlink V5 Mounting Solution
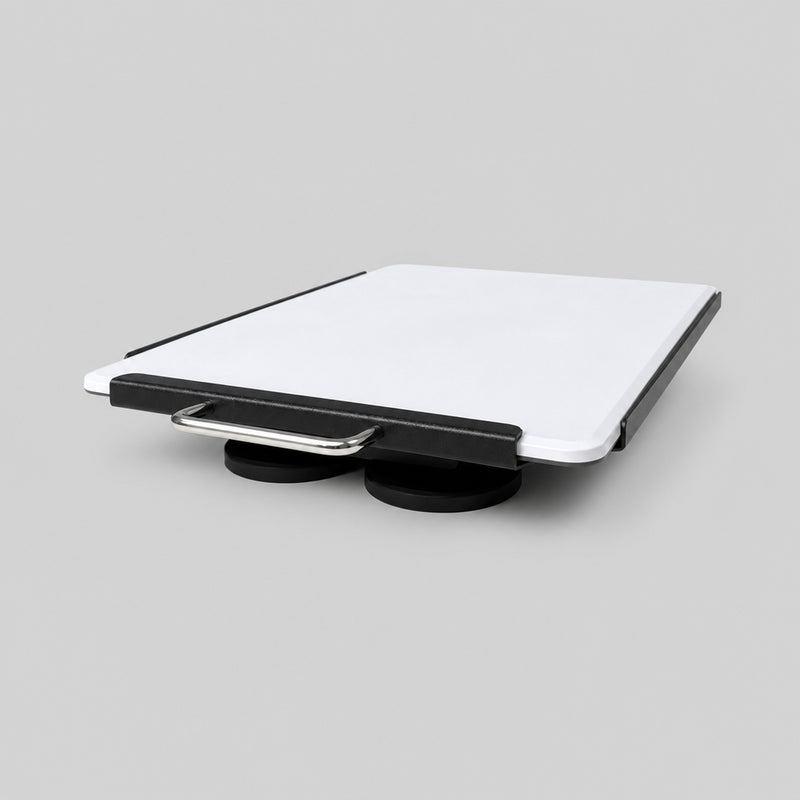
Choosing a Starlink V5 mount starts with confirmed model compatibility, a suitable mounting surface, a safe cable route and a clear sky view. Starlink’s terminal specifications should guide placement decisions, while the product page for any separate accessory should confirm its exact compatibility and availability.
If any of those details are unclear, pause before drilling, fastening or ordering. A product photo, a similar product name or compatibility with another Starlink generation is not enough to establish V5 fitment. Checking the current product listing first helps avoid buying a mount or adaptor that cannot be used with the V5 terminal.
SpaceTek Australia supplies Starlink-compatible mounting hardware, not Starlink terminals or service plans. To review the current V5 range, use the Starlink V5 mounts and accessories collection and confirm the selected item’s availability and V5 compatibility on its product page before ordering.
For model-specific SpaceTek mounting hardware and accessories, browse the relevant collection for your Starlink terminal and confirm compatibility before ordering:

Leave a comment
This site is protected by hCaptcha and the hCaptcha Privacy Policy and Terms of Service apply.