
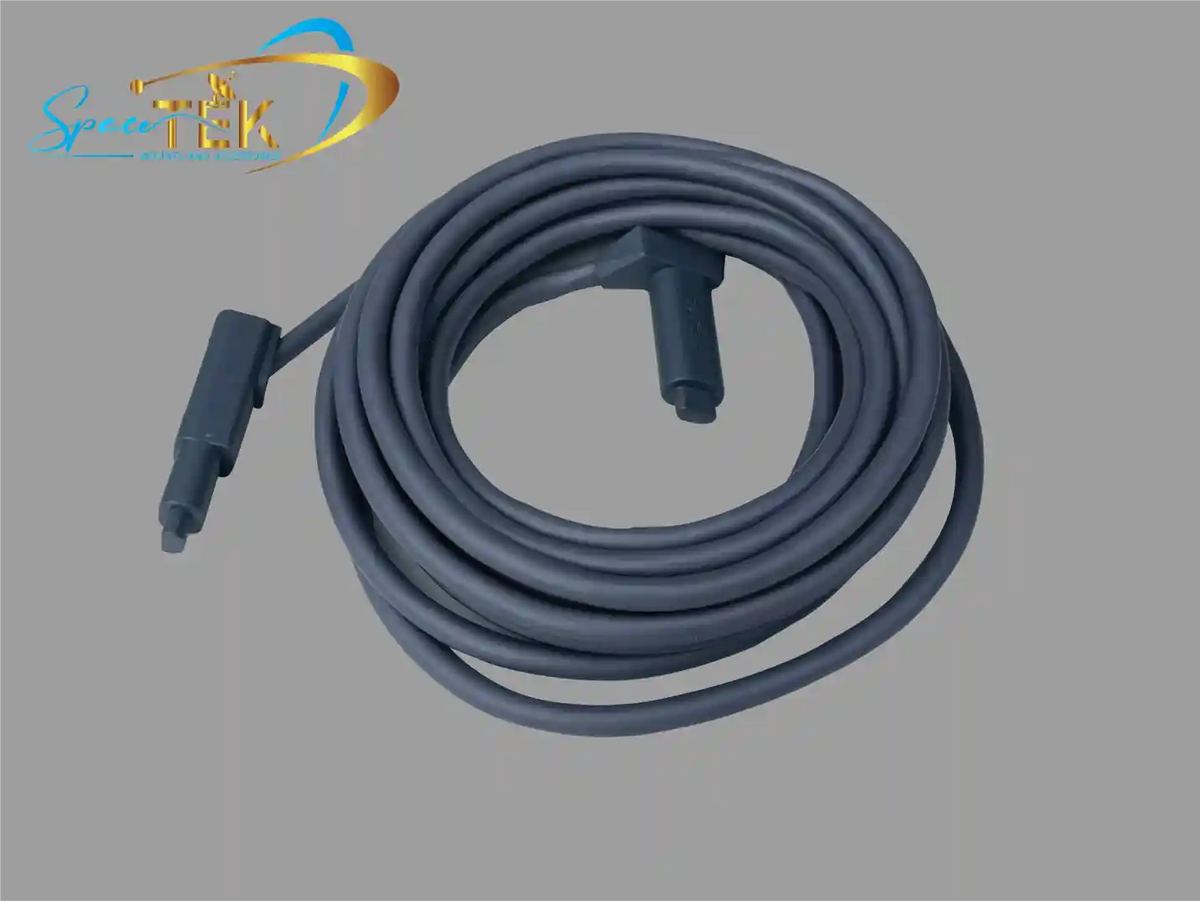
Why Does a Starlink UV Resistant Cable Matter in the Australian Sun?
A Starlink UV resistant cable matters because harsh Australian sun can make ordinary indoor cable jackets brittle, cracked, and unreliable. If your dish cable is exposed outdoors, choose a UV-stabilised, outdoor-rated cable and protect vulnerable runs with conduit.
Key Takeaways
- Use a UV-stabilised outdoor cable rather than a thin indoor patch lead for exposed roof, wall, caravan, and remote-property installs.
- Choose solid copper conductors and suitable shielding so the cable can carry power and data reliably in hot, windy, and coastal conditions.
- Protect vulnerable runs with heavy-duty conduit, drip loops, sealed wall entries, and UV-rated clips.
- Match the cable to your Starlink generation, because Gen 2, Gen 3, and Mini setups use different connector and power arrangements.
- SpaceTek Australia offers Starlink cables and accessories designed for Australian Starlink installs.
SpaceTek Australia designs Starlink accessories, DC power solutions, and mobile Starlink mounts for the conditions local installs face. In this guide, we will walk through cable compatibility, length limits, outdoor routing, and simple ways to protect your connection through heat, harsh sun, rain, and coastal weather.
Why Do Outdoor Starlink Cables Struggle in Extreme Australian Conditions?
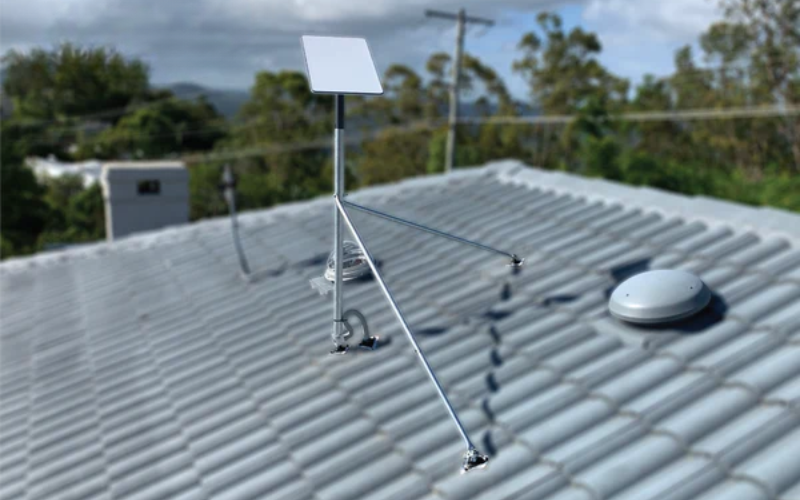
Rooftop satellite hardware in Australia cops a lot: strong ultraviolet exposure, summer heat, heavy rain, dry wind, and coastal salt spray. Your cable might look like a small part of the setup, but when it sits outdoors every day, it has to work hard.
When a standard indoor cable is installed on an exposed roof, sunlight starts breaking down the outer sheath. In plain English, the jacket dries out, hardens, and forms tiny cracks. Once those cracks open up, rainwater, condensation, and humidity can reach the internal twisted pairs.
Because Starlink uses Power over Ethernet to send data and power through the same cable, moisture or damaged insulation can cause dropouts, restarts, throttling, or damaged ports. Understanding why cheap Starlink cables fail in the heat also shows why low-quality wiring can turn a reliable satellite connection into a constant maintenance headache.
What Makes a Starlink UV Resistant Cable Different?
Not all network cables are made for the same job. Indoor patch cables are fine inside the house, where they are protected from sunlight and weather. Outdoor communication cables use tougher jacket materials and UV stabilisers so they can handle long-term exposure.
A good outdoor-rated cable usually has a CMX jacket with carbon black or ultraviolet inhibitors. These additives help absorb and disperse UV radiation before it breaks down the jacket. Some premium outdoor cables also carry both CMX Outdoor and CMR flame-retardant ratings, which can be useful when a run moves from outside into protected internal areas.
Instead of thinking about it as a technical spec sheet, look at the practical difference:
- Indoor cable is not designed for direct sun and can crack quickly outdoors.
- UV-resistant outdoor cable is made for rooftops, exterior walls, masts, caravans, and mobile Starlink setups.
- A thicker outdoor jacket helps resist moisture, movement, and day-to-day weather exposure.
- Higher-quality cable construction helps keep both data and power delivery stable.
Why Do Shielding, Cable Thickness, and Weather Sealing Matter?
Durability is not only about the outer jacket. The inside of the cable also affects how cleanly data travels and how consistently power reaches the terminal.
- Conductor material: Solid copper is the safer choice for dependable power delivery. Copper-clad aluminium can create higher resistance and more heat under load, so it is not a smart pick for outdoor Starlink runs.
- Cable thickness: Lower AWG numbers mean thicker conductors. For longer Starlink cable runs, thicker solid conductors help reduce voltage drop and improve stability.
- Shielding: Foiled or shielded twisted-pair cabling helps protect the data signal from interference caused by nearby solar inverters, vehicle systems, or radio gear.
- Waterproof glands: Outdoor connection points need to be sealed properly. IP-rated glands and weather-protected connectors help stop wind-driven rain from getting into sensitive pins.
For a broader look at protecting your whole setup, see how Starlink accessories can weatherproof your setup.
Which Starlink Cable Works With Your Hardware?
The right cable depends on which Starlink hardware you are using. Before buying a replacement or planning a longer run, check the connector style and how the system receives power.
- Starlink Standard Actuated Gen 2 uses proprietary rectangular SPX connectors on the dish and router ends. These moulded plugs have rubber seals, so you need generation-specific replacement leads or suitable adapter assemblies.
- Starlink Standard Gen 3 uses RJ45 Ethernet connectors housed inside an oversized weatherproof boot. This gives installers more flexibility with premium aftermarket cabling, including the Starlink Gen 3 replacement cable premium outdoor rated Cat6.
- Starlink Mini works differently because it has an integrated router in the dish body and uses a dedicated DC input or compatible USB-C Power Delivery setup rather than standard PoE from an indoor router.
For mobile travellers and off-grid setups, running power through a dedicated DC-to-DC system is a better option than relying on an AC inverter. A native DC power setup can improve efficiency, reduce battery draw, and let you bypass the standard Starlink router for custom network setups.
How Long Can a Starlink Cable Run Be?
Every metre of wire adds a little resistance. Over a longer run, that resistance can create voltage drop, which may lead to reboots, dropouts, or slower performance when the dish is working hard.
Standard Starlink systems include a 15-metre cable, which suits many residential installations. If you need a longer pathway to reach a clear mounting position, keep the total run within the limits recommended for your hardware and cable type. For longer or more exposed installs, it is often better to place the power supply closer to the dish inside a suitable weather-protected enclosure, then run outdoor-rated shielded Ethernet back to your indoor network.
For DC-powered systems such as Starlink Mini, distance depends on wire thickness, input type, connector quality, and the stability of the regulated supply:
- USB-C Power Delivery suits short, direct runs using a heavy-duty cable rated for the required power delivery standard.
- A regulated DC supply can suit longer runs when paired with properly sized conductors, protected connections, and a compatible DC power system.
How Should You Install and Protect Outdoor Starlink Cabling?
Even a high-quality UV-stabilised cable needs a thoughtful installation. A clean route helps the cable last longer, keeps water away from wall penetrations, and reduces the chance of frustrating dropouts later.
How Do You Route and Protect a Starlink UV Resistant Cable?
Follow these steps for a neater, longer-lasting outdoor run:
- Map the route before securing the cable. Plan a direct path from the dish mount to your internal connection point, avoiding sharp metal edges, exhaust flues, and areas where the cable could be stepped on or rubbed.
- Maintain a proper bend radius. Do not force the cable around tight corners, because that can pinch the copper conductors or damage the shielding.
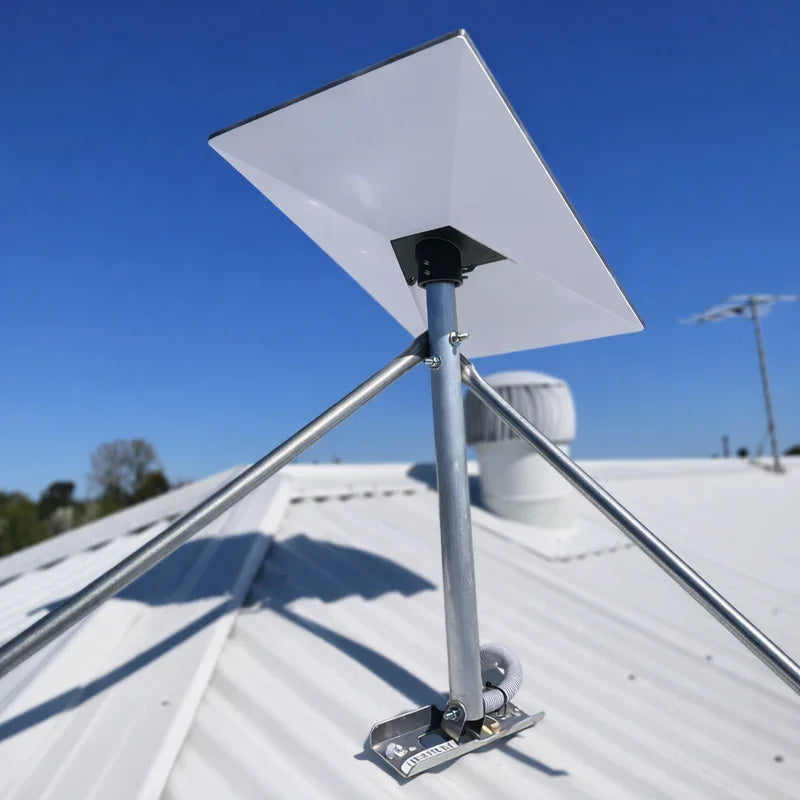
- Use protective conduit where the cable is vulnerable. Heavy-duty UV-stabilised electrical conduit is a smart choice near ground level, in wildlife-prone areas, and anywhere the cable may be knocked or chewed. Detailed routing ideas are covered in our Starlink cables complete guide.
- Fasten the cable without crushing it. Use UV-rated clips or wide cable ties and keep them snug, not tight.
- Add drip loops before wall entries. A downward loop helps water drip off the cable instead of tracking into the wall or socket.
- Seal wall penetrations carefully. Angle the hole slightly upward from the outside and seal the opening with exterior-grade neutral-cure silicone and rubber entry grommets.
What Do Starlink Owners Usually Ask About Outdoor Cables?
Can a UV-resistant Starlink cable be buried directly in the ground?
No. A standard Starlink cable, even one with a UV-resistant CMX jacket, should not be buried directly in soil. Underground runs deal with constant moisture, soil movement, rocks, and accidental damage from digging.
If you need to run a cable underground between an outbuilding, mast, or off-grid array, place it inside heavy-duty, UV-stabilised electrical conduit and follow the relevant local electrical guidance.
What is the difference between Gen 2 and Gen 3 Starlink cable connectors?
Gen 2 Standard Actuated hardware uses proprietary rectangular SPX connectors. These connectors carry power and data through a custom layout, so you need proprietary cables or suitable adapter kits.
Gen 3 hardware uses RJ45 Ethernet connectors housed inside a weatherproof sealing boot. That makes field repairs, neat routing, and aftermarket outdoor-rated cabling much easier.
How does high heat affect Starlink cable performance and speeds?
As temperatures rise, electrical resistance inside metal conductors increases. In cheap, thin, or aluminium-core cables, that extra resistance can reduce power delivery across longer runs.
In hot conditions, a poor cable can contribute to dropouts, speed issues, or repeated restarts. A quality solid copper cable with an outdoor-rated jacket gives the setup a much better chance of staying stable through Australian summer conditions.
How Do You Build a Starlink Cable Setup That Lasts?
A reliable satellite internet setup depends on the cable connecting your dish to your power source and router. In harsh Australian conditions, indoor-grade wiring or unshielded cables can lead to sun damage, moisture ingress, and annoying network dropouts.
By choosing an outdoor-rated, UV-stabilised CMX cable with solid copper conductors, adding conduit where needed, and using well-made hardware, you can protect your connection for the long run. SpaceTek Australia manufactures precision-machined and folded aluminium dish mounts, DC power systems, and protective accessories built for tough local installs. Explore the full SpaceTek range of Starlink cables and accessories to build an exterior satellite setup that stands up to the elements.

Leave a comment
This site is protected by hCaptcha and the hCaptcha Privacy Policy and Terms of Service apply.