Why Your Starlink Needs a Mesh System
Mesh router Starlink setups are essential for eliminating WiFi dead zones and ensuring reliable coverage throughout your home or property.
Starlink's satellite internet delivers high-speed connectivity to remote areas across Australia. But even the fastest internet connection won't help if your WiFi signal can't reach every corner of your property.
That's where mesh WiFi systems come in. They use multiple routers, called nodes, working together to create a single, unified network throughout your home.
Most rural properties and larger homes need more than a single router. Thick walls, multiple levels, and distance from the primary router create frustrating dead zones.
A mesh system solves this by spreading coverage evenly. Each node communicates with the others to ensure seamless connectivity as you move around.
I'm Aaron Wroblewski, founder of SpaceTek Australia, and over my 25 years in remote communications, I've helped countless Australians optimise their mesh router Starlink setups for reliable connectivity in challenging conditions. At SpaceTek, we've seen how proper mesh configuration transforms Starlink performance, especially when paired with secure, weather-resistant mounting solutions.
The concept of mesh WiFi is simple yet incredibly effective for extending your internet reach. Instead of a single router struggling to broadcast a signal through your entire home, a mesh system strategically places multiple WiFi access points. These points work together seamlessly, creating a single, robust network that eliminates frustrating dead zones and weak signal areas. For a deeper dive into why you might need such a system, explore our insights on why you may need a Starlink mesh WiFi router extender.
How to Optimise Your Mesh router Starlink Network
Once your mesh router Starlink system is set up, a few key strategies can help you get the most out of your network.
Optimal Placement for Your Mesh Nodes
Strategic placement is paramount for a high-performing mesh network. Our rule of thumb is to place mesh nodes no more than one to two rooms apart from each other. This ensures a strong, reliable connection back to the primary router or other nodes. If a node is placed too far away (e.g., three or more rooms), it might struggle to maintain a strong link, resulting in poor connectivity.
Consider these best practices:
- Central Location: Try to ensure at least one of your routers is centrally located within your property to provide a good starting point for your network.
- Avoiding Obstructions: Thick walls, large appliances, and even dense furniture can significantly degrade WiFi signals. Try to place nodes in open areas, away from major obstructions.
- Utilise the Starlink App's WiFi Scanner: This handy tool helps you visualise signal strength. Place your node where the signal shows as green for optimal performance.
- Limit Node Count: While it might seem counterintuitive, using too many mesh nodes can actually decrease overall mesh performance. We recommend using no more than three mesh nodes for the best balance of coverage and speed.
By following these simple guidelines, you can significantly maximize your Starlink WiFi range for full coverage across your property.
Using a Third-Party Mesh System with Starlink
Some users might prefer to integrate a third-party mesh system for advanced features or existing hardware. You absolutely can use a third-party router or mesh system with Starlink, but there are some important considerations. Before diving into your internal network configuration, a high-performance network starts with a stable signal from your dish. A secure, weather-resistant mount ensures your Starlink dish can deliver the consistent, high-speed data your mesh system needs to perform at its best.

Bypass Mode: To use a third-party router effectively, you'll need to enable "Bypass Mode" on your Starlink router via the Starlink app. This essentially turns the Starlink router into a modem, allowing your third-party system to handle all routing and Wi-Fi functions.
Ethernet Adapter: Depending on your hardware version, you may need an Ethernet adapter to connect a third-party router. This adapter provides the necessary Ethernet port to connect your external router.
Performance Considerations: Starlink cannot guarantee the performance or compatibility of third-party networking equipment. While many third-party mesh systems offer excellent features, some advanced app functionalities of Starlink might not work as expected when using non-Starlink hardware. For a detailed comparison, see our article on Starlink mesh vs third party: Which reigns supreme?.
Troubleshooting Common Mesh WiFi Issues
Even with the best setup, sometimes little hiccups occur. Here are some common troubleshooting tips for your mesh router Starlink network:
- Weak Node Connection: If a particular area has poor signal, it's often due to the mesh node being too far from the primary router or another strong node. Reposition the node closer, ideally within one to two rooms, and use the Starlink app's WiFi Scanner to find a better spot.
- Pairing Failures: If a new node isn't pairing, try restarting the Starlink app, ensuring your phone is connected to the primary Starlink Wi-Fi, and power cycling the new node. Sometimes, a quick restart is all it takes.
- Slow Speeds: Slow speeds can be a symptom of poor node placement, too many nodes (more than three can sometimes degrade performance), or chained nodes. Optimise placement and consider a wired backhaul for better performance.
- Power Cycling Routers: A simple yet effective troubleshooting step for many network issues is to power cycle all your routers (unplug them for 30 seconds, then plug them back in, starting with the primary router).
- Repositioning Nodes: Always use the Starlink app's WiFi Scanner to guide your node placement. This visual tool helps you identify signal dead zones and areas with strong coverage, allowing you to position your mesh nodes for maximum efficiency.
For more comprehensive advice on maintaining a smooth connection, refer to our guide on boosting Starlink Wi-Fi: Simple steps for better connectivity.
Conclusion: A Stable Network Starts with a Stable Dish
Setting up a robust mesh router Starlink system is a game-changer for anyone looking to eliminate WiFi dead zones and enjoy seamless, high-speed internet across their entire property. Whether you opt for a simple mesh setup or integrate an advanced third-party solution, the benefits of extended coverage and consistent performance are undeniable.
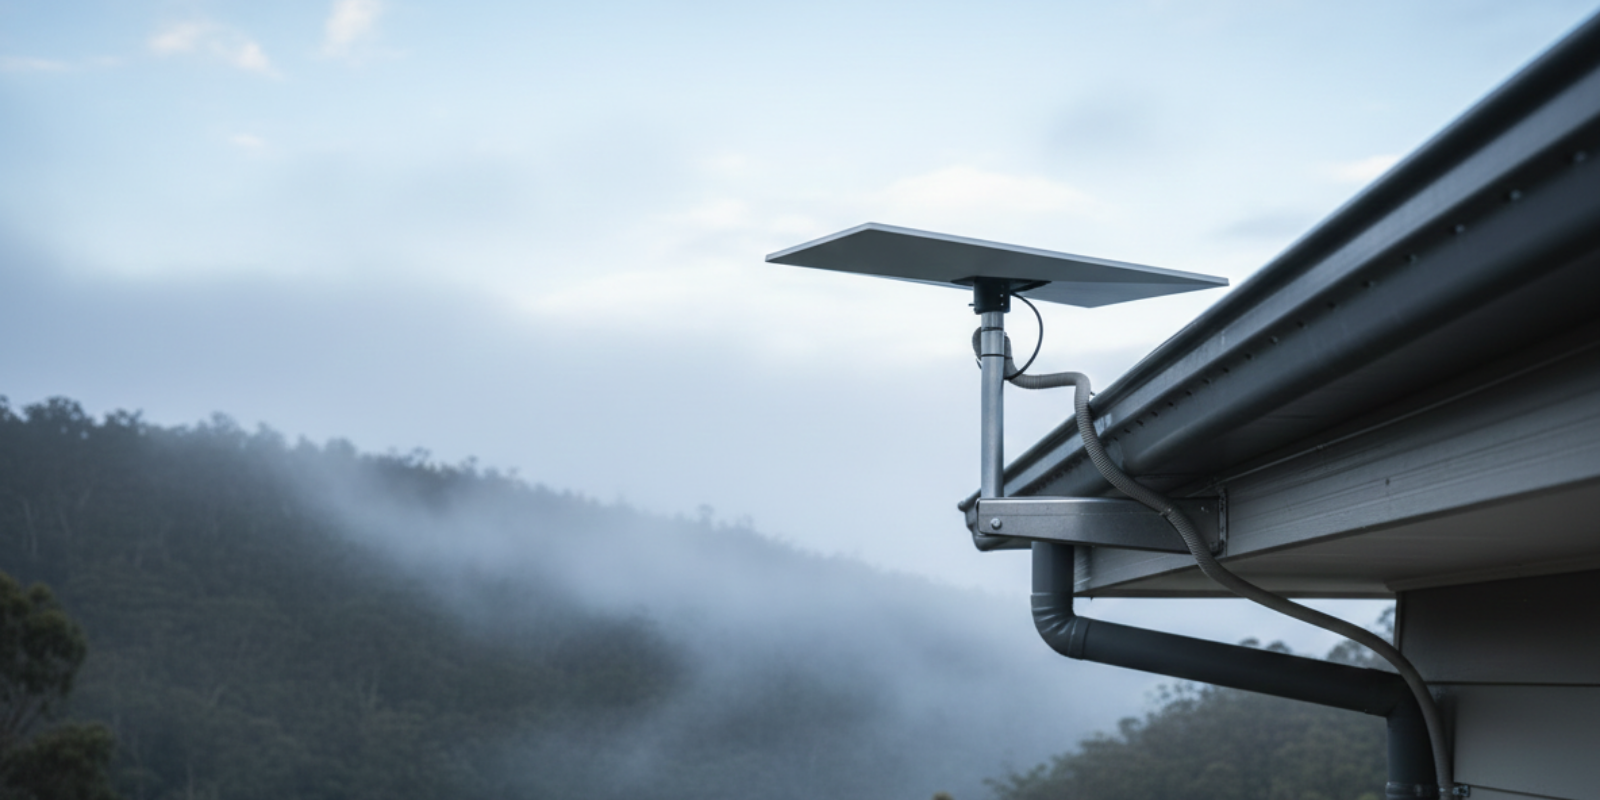
However, the foundation of any reliable Starlink internet experience, regardless of your internal WiFi setup, begins with a stable and correctly installed Starlink dish. Even the most advanced mesh network won't perform optimally if your dish isn't securely mounted with an unobstructed view of the sky.
At SpaceTek Australia, we understand the unique challenges of Australian conditions. That's why we specialise in providing high-quality, rust-resistant mounts designed specifically for your Starlink self-installer kits. Our solutions ensure your dish remains secure and performs optimally, even in harsh weather, providing the unwavering signal needed for your mesh network to truly shine.
We pride ourselves on using durable materials like aluminium and carbon fibre in our mounting solutions, guaranteeing reliability and longevity. A secure dish is the first and most critical step towards a truly stable and high-performing Starlink internet connection.
Explore our range of Starlink Mounts to find the perfect solution for your setup. For expert advice on securing your Starlink for optimal performance, get in touch with our team.
Leave a comment
This site is protected by hCaptcha and the hCaptcha Privacy Policy and Terms of Service apply.