Choosing the Right Starlink Mount and Accessories for Your Setup
_compressed.webp?alt=media&token=56ac50b5-4634-4424-8eca-9d8894eb7dbb "rv starlink mounting bracket")
The best mounting strategy is rarely a one-size-fits-all solution. Your choice of Starlink mounts and accessories depends heavily on your specific dish model, how often you move, and the environmental conditions you expect to face. Factors like satellite signal interference can be mitigated by choosing a mount that provides the clearest possible view of the sky, especially in forested or mountainous regions.
Residential vs Commercial Starlink Installations
While many of our customers are adventurers, we also support fixed installations. Residential users generally prioritise permanent positioning. For these setups, we focus on heavy-duty wall mounts or roof-integrated brackets that offer clean cable management and a "set and forget" experience.
Commercial users, on the other hand, often require fleet-wide solutions. These installations demand industrial-grade durability to withstand constant operation. Whether it’s for a remote mining site or an emergency response vehicle, commercial mounts must handle high-vibration environments and provide backup connectivity that doesn't fail when the terrain gets rough.
Choosing Starlink mounts and accessories for permanent vs portable use
One of the biggest debates in the caravan community is whether to go permanent or portable. Each has distinct advantages.
- Permanent Mounts: These are bolted or bonded to your roof. They offer the lowest setup time—essentially zero once installed. They are ideal for those who want internet the moment they pull into a rest stop.
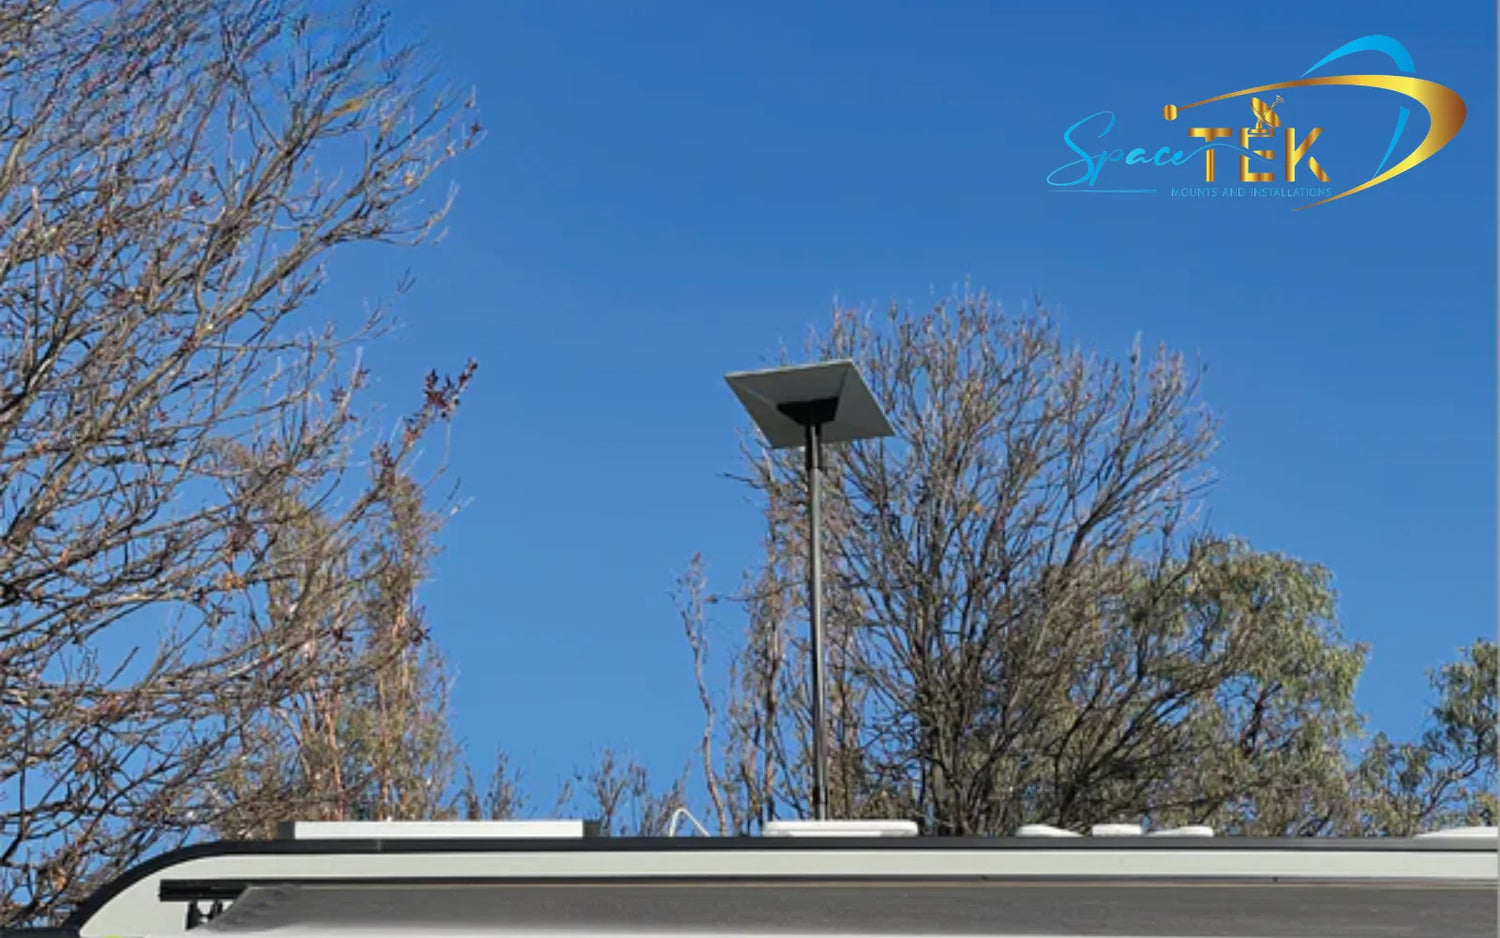
- Portable Mounts: If you often camp under heavy tree cover, a portable pole or tripod mount is a lifesaver. It allows you to park your van in the shade while placing your dish 10 or 15 metres away in a clear patch of sky.
Many savvy travellers actually use a hybrid approach: a permanent roof mount for quick stops and a portable backup for tricky campsites.
Choosing Mounts Based on Your Starlink Dish
Compatibility is the first thing you must verify. You can check your specific hardware version via this Starlink dish compatibility resource.
- Starlink Gen 2 (Actuated): Known for its "kickstand" and internal motors, this dish requires mounts that allow it to tilt and rotate freely unless you have opted for a "flat-mount" modification.
- Starlink Gen 3 / Standard (Non-Actuated): This model is larger and lacks motors. It relies on a kickstand or a pipe adapter. It requires a mount that can hold it at a fixed angle, usually around 20 degrees, for optimal performance.
- Starlink Mini: The ultra-portable choice. Because it’s lightweight, it’s perfect for suction cup mounts or small magnetic brackets on a 4WD canopy.
- Starlink Performance: This is the large, high-performance dish used for in-motion and commercial applications. It requires a heavy-duty, permanent flat-mount frame.
Why Quality Starlink Mounts and Accessories Matter in Australian Conditions
In Australia, the environment is often the biggest threat to your hardware. Cheap, generic brackets might look fine on a website, but they often fail when subjected to the harsh reality of the Outback. We focus on Starlink RV mounting kit essentials that are specifically engineered for our unique conditions.

- UV Exposure: The Australian sun is brutal. Plastic mounts that aren't UV-rated will become brittle and crack within months. We utilise high-grade aluminium and UV-stabilised materials to prevent this.
- Corrugated Roads: If you’ve ever driven the Oodnadatta Track, you know that vibration can shake a vehicle apart. A standard rv starlink mounting bracket can vibrate loose, potentially sending your dish flying. Quality mounts feature locking fasteners and vibration-dampening pads.
- Salt Air: For coastal campers, corrosion is a constant battle. Rust-resistant aluminium and stainless steel hardware are non-negotiable for longevity.
- Stable Regulated Power: It’s not just about the mount; it’s about the power. Standard 12V caravan systems can fluctuate, causing your Starlink to reboot or drop signal. Using a dedicated DC-DC regulator ensures your dish receives a steady flow of power regardless of your battery's state of charge.
SpaceTek Starlink Mounts and Accessories for Every Setup
At SpaceTek Australia, we don't just sell parts; we provide engineered solutions for infrastructure independence. Our custom kits are designed right here in Australia to ensure they fit the specific needs of local caravanners and 4WD enthusiasts. We believe in doing it properly the first time so you can enjoy the view instead of troubleshooting your tech.

Starlink Mini Mounts and Accessories
The Starlink Mini has changed the game for light-and-fast travel. Because it’s so compact, it allows for creative Starlink RV and portability accessories. We offer lightweight magnetic mounts and suction cup systems that allow you to attach the Mini to your vehicle's roof in seconds. Its low power draw makes it perfect for off-grid setups where battery conservation is key.
Starlink Gen 2 Mounts and Accessories
The Gen 2 dish remains a favourite for many. Since it features a motor, mounting it requires a bit more thought. Our Starlink mounts for RV: complete guide details how to use pole adapters and roof mounts that allow the dish to orient itself without hitting obstructions. We also provide cable management clips to keep that proprietary Gen 2 cable from flapping in the wind.
Selecting an rv starlink mounting bracket for Gen 3 Dishes
The Gen 3 dish (often called the Standard V4) is the latest powerhouse. It doesn't have motors, so it needs a sturdy base. Our Starlink RV mount for caravan, van or RV: complete installation guide 2026 recommends using a pipe adapter or a dedicated flat-mount frame. These ensure the dish stays at the correct angle to maintain a solid lock on the satellite constellation.
Starlink RV and Caravan Mounts and Accessories
For those taking the "Big Lap," we offer specialised hardware like ladder mounts and draw bar clamps. As discussed in our RV roof revolution, using a ladder mount is a great way to gain height without drilling into your roof. If you have a roof rack, our "T-track" compatible brackets slide right into the rails of popular brands like Rhino-Rack or Front Runner.
Starlink Performance Mounts and Accessories
The Flat High Performance dish is the gold standard for in-motion use. These mounts are designed for permanent installation on the roof of a motorhome or a commercial van. They are built to handle highway speeds and extreme weather, ensuring that even in a downpour at 100km/h, your connection remains rock solid.
Starlink Cables and Accessories
The cable is often the weakest link in a mobile setup. We provide best Starlink RV accessories for adventurers including waterproof cable passthroughs. These allow you to run your cable through the wall of your caravan without risking leaks or dust ingress. We also specialise in DC power kits that allow you to run your Starlink directly off your 12V or 24V battery system, eliminating the need for an inefficient inverter.
Essential Features to Look for in an rv starlink mounting bracket
When you are shopping for a mounting solution, don't just look at the price. Look at the engineering. A good Starlink RV mounting guide will tell you that the following features are essential:
- Weather Resistance: Look for powder-coated aluminium or 316 marine-grade stainless steel.
- Stability: The bracket must be able to withstand 100km/h winds (and the wind resistance of driving at those speeds).
- Cable Protection: Does the mount have a way to secure the cable? A loose cable will eventually fail due to "wire fatigue" from constant movement.
- Ease of Installation: You shouldn't need a degree in engineering to install it. Look for "bolt-on" solutions that use existing holes or simple clamps.
- Power Management: Ensure your mounting location allows for short, efficient cable runs to your power source.
Common Starlink Mounting Mistakes to Avoid
We’ve seen it all—from dishes duct-taped to ladders to cables pinched in windows. To keep your internet running smoothly, avoid these common pitfalls:
- Ignoring Obstructions: Even a single tree branch or a nearby air conditioning unit on your roof can cause significant signal drops. Always check the Starlink app for obstructions before finalising your mount position.
- Using Non-Weatherproof Hardware: Zinc-plated bolts from the local hardware store will rust within weeks in coastal environments. Always use stainless steel.
- Poor Cable Routing: Never leave your cable dangling. Wind will whip it against the side of your van, stripping the insulation. Use adhesive clips or conduit.
- Vibration Neglect: On corrugated roads, a mount that isn't properly tensioned will vibrate loose. This can strip the threads on your mounting points or damage the dish's internal sensors.
- Waterproofing Failures: If you drill into your roof, use a high-quality marine sealant like Sikaflex. A small leak today is a rotten roof tomorrow.
Best Starlink Mounting Solutions for RVs, Caravans, Homes, and Off-Grid Travel
The "best" solution really depends on your lifestyle. If you are a Starlink RV Australia enthusiast, you likely move every few days. In this case, a quick-release pole mount or a roof-mounted flat frame is your best bet.
For those who enjoy RV adventures, the goal is often to get as far away from civilisation as possible. In these remote areas, signal reliability is paramount. A mount that gets your dish above the roofline of your van can make the difference between a 5Mbps and a 150Mbps connection by clearing the "horizon" of the vehicle itself.
If you’re a digital nomad working from your van, we recommend a permanent roof mount combined with a high-quality DC power conversion kit. This allows you to stay connected while moving (if using the appropriate dish) and ensures you aren't wasting precious battery power running an AC inverter all day.
Frequently Asked Questions About Starlink Mounts and Accessories
We get a lot of questions about how to properly secure these systems. For a deep dive into temporary options, see our guide to Starlink RV compatible suction cap mounts.
What is the best Starlink mount for caravans and RVs?
For most people, a low-profile roof mount or a sturdy ladder mount is the best balance of security and ease of use. If you frequently camp in forests, a portable pole kit is an essential secondary accessory.
Can I leave my Starlink mounted while driving?
Only if you have a specific "In-Motion" rated dish and a permanent, flat-surface mount designed for highway speeds. Standard Gen 2 and Gen 3 dishes should generally be stowed or locked into a specific high-speed rated frame before you hit the road.
Are Starlink Gen 2 and Gen 3 mounts interchangeable?
Generally, no. The Gen 2 uses a proprietary "plug and click" mast, while the Gen 3 uses a kickstand or a different diameter pipe. You will need a specific adapter to use a Gen 2 mount with a Gen 3 dish.
Conclusion
When it comes to your mobile internet, the motto should be: invest once, install right. High-quality Starlink mount and accessories are more than just a piece of metal; they are the foundation of your connectivity. By choosing hardware designed for the rigours of the Australian landscape—UV-resistant, rust-proof, and vibration-tested—you ensure that your Starlink hardware lasts as long as your vehicle.
Don't let a cheap bracket or a poor power setup ruin your off-grid experience. Focus on durability and signal reliability so you can stay connected, whether you're parked by the beach or deep in the red centre.
Leave a comment
This site is protected by hCaptcha and the hCaptcha Privacy Policy and Terms of Service apply.