
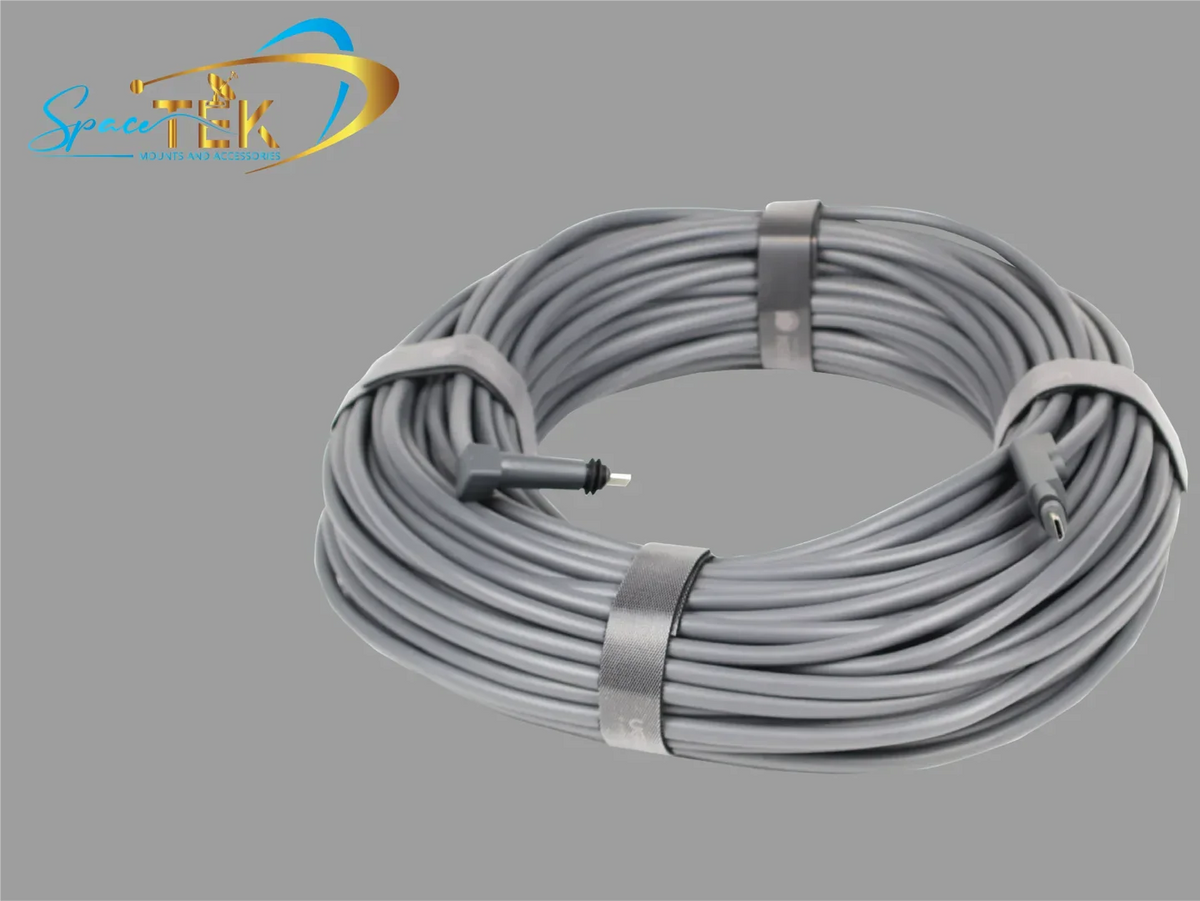
Why Getting Your Starlink Cable Connector Right Matters From Day One
To get your Starlink system running perfectly, you need the correct Starlink cable connector. Gen 1 uses a proprietary round connector, Gen 2 uses a proprietary SPX connector, and the current Gen 3 standard uses a standard RJ45 connector with IP68 waterproofing. Knowing exactly which connector your dish needs saves time, money, and headaches, whether you are setting up at a remote homestead, on the back of a caravan, or on a boat deck.
Here is a fast answer based on your Starlink generation:
- Gen 1 (round dish): Proprietary round connector, not interchangeable with standard Ethernet
- Gen 2: Proprietary SPX connector with IP67 waterproofing, still not standard RJ45
- Gen 3 (current standard): Standard RJ45 connector with IP68 waterproofing, compatible with shielded Cat6 Ethernet cables
The bottom line: If you have a Gen 3 Starlink dish, you can extend or replace your cable using widely available shielded outdoor Ethernet cables. No proprietary adapters are required. Keep total cable length under 45 metres to avoid signal and power issues.
That shift to a standard RJ45 interface is genuinely significant for anyone living off-grid or in regional New Zealand. It means you are no longer locked into Starlink's own cable lengths, and sourcing a replacement does not require a specialised order. For those on a rural property where the dish needs to sit on a fence post 30 metres from the house, that flexibility is a practical game-changer.
The catch? Not just any Ethernet cable will do. The Gen 3 system carries both power and data over a single cable using Power over Ethernet (PoE), which means the cable needs proper shielding and the right gauge to handle the load without voltage drop over longer runs.
Understanding the Starlink Cable Connector Across Generations
To get the most out of your satellite setup, you first need to understand the evolution of the Starlink cable connector. Over the years, SpaceX has redesigned this connection point multiple times. Each change has directly impacted how we mount our dishes, route our cables, and power our systems in the wild.
If you are trying to make sense of your current setup, taking a moment to look at the plug ends will save you a lot of trial and error. For a deep dive into the latest system, check out our guide on Decoding Starlink Gen 3: The Essential Guide to Its Cable and Connector Type.
How Gen 3 Differs from Gen 1 and Gen 2 Proprietary Plugs
The original Gen 1 Starlink system featured a round dish with a permanently attached cable that terminated in a standard, albeit bulky, RJ45 plug. While standard Ethernet was nice, the fact that you could not unplug the cable from the dish made routing it through walls a massive chore.
To fix this, the Gen 2 rectangular dish introduced the proprietary SPX connector. While this plug was much smaller and easier to thread through tight spaces, it came with its own set of headaches. The SPX plug is entirely proprietary. If a hungry cockatoo decided to chew through your line, you could not simply run down to the local electronics store for a replacement. You had to wait weeks for an official replacement cable to arrive in the post. The Gen 2 connector also carried an IP67 rating, which was decent but still prone to water ingress if the rubber seals degraded in the harsh New Zealand sun.
The Gen 3 Standard: Standardised RJ45 Connectors
With the release of the Gen 3 system, Starlink listened to user feedback and returned to a standardised interface. The Gen 3 dish features an RJ45 port hidden behind a weatherproof, friction-fit rubber shroud.
This means the standard Gen 3 cable is, at its core, a high-quality Cat6 Ethernet cable. It uses standard RJ45 plug ends on both sides, making the entire system far more user-friendly. If you damage your cable while off-roading or setting up camp, you can temporarily swap in a standard shielded Ethernet cable to get back online.

Technical Specifications and Weatherproofing of the Gen 3 Cable
While the Gen 3 system uses standard RJ45 connectors, the electrical demands of the hardware mean you cannot just use the cheap, unshielded blue patch lead you found in the back of your office cupboard. Understanding the technical specifications is vital to keeping your system running smoothly without overheating or dropping packets. For a complete look at the technical landscape, read our Starlink Cables Complete Guide 2026.
Wire Gauge, Shielding, and Speed Limits
The official Gen 3 cable is built to handle both high-speed data and heavy power loads simultaneously. Here is what is happening under that grey outer jacket:
- Conductor Gauge: The cable uses 26 AWG oxygen-free copper (OFC) wire. Some heavy-duty aftermarket alternatives use thicker 24 AWG wire to minimise resistance over long distances.
- Shielding: It features an 8-core shielded construction (usually U/FTP or S/FTP) to block out electromagnetic interference (EMI) and radio frequency interference (RFI) from the dish itself and other nearby electronics.
- Data Speed: The cable easily supports data speeds up to 2000 Mbps, ensuring you have plenty of overhead for the Gen 3 router's high-speed capabilities.
- Power Delivery: It carries high-voltage Power over Ethernet (PoE++) to power the dish directly from the router or a dedicated DC-to-DC power supply.
If you want to understand how these dimensions affect your physical installation, the Starlink Cable Connector Dimensions guide details the exact physical tolerances required to fit third-party plugs into the recessed port of the dish.
Weatherproofing and Outdoor Durability
New Zealand's climate is notoriously brutal on outdoor electronics. Between the blistering summer heat in the outback and the salty, humid air along our coastlines, cables take a beating.
The Gen 3 cable connector addresses this with an upgraded IP68 waterproof rating. This is a step up from the Gen 2's IP67 rating, meaning the connection point can handle continuous immersion in water under specific conditions. The plug end features a custom-molded silicone rubber boot that creates a tight, vacuum-like friction seal when pushed into the dish's recessed port.
The outer jacket of the cable is made from a UV-resistant, outdoor-rated CMX PVC material. This prevents the cable from becoming brittle, cracking, and letting moisture seep into the copper cores under intense sunlight.
Extending and Replacing Your Cable Setup
One of the most common questions we get from caravanners and rural property owners is how to extend the standard cable. The standard kit cable is usually around 15 metres, which is fine for a basic home setup but often falls short when you are trying to clear tall trees on a campsite or mount your dish on a high roof. For a comprehensive look at your options, check out our guide on Starlink Cable Extension Adapters: Your Guide to Seamless Connectivity.
Can You Use Standard RJ45 Ethernet Cables?
Yes, you can use standard RJ45 Ethernet cables to extend or replace your Gen 3 cable, but you must follow a few strict rules to avoid damaging your hardware:
- Always Use Shielded Cable (STP): Unshielded (UTP) cables do not have the ground wire or foil shielding needed to protect the system from interference. Running unshielded cable can cause intermittent connection drops.
- Stick to Solid Copper: Avoid Copper Clad Aluminium (CCA) cables. CCA has much higher electrical resistance than pure bare copper, which causes massive voltage drops and can lead to the cable overheating under high power loads.
- Use Cat6 or Cat6a: This ensures the wire gauge and twist rate are optimized for both Gigabit data speeds and PoE power delivery.
Choosing a Compatible Starlink Cable Connector for Extensions
If you need to join two cables together to get extra reach, you must use a high-quality, waterproof RJ45 coupler. A standard indoor plastic joiner will corrode within weeks if left exposed to the elements.
When planning your extension, keep the total cable run under 45 metres (150 feet). Because the Gen 3 dish draws significant power, extending the cable beyond this limit without a signal booster or a dedicated power injection setup can cause a severe voltage drop. This drop in voltage will cause your dish to reboot constantly, especially when it is working hard to melt snow or searching for a signal in heavy rain.
Powering Gen 3: DC Power Options and Consumption
For 4WD enthusiasts, caravan travellers, and off-grid homesteaders, running a standard AC inverter just to power a Starlink system is highly inefficient. Inverters waste valuable battery power converting 12V DC up to 240V AC, only for the Starlink power supply to convert it right back down to DC.
The standardised RJ45 interface of the Gen 3 system makes converting to a direct DC-to-DC power setup much simpler than in previous generations. To explore B2B or industrial-grade PoE setups, you can refer to the Starlink PoE Cable Factory specifications.
Bypassing AC with Direct DC-to-DC Power
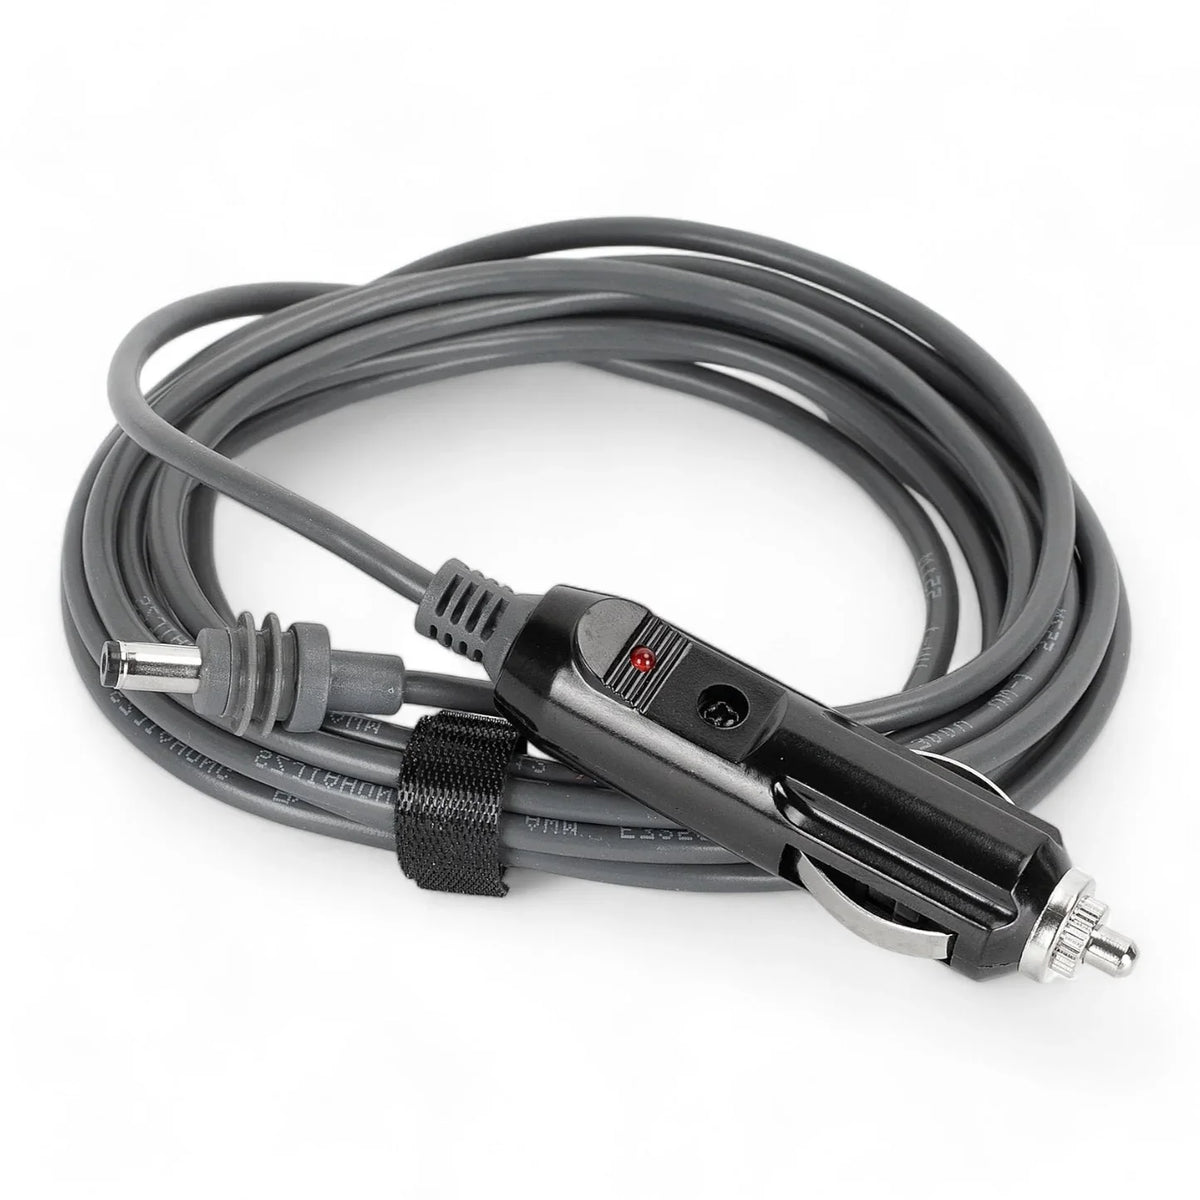
By using a high-quality DC-to-DC power supply, such as our custom-engineered StarPower V2 and V3 DC power supplies, you can run your Gen 3 system directly off your 12V or 24V caravan battery bank.
These StarPower V2 and V3 DC power supplies offer massive DC-to-DC efficiency advantages over traditional AC inverters by eliminating the energy lost during multiple power conversions. This setup completely bypasses the power-hungry Starlink router. You can inject DC power directly into the Starlink cable connector and connect the data lines straight into your own highly efficient 12V travel router. This direct DC-to-DC conversion can significantly cut your overall power consumption, allowing you to stay off-grid for much longer without draining your house batteries.
Power Consumption Considerations
The Gen 3 dish is a high-performance unit, and that performance comes at the cost of higher power draw compared to some older models. Understanding these requirements is crucial when designing your 12V electrical system. Because the real-world draw can be substantial during heavy data use or when the dish is heating up to clear moisture, using high-quality, low-resistance cables and solid connectors is absolutely essential to prevent power loss and keep your connection stable.
Troubleshooting and Sourcing Replacements
Even with the best gear, things can go wrong in the bush. Dust, sand, moisture, and physical strain are the primary enemies of any outdoor connection. If you are looking to upgrade or replace your current connection components, explore our range of Starlink Cables and Accessories.
How to Fix a Damaged Starlink Cable Connector
If your Gen 3 cable gets snagged or damaged, you do not have to throw the whole thing away. Because it uses standard RJ45 technology, you can cut off the damaged end and crimp on a new shielded RJ45 connector.
Here is how to do it step-by-step:
- Cut and Strip: Cut the cable clean past the damaged section. Carefully strip back about 25mm of the outer grey jacket to expose the shielded pairs and the ground wire.
- Untwist and Align: Untwist the four pairs of wires just enough to lay them out flat. Align them according to the standard T568B wiring scheme.
- Insert and Crimp: Slide the wires into a high-quality, shielded Cat6 RJ45 connector. Ensure the metal shield of the connector makes solid contact with the cable's drain wire or outer foil shield. Use a ratcheting crimp tool to secure the plug.
- Test: Use a basic network cable tester to verify continuity across all eight pins before plugging the cable back into your expensive Starlink hardware.
If you are having trouble removing a stuck cable to perform repairs, make sure to read our guide on How to Unplug Starlink Gen 3 Cable to avoid ripping the port out of the dish.
Sourcing High-Quality Replacements
When you are thousands of kilometres from the nearest major town, you cannot afford to rely on cheap, flimsy gear. At SpaceTek New Zealand, we design and engineer our premium Starlink mounts and off-grid accessories specifically to handle the extreme conditions of the New Zealand environment.
Our components are precision-machined or folded from high-grade aluminium and reinforced composites. We strictly avoid 3D-printed parts, which quickly warp and degrade under the harsh New Zealand sun. Whether you need a secure roof mount for your caravan or a rugged DC power solution, choosing professionally engineered gear ensures your connection remains rock-solid, no matter where your adventures take you.
Frequently Asked Questions
Can I cut my Starlink cable to shorten it?
Yes, you can technically cut and shorten your Gen 3 Starlink cable, but we generally advise against it unless you are confident in your network termination skills. Cutting the cable incorrectly can lead to waterproofing failure at the plug end, short circuits, or high resistance that can damage your dish. If you need a shorter run, it is usually much safer and more reliable to purchase a pre-terminated, high-quality shorter cable or use a dedicated cable management system to tidy up the excess length.
Is there a native DC power option from Starlink?
No, Starlink does not currently offer an official, native DC power supply for the Gen 3 system. The standard kit requires 240V AC power to run the included router and power brick. However, you can easily convert your system to run directly on 12V or 24V DC battery power by using a high-quality aftermarket DC-to-DC power injector, such as our StarPower V2, V3, or V4 units, combined with a compatible third-party travel router.
How do I unplug the Gen 3 cable safely?
The standard Gen 3 cable uses a high-friction rubber boot to achieve its IP68 waterproof rating, and it does not have a traditional plastic release tab. To unplug it safely, grip the thick rubber boot firmly, never pull on the thin cable itself, and pull straight out with a steady, firm force. If the seal is particularly tight due to heat expansion, a very gentle side-to-side wiggle can help break the vacuum seal without damaging the internal pins.
Building a Reliable Starlink Cable Setup
Identifying and understanding your Starlink cable connector is the key to building a reliable, high-performance satellite internet setup. The transition to standard RJ45 connectors in the Gen 3 system has opened up a world of customisation, making it easier than ever to extend your lines, perform field repairs, and convert your setup to run on highly efficient DC power.
If you are planning an off-grid setup, upgrading your caravan, or simply need custom advice on how to route and secure your cables for the long haul, we are here to help. Get in touch with the team at SpaceTek New Zealand today to find the perfect premium dish mounts and off-grid power accessories tailored to your next adventure.

Leave a comment
This site is protected by hCaptcha and the hCaptcha Privacy Policy and Terms of Service apply.