Understanding Real-World Starlink Mesh WiFi Coverage
Starlink mesh router distances are the key to getting seamless internet across your entire property. The ideal distance depends on your router generation and the physical layout of your home.
Quick Answer: Starlink Mesh Router Distance Limits
- Gen 2 Router: Up to 2,000 sq ft (185 m²) coverage per node
- Gen 3 Router: Up to 3,200 sq ft (297 m²) per node
- Optimal Node Spacing: 1-2 rooms apart (approx. 50-150 feet)
- Maximum Nodes: 3 mesh nodes recommended for best performance
- Wired Backhaul: Extends range beyond wireless limits for large properties
While the specs are impressive, your home's layout matters more. Thick brick walls, corrugated iron, and even metal appliances can slash your effective range. What works in an open-plan home might fail in a classic Aussie homestead with solid walls.
The newer Gen 3 router with WiFi 6 pushes signals further than the Gen 2 model, but even the best router has its limits. Strategic placement of mesh nodes is critical to maintain the speeds you're paying for. At SpaceTek, we've helped thousands of Australians optimise their Starlink mesh router distances for reliable, whole-property coverage.
For more on choosing the right setup, see our guide to the best mesh systems for Starlink users.
The Ultimate Guide to Starlink Mesh Router Distances
Getting strong WiFi across your entire property is essential, especially when relying on Starlink in regional Australia. While the dish brings the internet to you, the mesh system spreads it around. Understanding the real-world limits of Starlink mesh router distances is the difference between seamless coverage and dead zones.
The theoretical range of WiFi can be misleading. While the 2.4 GHz frequency can reach up to 91 metres in open air, the reality inside a typical Australian home is closer to 45 metres due to walls and furniture. This signal loss is why a single router often isn't enough for larger homes. For a complete overview, check out everything you need to know about Starlink Mesh WiFi.
Gen 2 vs. Gen 3: A Tale of Two Routers
Starlink's router technology has evolved, and the differences between the Gen 2 and Gen 3 routers directly impact their mesh capabilities.
The Gen 2 router uses Wi-Fi 5 technology and provides solid coverage up to 2,000 sq ft (approx. 185 m²). It's a capable device but requires a separate Ethernet adapter for any wired connections.
The newer Gen 3 router is a significant upgrade. Powered by Wi-Fi 6, it boosts coverage to 3,200 sq ft (297 m²) per node—a 60% increase. This allows for greater Starlink mesh router distances between nodes without sacrificing performance. Its tri-band capability dedicates an entire band for communication between mesh nodes (a 'backhaul'), preventing the speed degradation common in dual-band systems. It also includes two built-in Ethernet ports and is rated IP56 for dust and water resistance, making it better suited for challenging Australian conditions.
| Feature | Starlink Gen 2 Router | Starlink Gen 3 Router (Standard) |
|---|---|---|
| Coverage | Up to 2,000 sq ft (approx. 185 m²) | Up to 3,200 sq ft (297 m²) |
| WiFi Standard | Wi-Fi 5 (802.11ac) | Wi-Fi 6 (802.11ax) |
| MIMO | 3x3 MIMO | 4x4 MU-MIMO, OFDMA |
| Bands | Dual-band (2.4GHz, 5GHz) | Tri-band (2.4GHz, 5GHz, dedicated backhaul) |
| Max Devices | Not explicitly stated (fewer than Gen 3) | Up to 235 devices |
| Ethernet Ports | 0 (requires adapter for wired connections) | 2 Latching Ethernet LAN ports |
| IP Rating | Not specified (indoor use) | IP56 (dust and water resistant) |
For strategies on maximising your setup, explore our guide on Starlink Gen 3: Maximising coverage with mesh extenders.
Factors That Influence Your Starlink Mesh Router Distances
Even with the Gen 3 router, real-world obstacles will affect your WiFi signal.

- Building Materials: Thick brick, concrete, and corrugated iron are major signal blockers, sometimes reducing range by 50% or more. Plasterboard and wood are less obstructive but still degrade the signal.
- Household Obstacles: Large metal appliances like refrigerators, washing machines, and even microwaves interfere with WiFi. Large furniture and even fish tanks can also absorb signals.
- Signal Interference: The 2.4 GHz band offers better range and penetration but is prone to interference from other devices. The 5 GHz band is faster with less interference but has a shorter range and struggles with solid objects.
Understanding these factors is key to planning a realistic network. For more tips, Starlink's own support site offers advice on how to improve your WiFi connectivity.
Wireless Mesh vs. Wired Backhaul: Choosing Your Connection
You can connect your mesh nodes wirelessly or with an Ethernet cable (wired backhaul).
Wireless mesh is the simplest option. Nodes communicate over WiFi, offering flexible placement with no extra cables. However, performance can degrade over longer distances or through multiple walls.
Wired backhaul connects nodes with an Ethernet cable, delivering maximum speed and rock-solid reliability. It eliminates wireless interference between nodes, freeing up WiFi bandwidth for your devices. While it requires running cables, it is the essential choice for covering large areas, separate buildings, or ensuring the most stable connection possible. The Gen 3 router's built-in Ethernet ports make this easy, while the Gen 2 requires an adapter.
For more on this, see our guide to extending your Starlink range: A guide to whole-home coverage.
How to Perfectly Place and Optimise Your Mesh Network
Properly placing your mesh nodes is just as important as the hardware you choose. The goal is to eliminate dead zones and deliver reliable connectivity everywhere you need it.
Best Practices for Ideal Starlink Mesh Router Distances
Starlink's own advice is the best starting point: place nodes one to two rooms apart. In a typical home, this is about 15-45 metres. This spacing creates a strong "hand-off" between nodes. Don't place a node in a distant dead zone; instead, use an intermediate node as a stepping stone to relay the signal.
Follow these tips for optimal placement:
- Start Centrally: Position your primary router in a central location.
- Think Line of Sight: Minimise the number of thick walls between nodes.
- Go for Height: Place nodes at mid-height (on a desk or shelf), not on the floor, to improve signal broadcast.
- Avoid Obstacles: Keep nodes away from large metal objects, major appliances, and out of enclosed cabinets.
- Use a Star Configuration: Whenever possible, have mesh nodes connect directly back to the main router rather than daisy-chaining them (A to B, B to C). This improves speed and reliability.
For larger properties or outbuildings, a wirelessly connected Gen 3 node might work for sheds up to 40 metres away. For longer distances or critical connections, a wired backhaul is essential. If you're still seeing gaps, you may need to consider why you may need a Starlink Mesh WiFi router extender.
Testing Your Network with the Starlink App
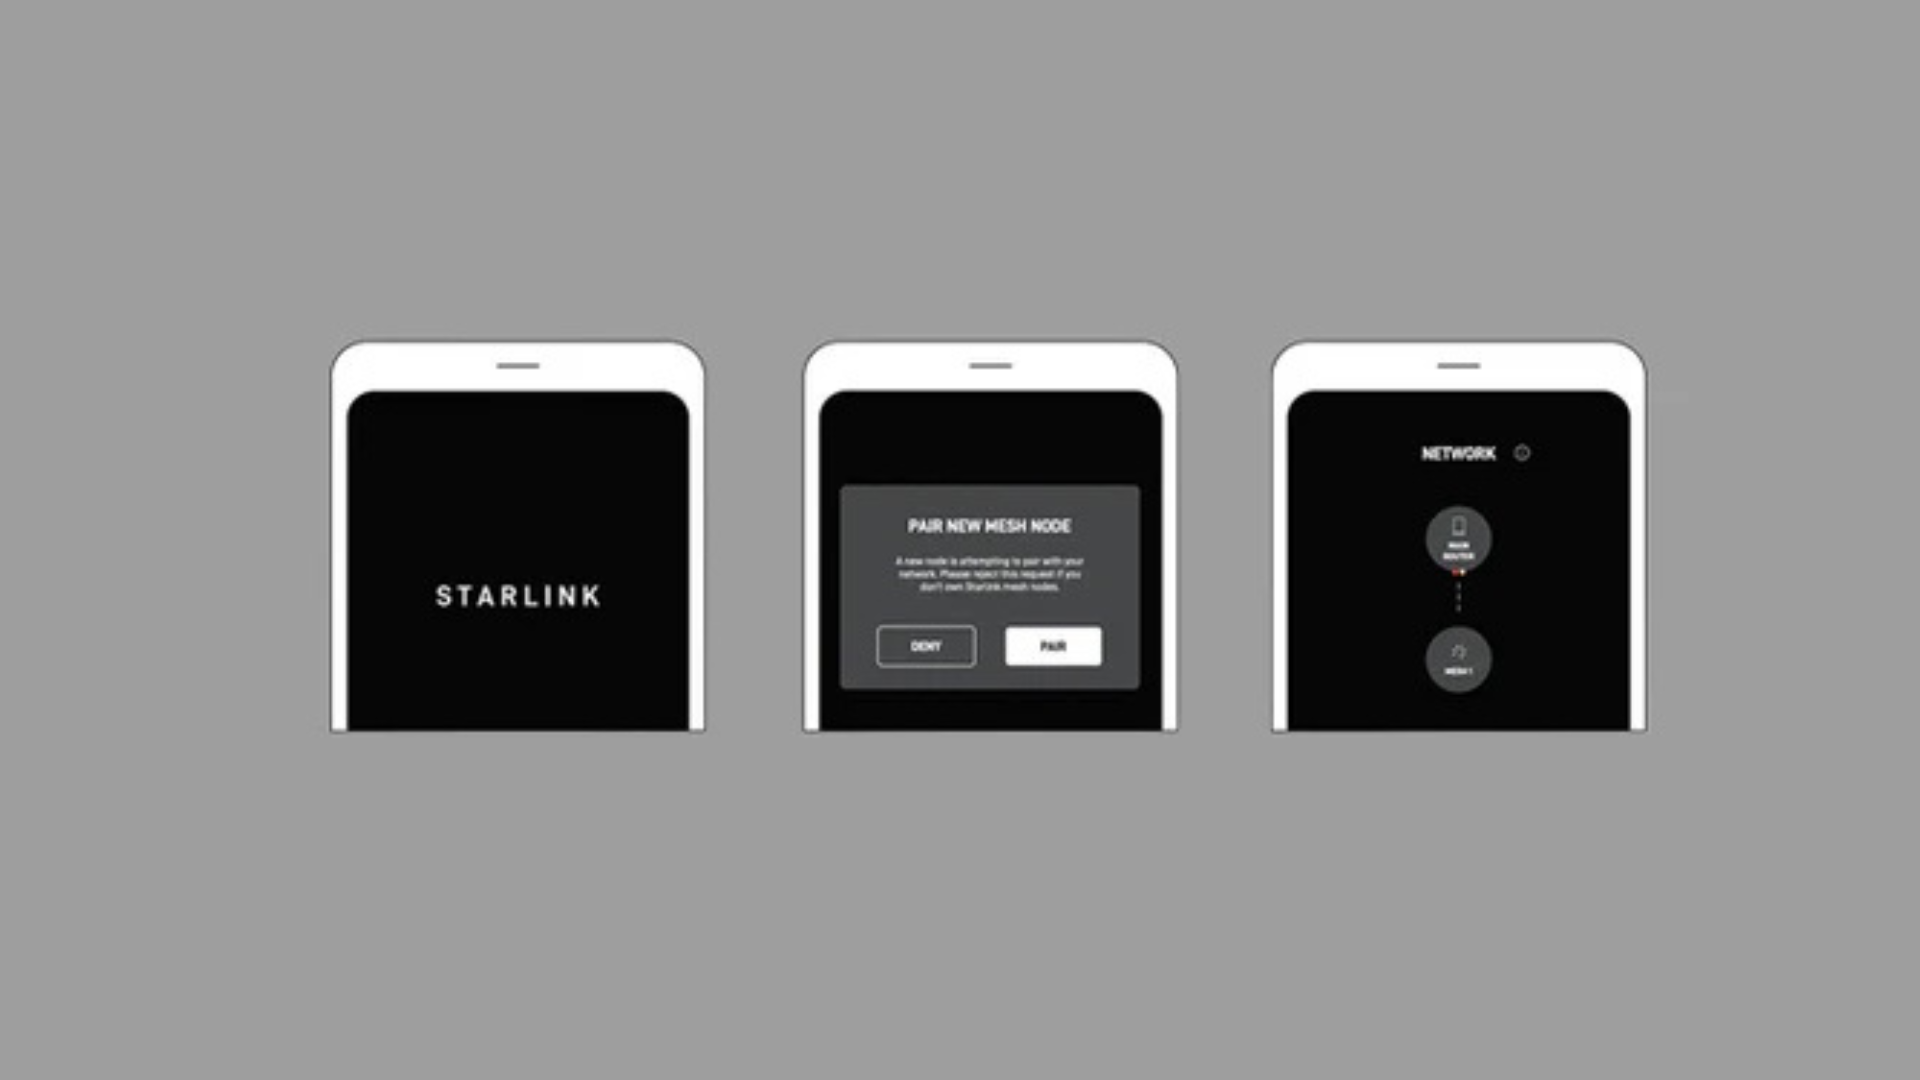
Once your nodes are in place, use the Starlink App to verify your coverage. The WiFi Scanner tool (sometimes called 'Range') is perfect for this. Walk around your property and the app will show you real-time signal strength. Green is great, yellow is adequate, and red indicates a problem area. Use this feedback to fine-tune your node placement until you have strong coverage where it matters.
The Network tab shows which devices are connected to which node and their signal quality, helping you troubleshoot specific connection issues. You can download the Starlink App for iOS or Android.
Finding the Right Number of Nodes and Accessories
More nodes aren't always better. Starlink recommends a maximum of three mesh nodes (including the main router). Adding more can create network overhead and actually slow things down. For most Australian homes, three strategically placed nodes are sufficient.
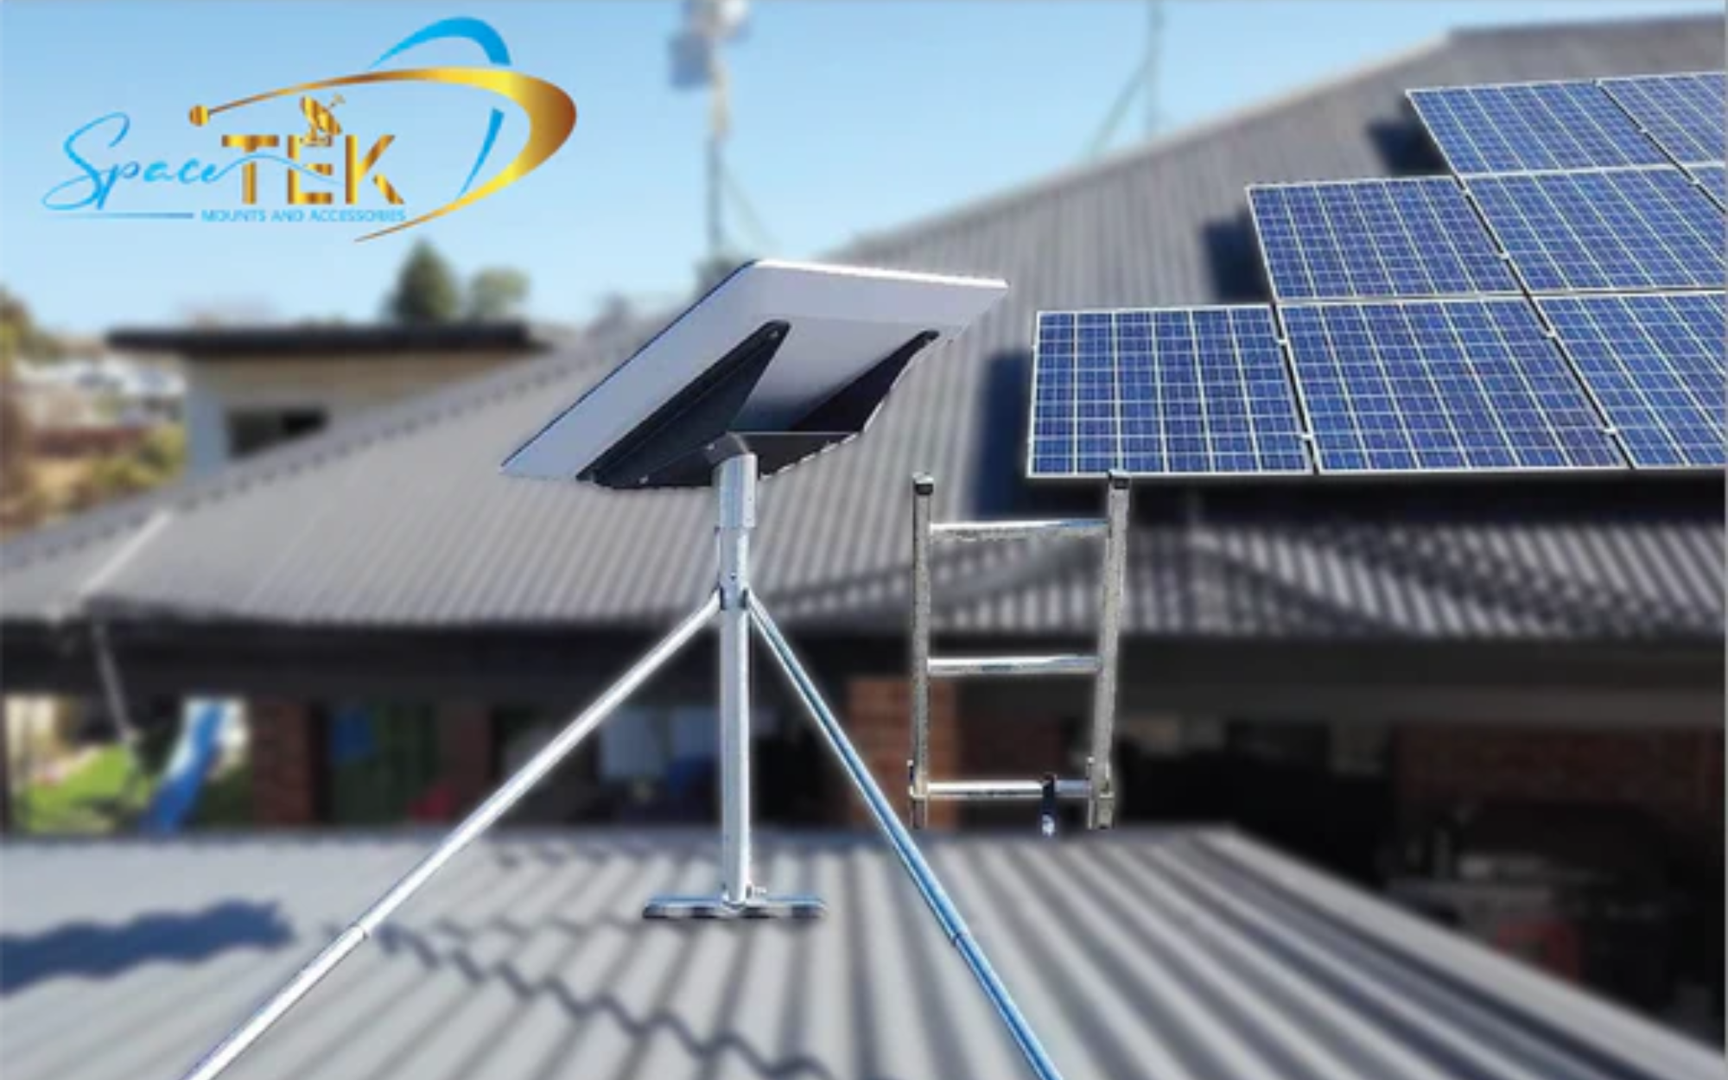
Of course, a great indoor network starts with a stable outdoor connection. At SpaceTek Australia, we've developed mounting solutions built for harsh Australian conditions. Our rust-resistant mounts, crafted from high-quality aluminium, are designed to work perfectly with Starlink's self-installer kits for Gen 2, Gen 3, and RV/Portability systems. A securely mounted dish ensures consistent satellite signal, which is the foundation of your entire network's performance.
Explore our full range in our guide to Starlink accessories: how to get everything you need. For personalised advice, get in touch with our team.
Maximising Your Starlink Mesh Coverage: A Recap
Getting Starlink mesh router distances right is the key to open uping fast, reliable internet across your entire property. It's about combining the right hardware with smart planning.
The Gen 3 router with WiFi 6 offers a significant coverage advantage, but technology alone can't beat physics. Obstacles like brick walls and metal appliances will always interfere with WiFi, which is why strategic placement is so important. Remember the "one-to-two rooms" rule to maintain a strong signal between nodes, and use the Starlink App to test your network and eliminate dead zones. For best performance, stick to a maximum of three mesh nodes and use a wired backhaul for the most demanding connections.
At SpaceTek Australia, we know that reliable internet starts with a stable foundation. A perfectly optimised mesh network can't perform if the Starlink dish itself has an unstable connection. Our rust-resistant, weatherproof mounting solutions are engineered specifically for Australian conditions, from coastal salt spray to outback dust. Designed for easy use with Starlink's self-installer kits, our high-quality aluminium mounts for Gen 2, Gen 3, and RV/Portability systems protect your investment and ensure your dish maintains optimal positioning year-round.
Need help optimising your Starlink mesh router distances for your specific property? Our team understands the unique challenges of Australian homes. Get in touch with our expert team, and let's ensure you get the rock-solid connectivity you deserve.


Leave a comment
This site is protected by hCaptcha and the hCaptcha Privacy Policy and Terms of Service apply.