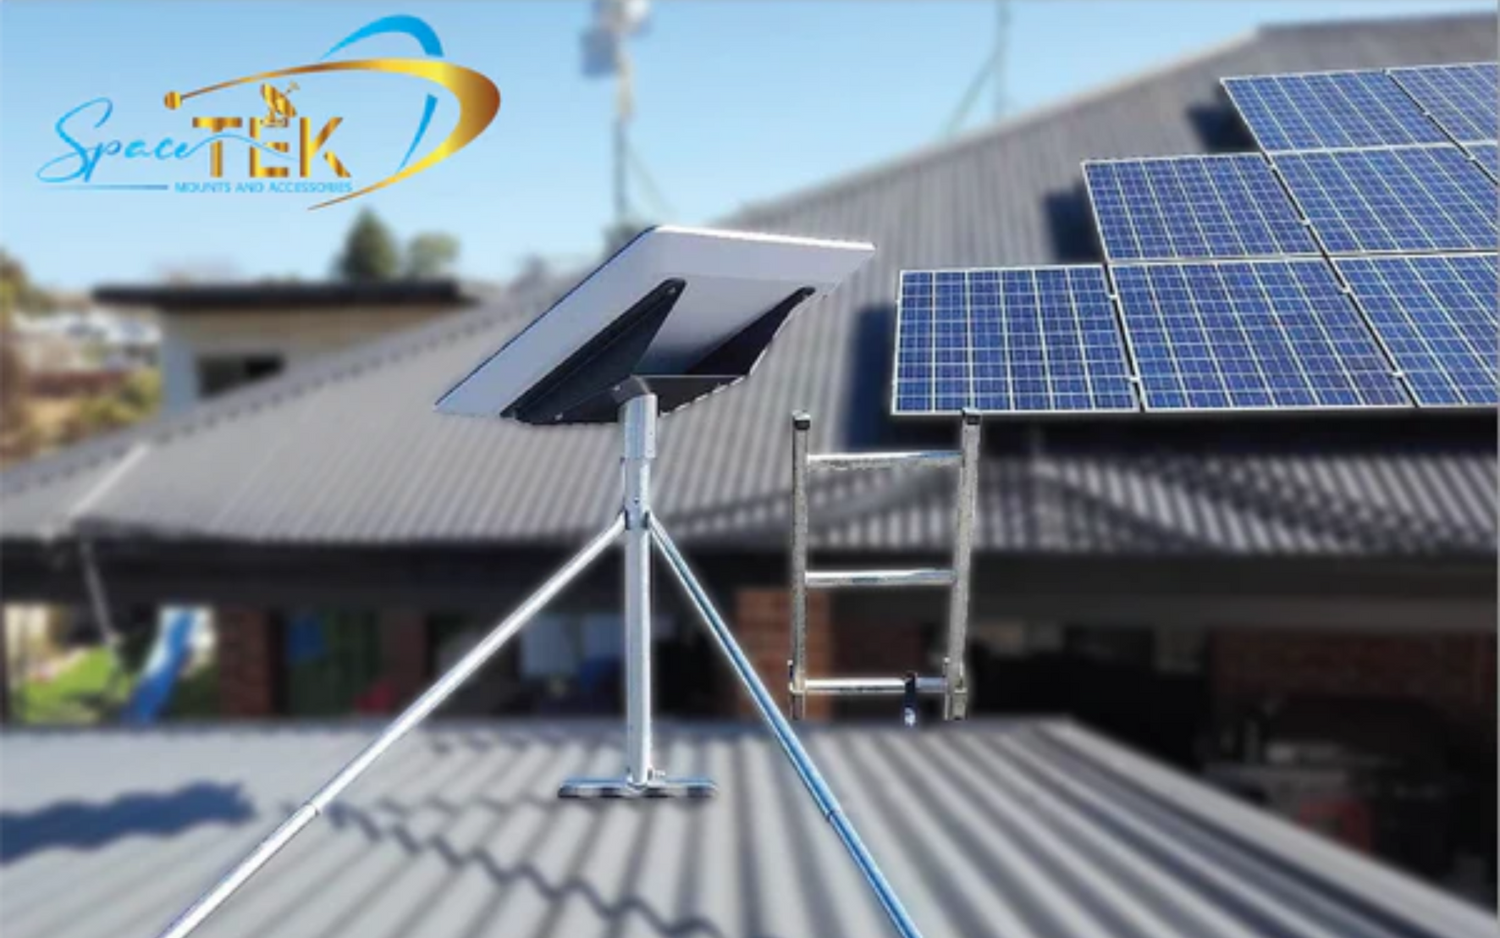
Why Your Starlink Mount Matters
Choosing the right mount for your Starlink dish directly impacts its signal strength, weather resistance, and long-term reliability. While the basic kickstand included with your kit is fine for temporary use, it isn't designed for permanent installation in harsh Australian conditions. Starlink dish mounting options range from wall and roof mounts to solutions for poles, ground-level, and mobile setups.
| Mount Type | Best For | Key Advantage |
|---|---|---|
| Wall Mount | Exterior walls near gables or fascia | Easy access, clears overhangs |
| Roof Mount | Slanted or ridge-top installations | Optimal height and signal clarity |
| Pole Mount | Existing pipes or in-ground setups | Flexibility and elevation above obstructions |
| Ground Mount | Quick or temporary setups | Portability and ease of relocation |
| RV/Mobility Mount | Vehicles, caravans, boats | Waterproof seal and travel-ready design |
A secure, liftd mount is crucial for two reasons: it provides a clear view of the sky, avoiding obstructions like trees and buildings that cause service interruptions, and it ensures stability against wind and rain. Different roof types (metal, tile, shingle) require specific hardware to prevent leaks and damage. For those on the move, dedicated RV and portability mounts offer the flexibility to take your connection anywhere.
At SpaceTek, we specialise in Starlink dish mounting options engineered for Australian conditions. Our solutions are built tough, easy to install, and proven to last. Let's explore the options to find the perfect fit for your setup.
A Deep Dive into Starlink Dish Mounting Options
Choosing the right mount is about setting yourself up for reliable, high-speed internet that stands up to Australian conditions. With our diverse landscapes and sometimes brutal weather, you need a mounting solution that's built to last.
Key Factors to Consider Before Choosing a Mount
Before buying a mount, assess these key factors to ensure a reliable connection:
- Location and Obstructions: Your dish needs a clear, unobstructed view of the sky. Use the Starlink app's obstruction tool to scan potential mounting spots and find the best location for a stable signal.
- Roof Type: Your roof material determines the best mount. Pivot mounts are great for shingled roofs, while non-penetrating clamp mounts are ideal for standing seam metal roofs. Tile and clay roofs can be tricky and may require specialised solutions. For a detailed breakdown, see our guide on How to Choose the Right Starlink Mount for Your Roof Type in Australia.
- Portability Needs: For a fixed location, prioritise stability and weather resistance. If you're taking Starlink on the road in an RV or caravan, you'll need a mount designed for quick setup and transport. Learn more in our article on Portable vs. Fixed Starlink Mounts: Which Suits Your Lifestyle?.
- Australian Weather: Our mounts are built to withstand high winds, intense UV, and coastal corrosion. We use high-quality, rust-resistant materials and finishes that outperform stainless steel in salt spray tests, ensuring your setup endures our tough climate.
Comparing Common Mount Types: Roof, Wall, Pole & Ground
Let's break down the most popular Starlink dish mounting options and when each makes the most sense.

- Roof Mounts: These offer the best performance by lifting your dish to the highest point for the clearest sky view. SpaceTek's pivot-style mounts are perfect for slanted roofs, while our flashing mounts provide a professional, watertight seal. For a no-drill solution on gable roofs, non-penetrating ridgeline mounts use ballast weights for stability.
- Wall Mounts: A great alternative when roof access is difficult or you need to clear overhangs. SpaceTek offers short and long wall mounts to handle everything from shallow overhangs to deeper eaves, ensuring your dish can clear the roof edge effectively. Our guide on Wall, Eave, or Pole: Which Starlink Mount is Right for You? can help you decide.
- Pole Mounts: Ideal for overcoming ground-level obstructions. A ground pole mount can provide a significant lift with in-ground installation. If you have an existing metal pole, a pipe adapter is a cost-effective solution to secure your dish.
- Ground Mounts: The base included with the Starlink kit is designed for temporary ground-level use or initial testing, offering maximum portability on your property.
| Mount Type | Advantages | Disadvantages |
|---|---|---|
| Roof | Optimal clear view, better signal; can be very stable | Installation difficulty, potential roof damage, maintenance |
| Wall | Easier access than roof, good for overhangs | Limited by building height, potential obstructions |
| Pole | Overcomes ground obstructions, versatile | Requires sturdy pole/installation, aesthetic impact |
| Ground | Portable, easy setup, no drilling | Prone to obstructions, less stable, security risk |
Starlink Dish Mounting Options for Each Generation
Each Starlink generation has specific mounting requirements. Using the correct mount for your dish is essential for a secure fit and optimal performance.
Gen 2 (Actuated) Mounts
The motorised Gen 2 (Rectangular) dish requires a stable mount to support its movement. The included base is for temporary use only. For permanent installation, you'll need a purpose-built solution from SpaceTek, such as a pivot mount, wall mount, or pipe adapter. Explore all compatible options in our collection of mounts for Gen 2 Standard Actuated.
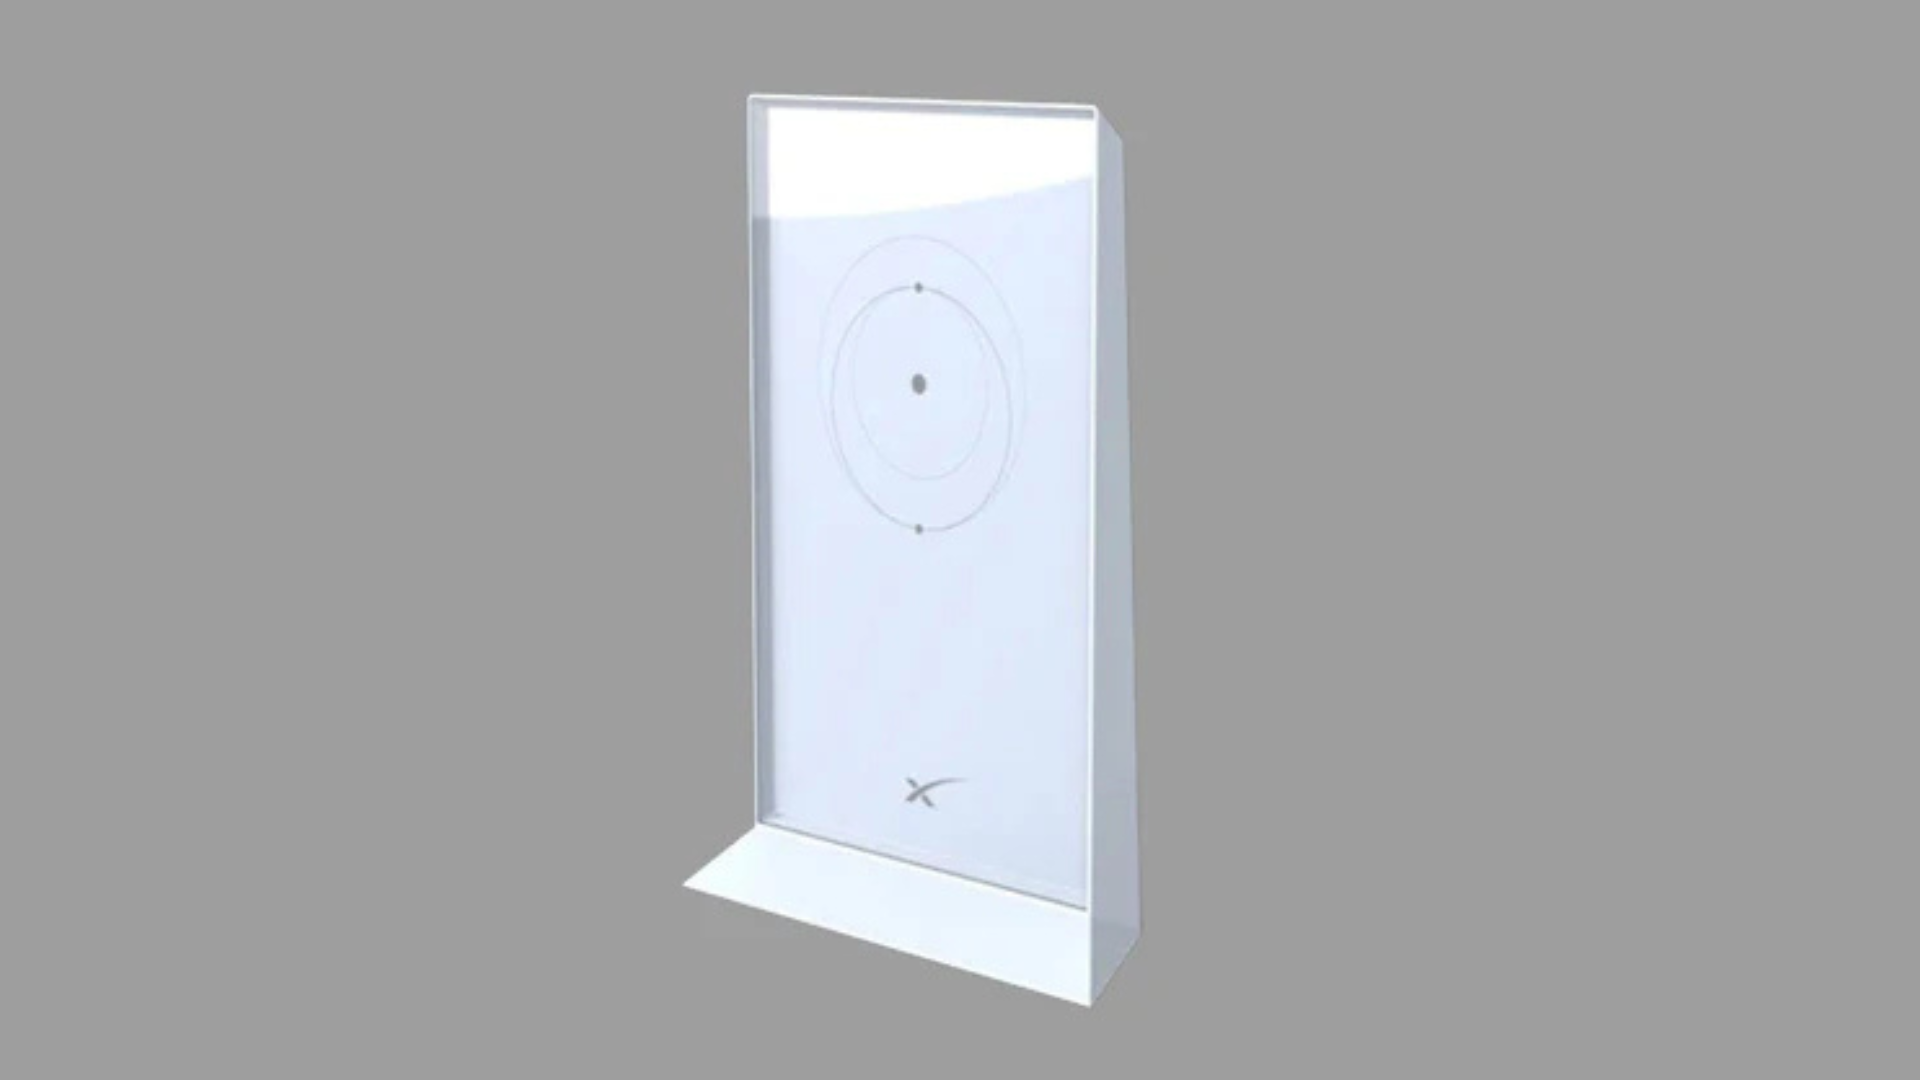
Gen 3 (Standard) Mounts
The newer, non-actuated Gen 3 (Standard) dish has a flatter profile and uses a detachable kickstand. For permanent setups, dedicated mounts are needed. SpaceTek offers a range of compatible options, including pivot mounts for slanted roofs, wall mounts, and pipe adapters. Find the perfect fit in our ultimate guide to Gen 3 mounting kits.
Starlink Mini Mounts
Designed for portability, the Starlink Mini kit includes basic mounting hardware. To improve its versatility, SpaceTek offers additional accessories like our Mini Mobility Mount for vehicles, the Mini Roof Rack Mount, and the Mini Pivot Mount for angled surfaces. See all options in our complete guide to Starlink Mini mounting options.
RV & Portability Mounts
For travellers, specialised RV and portability mounts are essential for durability and quick setup. Mobility Mounts offer waterproof, permanent vehicle installation, while Roof Rack Mounts provide a stable platform when parked. Portable pole kits are also popular for caravan setups to lift the dish above campsite obstructions. Browse our full range of Starlink RV and portability mounts.
Navigating Installation: DIY vs. Professional Help
Once you've chosen a mount, you can either install it yourself or hire a professional. Many Starlink dish mounting options are designed for DIY installation, but safety is paramount, especially when working at heights.
If you go the DIY route, proper drilling and sealing are critical to prevent water damage. To avoid common issues, read our guide on DIY Starlink install mistakes Australians should avoid and learn about the overlooked step of cable management.
If you're not comfortable with heights or drilling, we strongly recommend a professional installer. They have the right tools and expertise to ensure a secure, weatherproof installation, providing peace of mind. You can find a local expert through our Find an Installer page or consult Starlink's official installation resources.
Finalising Your Setup: Accessories and Expert Advice
To complete your installation, consider these essential accessories that make your setup more functional and robust.
Essential Accessories to Complement Your Starlink Dish Mounting Options
- Cable Extenders: If the standard Starlink cable isn't long enough for your planned route, longer cable options are available to ensure you can reach the ideal mounting location without compromise.
- Cable Routing Kits: Our Cable Routing Kit helps you run the cable neatly through walls for a clean, professional finish. For tougher materials like brick or concrete, our Masonry Routing Kit provides the necessary heavy-duty bits.
- Mesh Wi-Fi Systems: To extend your Wi-Fi signal throughout a large home or property, a third-party mesh Wi-Fi system can be integrated with your Starlink setup to eliminate dead zones and ensure strong coverage everywhere.
- Ethernet Connectivity: For a stable, wired connection to your devices, it's important to know your hardware. The Gen 2 dish requires an adapter for a wired connection, whereas the Gen 3 router conveniently includes two built-in Ethernet ports.
- DC Power Supplies: For off-grid or mobile use, SpaceTek's DC power supplies allow you to run your Starlink directly from a 12V-56V source. This is a game-changer for RVs, caravans, and marine applications. Learn more about our power supplies for portable and RV use.
You can find everything you need to perfect your setup in our comprehensive Starlink accessories shop.
Securing Your Signal and Making the Right Choice
Choosing the right Starlink dish mounting options is crucial for maximising signal strength, protecting your investment, and ensuring reliable connectivity. A proper mount keeps your dish stable in high winds, clear of obstructions, and prevents water damage to your home and equipment.
Australian conditions demand robust solutions. That's why SpaceTek Australia provides the most secure, rust-resistant, and user-friendly Starlink mounts available. Our products are crafted from high-quality materials with finishes that withstand coastal salt spray and intense UV exposure, ensuring longevity and optimal performance.
Engineered for seamless compatibility with Starlink's self-installer kits, our mounts are built to last. Whether you're installing on a rural tin roof or a coastal caravan, we have a solution designed for your needs.
Don't leave your internet connection to chance. If you're unsure which mount or accessory is right for you, we're here to help. Get in touch with our team today for personalised advice to ensure you get your setup right the first time.

Leave a comment
This site is protected by hCaptcha and the hCaptcha Privacy Policy and Terms of Service apply.