Why Your Starlink Mini Needs More Than Just a Kickstand
A starlink mini mounting bracket is an essential accessory for securely attaching your Starlink Mini dish to surfaces like roof racks, van roofs, or boats. It offers far greater stability and weather resistance than the included kickstand, which is only suitable for quick setups on flat, stable ground.
When travelling across Australia's remote roads, mounting on a caravan, or facing coastal conditions, the standard kickstand simply won't suffice. Wind, rain, rough terrain, and UV exposure can compromise your signal or even damage your dish. A dedicated mounting bracket transforms your Starlink Mini into a reliable, all-weather solution, securing it against movement and angling it for an optimal connection.
Key Features to Look For:
- Mount Types: Flat/surface mounts, pipe adapters, magnetic mounts, and suction cup mounts.
- Durable Materials: .090 aluminium or marine-grade HDPE.
- Weather-Resistant Finishes: Black powder coat or other rust-proof coatings.
- Hardware: Included stainless steel hardware for longevity.
I'm Aaron Wroblewski, founder of SpaceTek Australia. With over 25 years of experience, I've seen countless mounting solutions fail in harsh Australian conditions. That’s why we developed starlink mini mounting bracket systems built specifically for our climate. This guide will help you choose, install, and optimise your mount for a flawless connection.
How to Choose the Perfect Starlink Mini Mounting Bracket
Finding the right starlink mini mounting bracket is about selecting a solution that will keep you connected through everything the Australian environment throws at it. Let's walk through what really matters when choosing your bracket.
Must-Have Features: Materials and Durability
The Australian climate is unforgiving, with scorching UV rays, corrosive salt spray, and rough corrugated roads. Your starlink mini mounting bracket must be built from materials that can withstand these challenges.
We recommend .090 aluminium for its ideal balance of strength and low weight. It naturally resists corrosion, and when finished with a black powder coat, it gains an extra layer of defence against scratches and environmental wear. For marine environments, marine-grade HDPE (High-Density Polyethylene) is an excellent choice, as it's impervious to UV radiation, saltwater, and temperature extremes. For ultra-light, high-strength components (such as risers and cross-braces), carbon fibre is also a smart inclusion thanks to its stiffness and corrosion-proof nature.
Equally important is the hardware. A quality mount should always include stainless steel hardware to prevent rust and ensure a secure, long-lasting installation. These aren’t luxury features—they’re essential for reliability in Australian conditions and seamless compatibility with Starlink’s self-install kits. Our Starlink Mini Roof Mount range is engineered with these principles in mind.
Exploring Your Mounting Options
The right mount depends on your specific needs, whether you're stationary or constantly on the move.
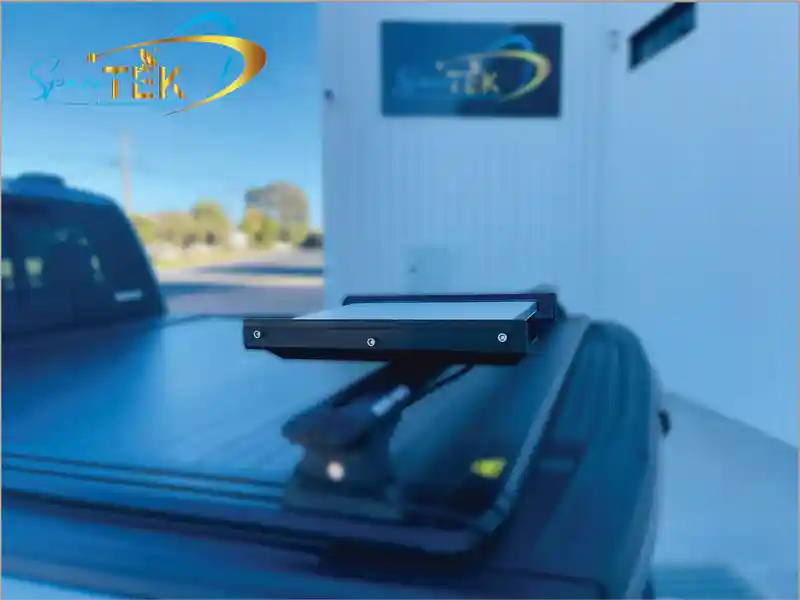
- Flat/Surface Mounts: Ideal for permanent, rock-solid installations on van roofs, RVs, or trailers. They often require drilling but provide maximum stability. Look for options that create a waterproof seal.
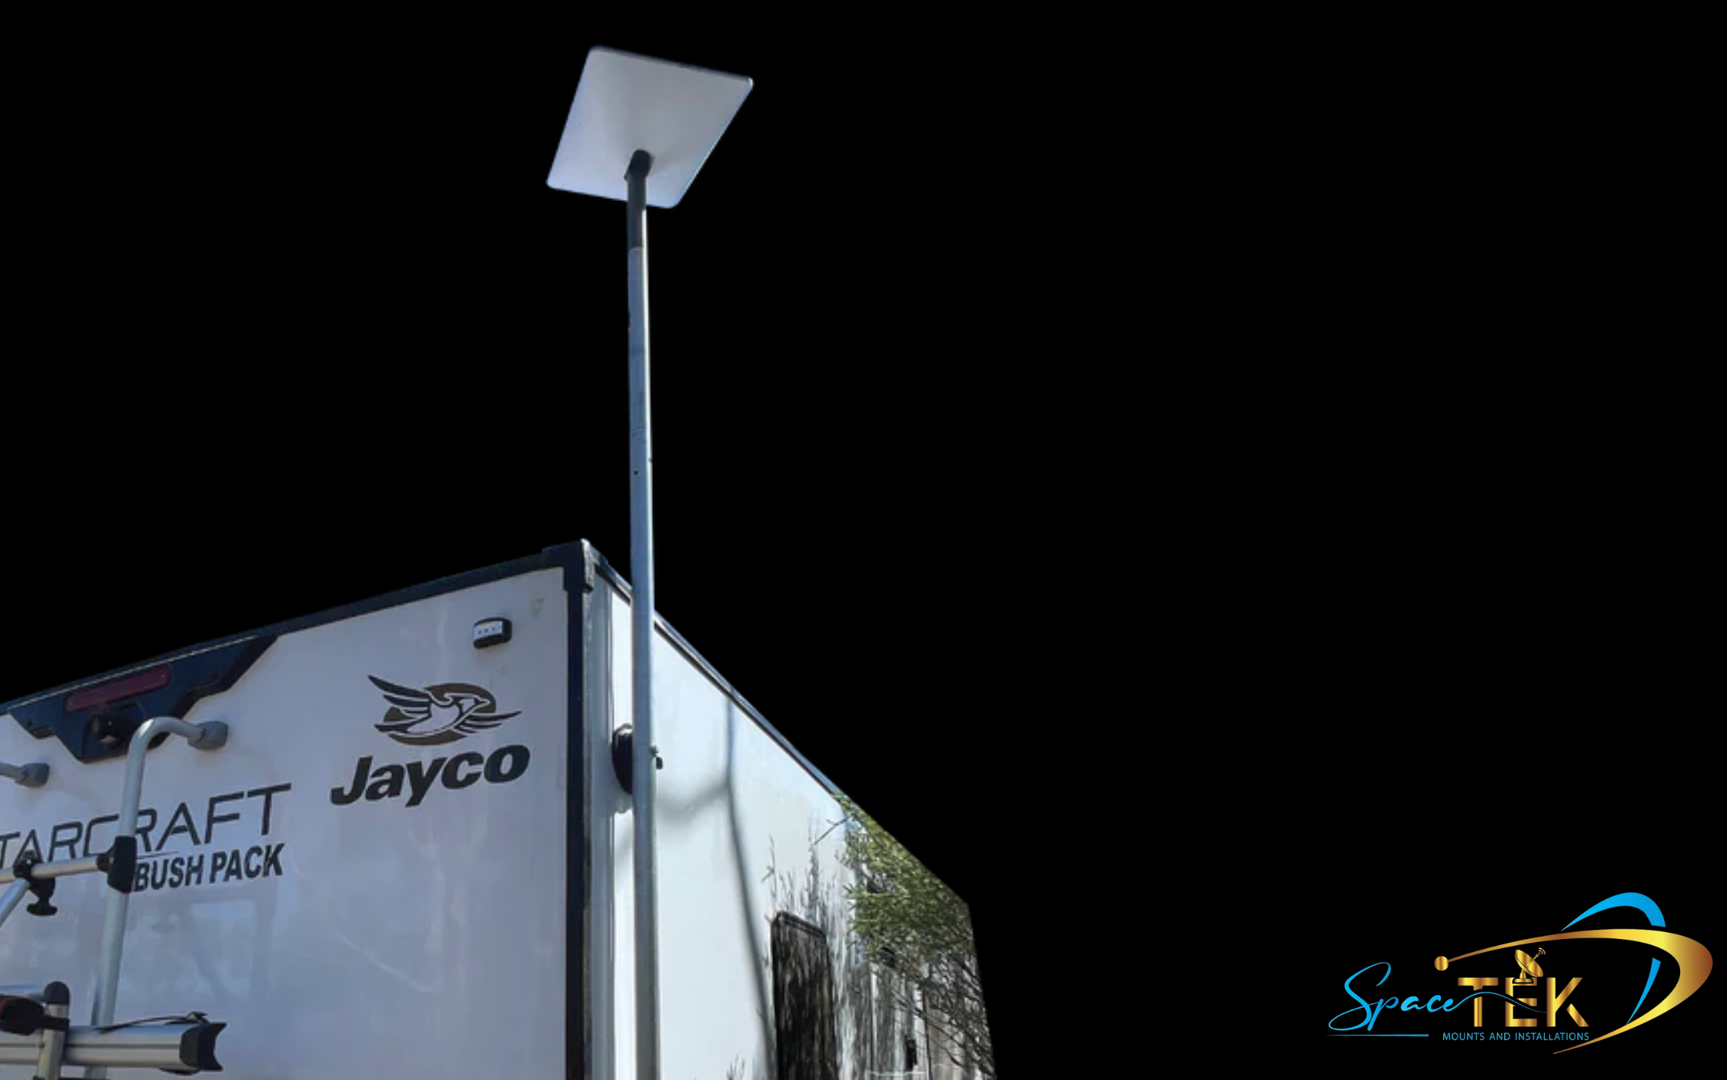
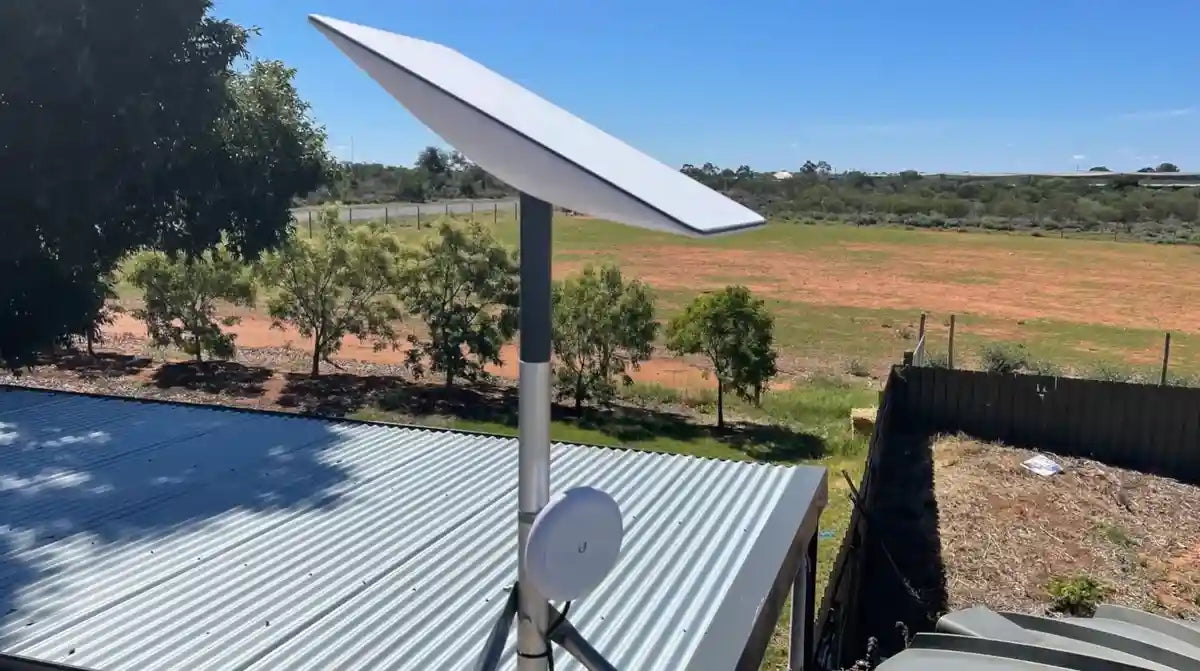
- Pipe/Mast Adapters: These lift your dish above obstructions for a clearer sky view. They are perfect for fixed setups where you need to elevate the dish, and SpaceTek offers robust adapters designed for various pole diameters.
- Magnetic & Suction Cup Mounts: For temporary, non-permanent solutions. Magnetic mounts offer impressive holding force on steel surfaces, while suction cups work on smooth, non-porous surfaces like glass or fibreglass.
- Wall & Pivot Mounts: Designed for building installations. Wall mounts attach to exterior walls, while pivot mounts are engineered for slanted roofs, allowing for precise angle adjustments.
- Roof Rack Mounts: Purpose-built for overlanders, these attach to various roof rack profiles (typically not round bars) to keep you connected on the move.
Each of these options provides superior stability compared to the standard kickstand, which is crucial for mobile applications. Choosing the right one depends on whether you're setting up on a roof rack, van roof, or boat.
Installation Prep: What You Need to Know
Proper preparation ensures a smooth installation. The most critical step is choosing the right location. Starlink requires a clear, unobstructed view of the sky. Use the Starlink app’s obstruction tool to scan your surroundings and find the optimal spot. This simple step can save you from frustrating service interruptions.
Next, gather your tools. While your starlink mini mounting bracket will include hardware, you'll likely need a drill, measuring tape, and a marker. Check the instructions to confirm the specific tools required.
A dedicated mount offers benefits the kickstand can't match: improved stability in wind and motion, optimal signal performance from a lifted position, and superior weather resistance. Quality mounts often include features like waterproof seals and angled designs to maintain signal during heavy rain.
For a complete walkthrough, see our guide on Starlink Mini Setup: Your Ultimate Guide to Getting Online Fast.
Installation, Compatibility, and Expert Advice
Once you've chosen your ideal starlink mini mounting bracket and prepared your installation site, the next step is the actual mounting process. While specific instructions will vary depending on your chosen bracket, we can provide a general overview to guide you.
A Step-by-Step Guide to Installing Your Starlink Mini Mounting Bracket

Installing your starlink mini mounting bracket is designed to be a straightforward DIY process. Always refer to the specific instructions provided with your bracket, but here is a general guide:
- Read the instructions: Before you begin, thoroughly read the manufacturer’s guide.
- Prepare the surface: Clean and dry the mounting area. If drilling, carefully mark your pilot holes and plan for sealant where required.
- Secure the bracket: Use the provided stainless steel hardware to attach the bracket. If your mount includes a waterproof seal or gasket, ensure it’s seated correctly.
- Attach the dish: Connect the power cable to the Starlink Mini dish, then slide the dish onto the bracket until it clicks firmly into place.
- Manage cables: Neatly route and secure the cable to prevent snagging or flapping, especially on a vehicle.
- Power up and check: Connect the cable to your router, power it on, and use the Starlink app to check for obstructions and confirm your connection.
These steps support a stable, weather-resistant installation using high-quality materials like aluminium and carbon fibre, and they align with Starlink’s self-install approach.
Understanding Mount Compatibility Across Starlink Models
Mounts are not cross-compatible between Starlink models. The Mini’s compact dish and USB‑C power mean it uses a different mounting interface to Starlink Standard (Gen 2) and the latest Gen 3. As a rule of thumb, choose a mount that explicitly states compatibility with your specific kit. If in doubt, get in touch for tailored guidance.
Product Picks by Model and Use-Case
To make selection easier, here’s how we typically match mounts to models and applications. All recommendations focus on reliability, weather resistance, high-quality construction (aluminium, carbon fibre, marine-grade HDPE), and compatibility with Starlink self-install kits.
-
Starlink Mini (Portable and fixed)
- Best for: caravans, campervans, 4x4 touring, boats, and compact home setups.
- Go-to options: low-profile flat/surface mounts for permanent installs; roof rack mounts for travel; pipe/mast adaptors when you need more sky clearance; marine-grade HDPE bases for coastal and offshore use.
- Explore our Mini-ready range here: Starlink Mini collection. For detailed roof mounting advice, see Mount Up: The Best Starlink Mini Roof Mount and our RV roof mounting tips.
-
Starlink Standard (Gen 2)
- Best for: residential and semi-permanent sites where a taller mast or wall mount is ideal.
- Go-to options: wall and pivot mounts for pitched roofs; pipe/mast adaptors to clear nearby obstructions; heavy-duty flat plates for rooftops.
- Need a hand matching a Gen 2 mount to your roof or mast? Please contact us and we’ll recommend a proven, rust-resistant setup.
-
Starlink Standard (Gen 3)
- Best for: fixed locations with a focus on simple, robust installs.
- Go-to options: wall and pivot mounts with reinforced brackets; aluminium or carbon-fibre-supported mast solutions for extra rigidity in high winds.
- For Gen 3 mounting advice or product options, get in touch and we’ll point you to the right gear for your site and conditions.
-
RV and Portability
- Best for: travellers and remote work setups that need reliable connectivity on the move.
- Go-to options: quick-attach roof rack mounts, magnetic bases for steel panels, suction mounts for glass/fibreglass, and compact flat plates with tidy cable routing.
- Planning an RV or van fit-out? Read our RV mounting tips and see the portable-friendly solutions in the Starlink Mini collection.
Securing Your Connection with the Right Bracket
A dedicated starlink mini mounting bracket dramatically improves stability, weather resistance, and signal quality compared to the stock kickstand—especially in wind, rain, and when you’re on the move. Choosing corrosion-proof materials like aluminium, carbon fibre, and marine-grade HDPE, and following the steps above, helps ensure a reliable installation that’s compatible with Starlink’s self-install kits.
Quick recap: pick a mount that suits your vehicle, vessel, or building; confirm model compatibility; prioritise rust-resistant hardware and weather sealing; and verify your sky view with the app before you drill. Correct installation is the key to optimal performance and long-term longevity of your dish.
SpaceTek builds secure, rust-resistant, and user-friendly Starlink mounts for Australian conditions—tested for reliability and designed to go the distance. If you’d like tailored advice or a parts list for your setup, please contact us.
Leave a comment
This site is protected by hCaptcha and the hCaptcha Privacy Policy and Terms of Service apply.