The Best Starlink Mounts for Homes: What to Know Before You Buy

Choosing a Starlink mount for homes involves selecting a secure, weather-resistant fixture—such as a roof, wall, or pole mount—that ensures an unobstructed sky view for optimal satellite connectivity. A correctly elevated dish with a clear line of sight delivers consistent speeds, while a poorly mounted one may suffer from signal drops or structural damage during extreme weather.
Starlink mount for homes comes in several core types — each suited to a different installation scenario:
- Roof mount — best for maximum elevation and clear sky view on pitched or flat roofs
- Wall mount — ideal for homes with gable ends or fascia, supporting up to 4" overhang
- Pole or ground mount — suited to wooded properties or locations without safe roof access
- Non-penetrating mount — a no-drill option using ballast weight, great for rental properties or tiled roofs
- Pivot mount — designed specifically for slanted, shingled roofs requiring angle adjustment
For Australians — especially those living rurally or in areas prone to high winds, intense UV, and coastal salt air — the mount you choose matters just as much as the dish itself.
This guide covers every major mount type, what each one is best suited for, and what to look for when choosing a solution built to handle Australian conditions year-round.
Why the Right Mount and Accessories Matter
Choosing a high-quality Starlink mount for homes is about more than just keeping the dish off the ground. It is the foundation of your entire internet experience. Because Starlink relies on a fleet of moving satellites in low Earth orbit (LEO), your dish needs a wide-angle, "always-on" view of the sky. If you experience signal drops, the first troubleshooting step is to verify physical mount stability; even minor vibrations or a small shift in the mount's position due to wind can lead to micro-dropouts that ruin video calls or online gaming.
Longevity is another critical factor. The Australian sun is brutal on plastics and cheap metals. Standard third-party mounts often use thin coatings that flake away, leading to rust streaks down your gutters or, worse, structural failure during a storm. We focus on using premium materials like powder-coated galvanised steel and custom aluminium—precision-machined or formed, never 3D printed—to ensure your setup outlasts the hardware itself.
Safety and compliance shouldn't be overlooked either. A DIY job using the wrong fasteners can void your roof warranty or create water leaks. By using Starlink mounting hardware - everything you need to know, you ensure the dish is secured to structural beams rather than just the thin roof sheeting.
Essential Types of Starlink mount for homes and Stationary Buildings

For a permanent home or cabin setup, you need a robust, engineered solution. SpaceTek provides precision-formed mounts for every stationary building scenario:
- Roof Mounts: These provide the best "look angle" to the sky.
- Wall Mounts: Often used on the gable end of a house to clear the gutter line.
- Pole Mounts: Ideal for properties with tall trees where you need to get the dish away from the house.
- Non-Penetrating Mounts: These use heavy ballast weights (like concrete blocks) to hold the dish in place without drilling holes.
Understanding the differences between these options is the first step in our Starlink Mounting Accessories Guide.
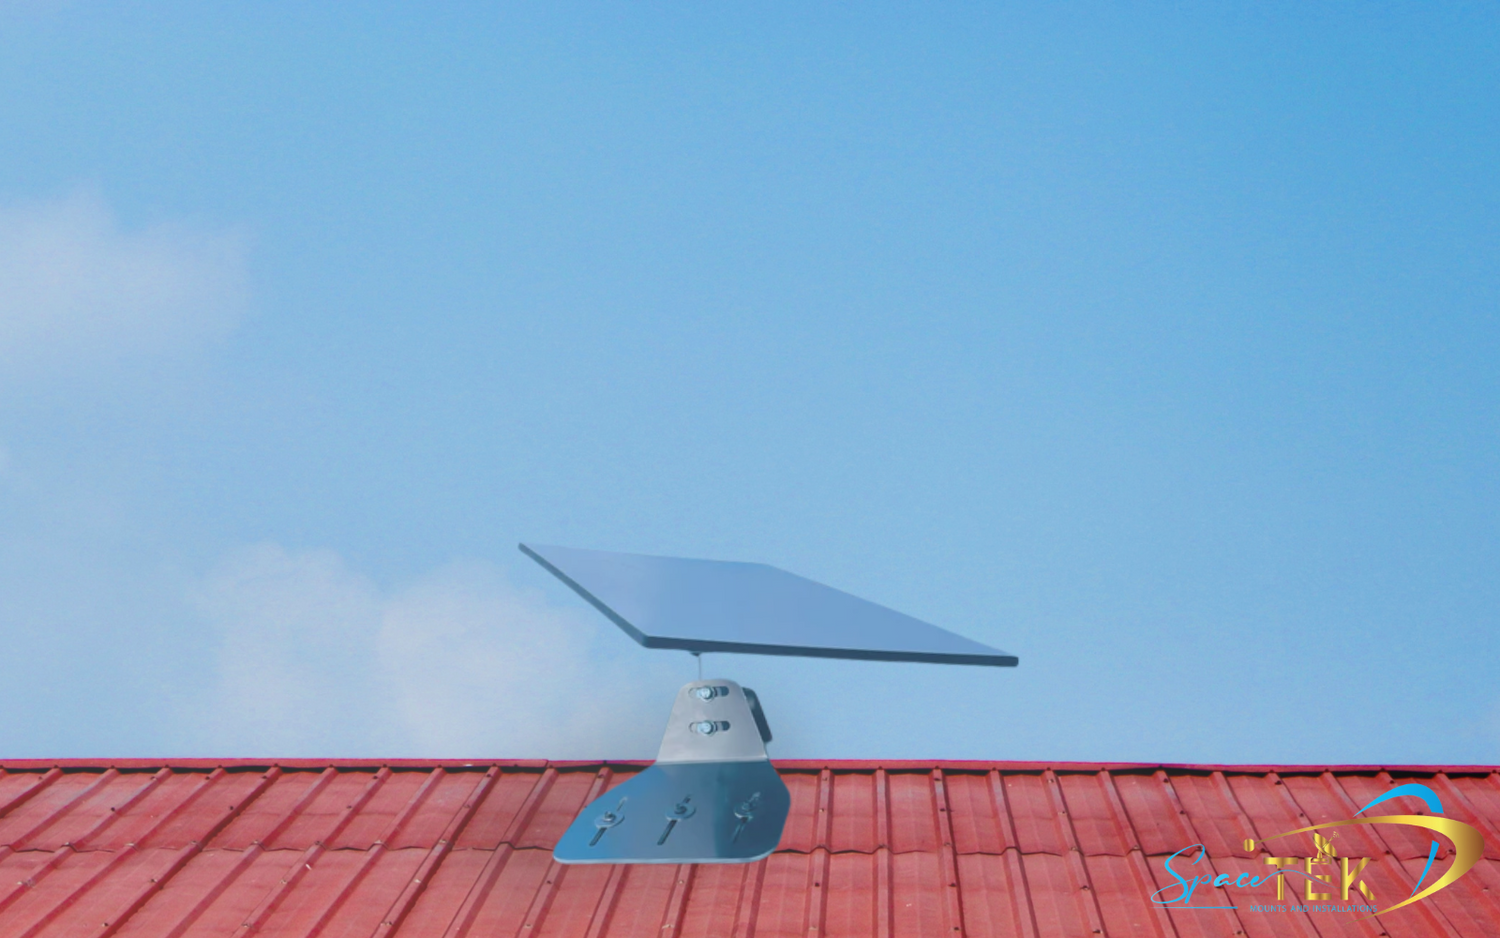
Roof and Gutter Solutions for Maximum Elevation

For most Australian homes, the roof is the gold standard for placement. If you have a slanted, shingled, or metal roof, a SpaceTek pivot mount is often the best choice. These allow you to adjust the angle of the mast so the dish sits perfectly level, even on a steep pitch.
For those with tiled roofs, installation requires a bit more care. You cannot simply screw into a tile; you need a mount that reaches beneath the tile to the rafters. We recommend reading our guide on how to install a Starlink tile roof mount safely to avoid cracked tiles and leaks.
If you prefer not to drill into your roof at all, a ridgeline mount sits across the peak of the roof. It stays in place using heavy ballast trays, making it a favorite for renters or those with premium roof finishes. You can explore more about these in our Starlink mount for roof collection.
Wall and Fascia Starlink mount for homes with Overhangs
Wall mounting is a fantastic space-saving solution, especially for smaller homes or cabins. The main challenge here is the roof overhang (the eaves).
A short wall mount is perfect if you are mounting directly to a fascia board with no overhang. However, if your roof sticks out, you will need a long wall mount. These typically provide around 12 inches (300mm) of clearance, ensuring the dish has a clear view past the gutter. This is often a space-saving solution for small homes that keeps the installation neat and reachable for maintenance. For a deeper look at these, check out the various mounting options for Starlink.
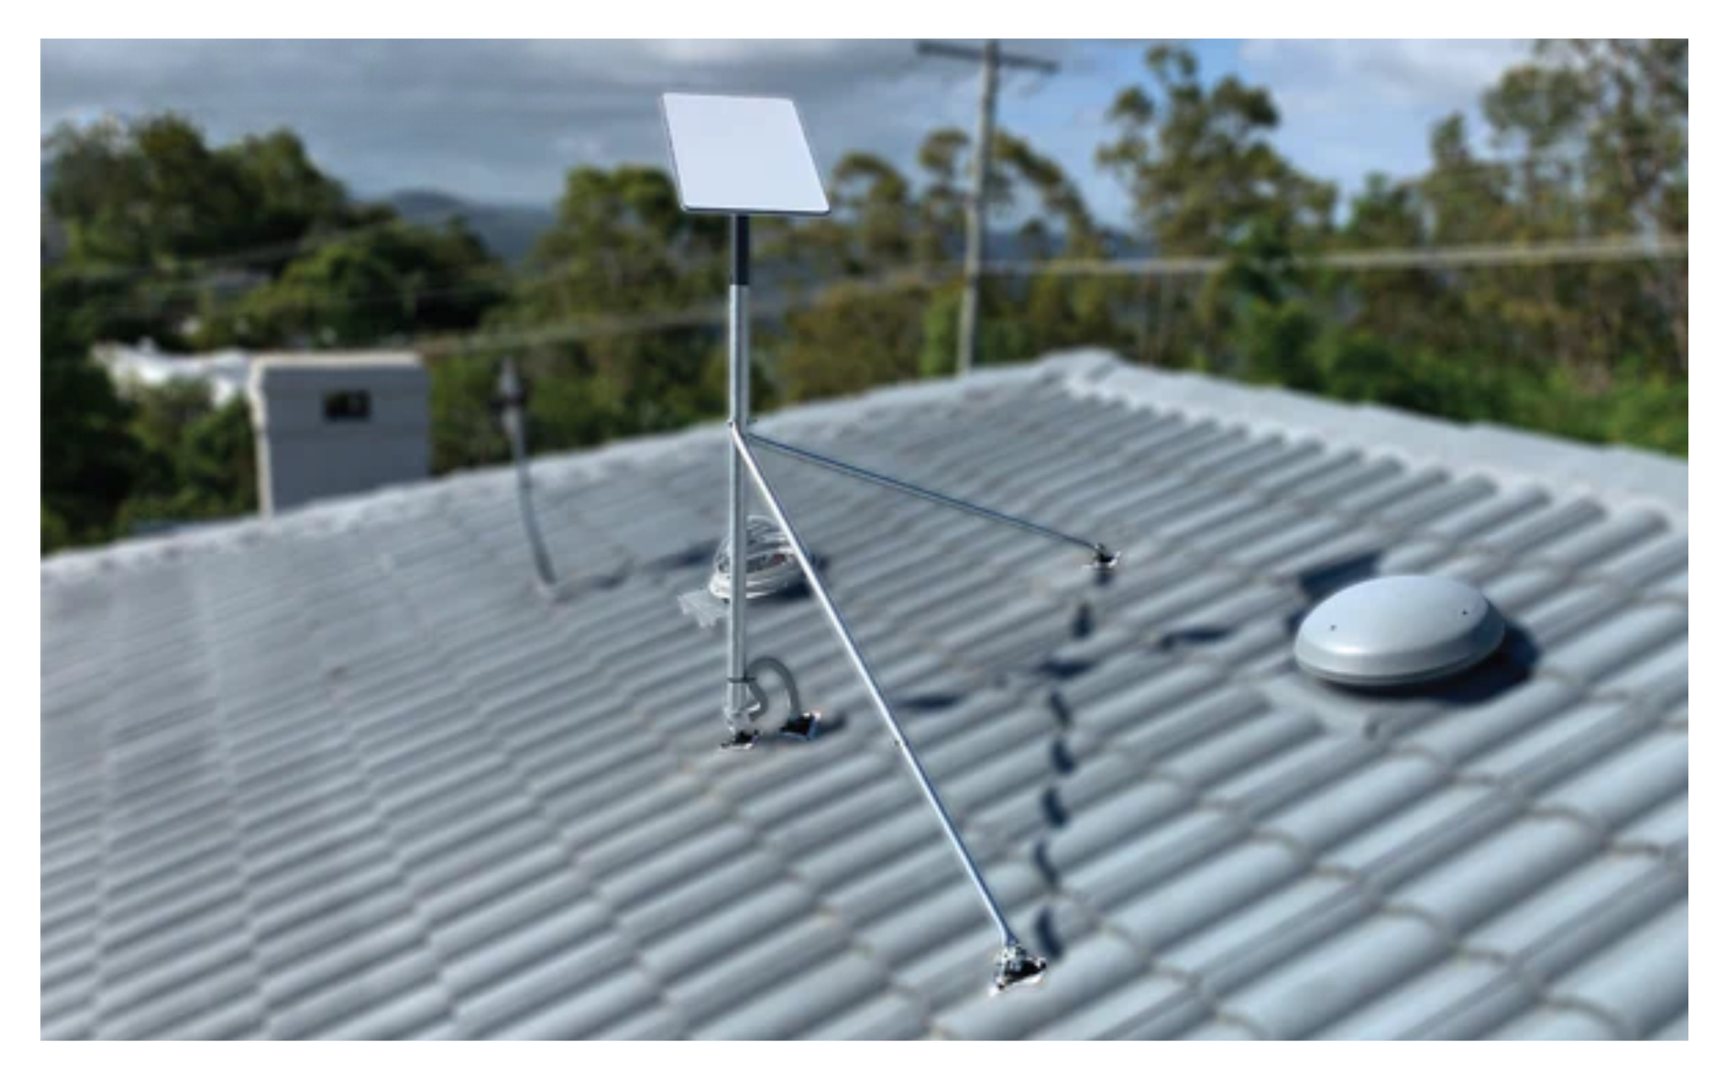
Ground and Pole Starlink mount for homes in Wooded Areas
Sometimes, the house just isn't the right spot. If you live in a heavily wooded area, even the roof might be blocked by tall gums or pines. In these cases, a SpaceTek pole mount is your best friend.
A ground pole can be cemented into the earth, elevating the dish up to 50 inches or more. You then use a precision-machined pipe adapter to click the Starlink dish into the top of the pole. Before you dig, always use the obstruction tool in the Starlink app to find the "sweet spot" on your property.
Many people ask, does Starlink have to be mounted on the roof? The answer is no, as long as you have a clear view of the sky. Following our how to install a Starlink pole mount in 5 simple steps can make this process much easier.
Compatibility with Gen 3 and High Performance Kits
It is vital to match your Starlink mount for homes to the specific version of the dish you own. SpaceTek components are designed to handle the specific power and weight requirements of each model:
- Gen 2 (Actuated): These rectangular dishes require specific adapters to ensure the internal motors are not obstructed.
- Gen 3 / V4 (Standard): The latest non-actuated model. Our kits are designed to accommodate the 57V output requirements for Gen 3 systems.
- Starlink Mini: For portable or secondary home setups, we offer boosters designed for 35V for Mini systems.
- High Performance: These are much larger and heavier, designed for power users and businesses. They have nearly double the wind area of a standard dish, meaning they require heavy-duty SpaceTek mounts with wider base plates.
Always ensure your pipe adapters are compatible with the mast diameter (usually between 31mm and 63.5mm). For those upgrading, our guide to Starlink Gen 3 roof mount kits covers all the new requirements. Selecting the right equipment and accessories ensures your dish clicks in securely and stays there.
Installation Tips for Optimal Signal and Safety
Installing your mount correctly is the difference between "it works" and "it's perfect." Here are our top tips:
- Prioritise Stability: If you experience connection issues, check the physical mount stability first. A rock-solid mount is the primary fix for signal instability.
- Use the App First: Never drill a hole until the Starlink App's obstruction tool gives you the green light.
- Structural Integrity: Always fix SpaceTek mounts into structural timber or masonry. Screwing into just the roof tin or weatherboard will eventually fail.
- Waterproofing: Use silicone sealant liberally. Apply it inside the pilot holes and over the screw heads to prevent moisture from reaching your rafters.
- Cable Care: Use drip loops! Ensure the cable drops down slightly before entering the house so rain runs off the cable rather than into the hole in your wall.
For a complete safety run-through, see the ultimate checklist for installing your Starlink mount safely and our top tips for a flawless setup.
Factors to Consider for Harsh Australian Climates
Australia presents unique challenges for satellite hardware. If you live near the coast, salt spray will eat through standard steel in months. This is why we emphasise rust-resistant materials. Our mounts are precision-machined or formed—never 3D printed—and are often powder-coated or hot-dip galvanised to withstand mounting challenges by the sea.
UV stability is another factor. High ultraviolet radiation levels in Australia can cause cheap plastic mounts to become brittle and snap. We use precision-machined aluminium and high-strength carbon fibre—with our carbon fibre mounts weighing a mere 1.5kg—because they don't degrade in the heat. When you choose mounts built for Australian conditions, you are investing in a "set and forget" solution.
FAQ: Starlink Home Mounting
Can I install a Starlink mount myself?
Yes, most Starlink mounts are designed for self-installation. However, if you are uncomfortable working on a roof or drilling into your home, we recommend hiring a professional installer.
What is the best mount for a rental property?
A non-penetrating ridgeline mount or a ground-based pole mount is best, as they do not require drilling holes into the building structure.
Does wind affect the Starlink dish?
High winds can cause "micro-vibrations." A sturdy, high-quality mount will minimise this movement, ensuring your connection remains stable even during storms.
Conclusion: Securing Your Connection with Australian-Made Quality
Maximising your Starlink performance starts with a rock-solid foundation. Whether you are setting up a permanent residence, a weekend cabin, or a rural business, the right Starlink mount for homes ensures your hardware is protected and your signal is uninterrupted. Remember that physical mount stability is the most critical factor for a consistent connection.
At SpaceTek Australia, we don't believe in one-size-fits-all or 3D-printed solutions. We provide custom-engineered kits designed specifically for our harsh climate. From lightweight, 1.5kg carbon fibre telescopic poles to precision-machined aluminium base plates, our gear is built to last.
Ready to get the best possible speeds from your setup? Explore the full range of Starlink mounting accessories and secure your signal today. Your connection is only as good as your mount—make sure yours is up to the task.

Leave a comment
This site is protected by hCaptcha and the hCaptcha Privacy Policy and Terms of Service apply.