
If your Starlink shows “No Signal”, start with the simple checks: confirm there is no outage in the app, reboot the router and dish, inspect the cable connections, and make sure the dish has a clear view of the sky.
Key Takeaways
- Check the Starlink app first for outage, obstruction, cable, or account alerts.
- Power cycle the system before moving the dish or changing your setup.
- Reseat and inspect the dish cable at both ends, as loose or damaged cables are a common cause of dropouts.
- Use the obstruction scanner to spot trees, rooflines, or new structures blocking the dish.
- For off-grid or travelling setups, stable DC-to-DC power can help avoid unnecessary battery drain and power-related dropouts.
How Can You Check for a Starlink Outage or Local Fault?
Before unplugging gear or heading up to the roof, work out whether the issue is with your setup or a broader network problem. Starlink satellites constantly move overhead, so brief interruptions can happen, but a proper “No Signal” warning usually needs a more deliberate check.
Use these quick checks to narrow it down:
- App network banner: Open the Starlink app and look for any regional outage, cable, obstruction, or stow alerts on the home screen.
- Local network check: See whether your phone or laptop can still connect to the Starlink router. If the app can still reach local router settings, your Wi-Fi is working and the issue is more likely satellite reception, cabling, or the wider Starlink network.
- Outage reports: Use mobile data to check outage reports or community forums. If plenty of users report the same sudden disconnection at the same time, it is likely on the provider’s end and may resolve without hardware changes.
How Should You Power Cycle Starlink Equipment?
A proper reboot often clears temporary connection glitches and forces the dish to start a fresh search for satellites. It is the easiest first fix before you touch cables, mounts, or placement.
For stubborn “Searching” or “Offline” loops, use a deeper power cycle rather than a quick unplug. Disconnecting the system for 20 minutes gives the router and dish power assembly time to fully reset before the dish starts a fresh cold boot.
To power cycle the system:
- Unplug the main power supply from the wall socket or power outlet.
- Leave the equipment completely disconnected for 20 minutes.
- Plug the power cord firmly back into the wall outlet.
- Give the dish up to 15 minutes to level itself, scan the sky, and lock onto the network.
If the issue keeps coming back after a full reboot, our guide to resolving Starlink connection glitches can help you work through the next likely causes.
How Do Obstructions and Alignment Cause Starlink No Signal Issues?
Your dish needs a wide, clear view of the sky because Starlink satellites are constantly moving. Even a small branch, roof edge, or nearby structure can create repeat dropouts when the dish tries to hand off between satellites.
To fix obstruction and alignment problems:
- Use the app obstruction scanner: Open the Obstructions tab in the Starlink app and scan the sky above the dish. Red areas show where objects may interrupt service.
- Check for seasonal growth: A tree that was fine in winter can become a problem once spring and summer foliage fills out.
- Do not force the dish by hand: If you have a motorised dish, let it adjust itself. Forcing it can damage the internal drive system.
- Raise the dish if needed: If sheds, roof ridges, trees, or campsite structures are blocking the view, moving the dish to a higher position with a suitable Starlink mount can improve line of sight.
How Do Cable and Hardware Faults Cause Signal Loss?

The cable between your Starlink dish and router carries both data and power, so a loose plug or damaged section can quickly trigger “No Signal”, “Offline”, or “Dish Unplugged” errors.
Because Starlink connectors use tight weather seals, they sometimes feel connected before they are fully seated. A firm, even push is often all it takes to get the plug sitting flush again.
How Should You Inspect Starlink Cables and Router Lights?
When you are troubleshooting hardware, the cable run and router light can tell you a lot before you replace anything.
Follow these steps to inspect the cable safely:
- Unplug the main power cord from the wall before handling network cables.
- Disconnect the dish cable from both the dish base and the router.
- Check the connector pins for dirt, grit, corrosion, or bending.
- Inspect the full cable run for sharp kinks, crushed sections, UV damage, or animal chewing.
- Reinsert both plugs firmly until each connector sits flush with the port housing.
Use the router light as a quick health check:
- Flashing white: The router is powering up and trying to connect.
- Solid white or illuminated base light: The router is powered on and operating normally.
- Solid red: The router has power but has not established an internet connection after about 20 minutes. This can point to a cable fault, severe obstruction, or dish communication issue.
- Solid violet or purple: The router is in Bypass Mode, so you may need a factory reset if you want to use the built-in Wi-Fi again.
- No light: The router has no power, or the status light has timed out after normal operation.
For exposed outdoor runs, weather-sealed protection and weatherproof Starlink cables and accessories can help reduce wear from harsh Australian conditions.
What Advanced Starlink Troubleshooting Steps Help With No Signal?
If reboots and cable checks do not fix the issue, local diagnostics can give you a clearer picture. Even without internet access, connect to your Starlink Wi-Fi and type 192.168.100.1 into a browser. This opens the local diagnostic dashboard, where you can check power status, signal readings, and internal error messages.
If the app or local dashboard will not respond, a router factory reset may clear corrupted settings:
- Gen 2 routers: Unplug the power cable from the wall and plug it back in six times in quick succession. The router should reset to its default network name.
- Gen 3 and Mini hardware: Press and hold the physical reset button on the router with a paperclip until the status light flashes.
For off-grid setups, caravans, utes, and remote installations, unstable power is another common cause of sudden dropouts. Running Starlink through an AC inverter adds extra conversion steps, heat, and battery draw. A DC-to-DC setup with StarPower V2, V3, or V4 power supplies is generally more efficient, draws less from battery systems, and can support custom setups that bypass the Starlink router.
Direct DC-to-DC power can help by:
- Reducing unnecessary power conversion losses.
- Lowering battery drain during longer off-grid use.
- Supporting custom hardware setups that bypass the Starlink router.
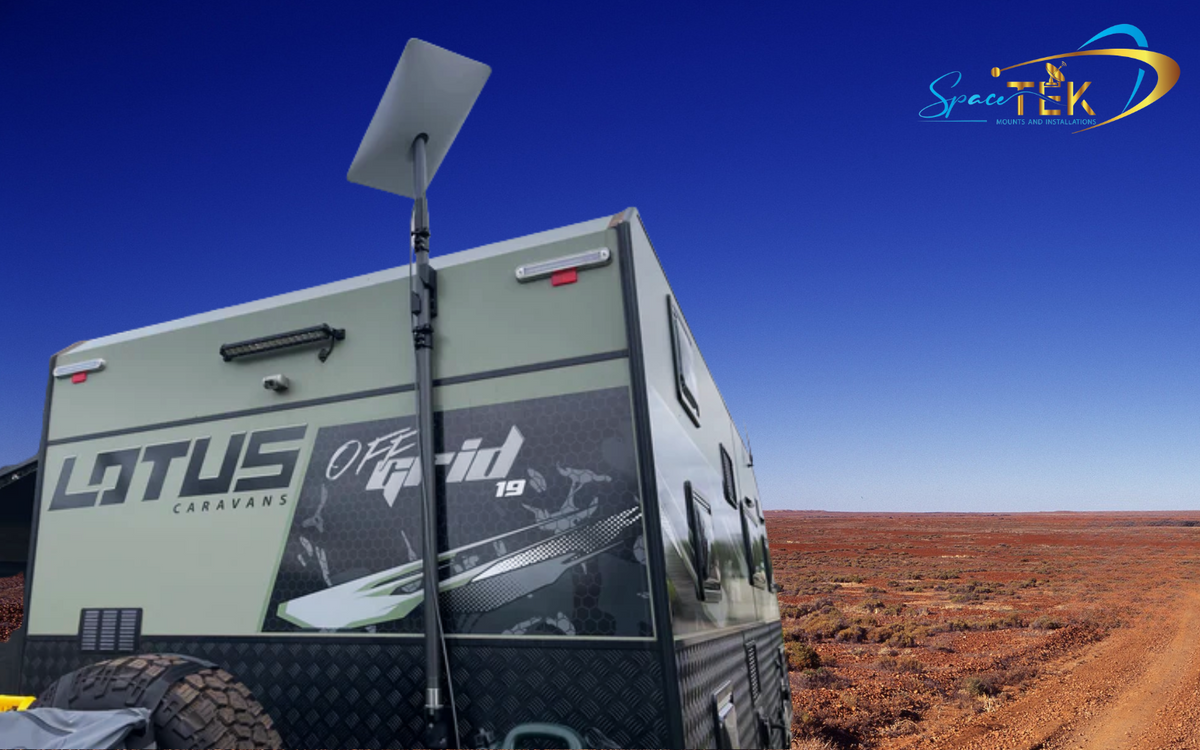
At SpaceTek Australia, we build Starlink accessories for real Australian conditions, from coastal weather to corrugated tracks. Our precision-machined folded aluminium and reinforced composite Starlink mounts are made to keep your dish stable when wind, heat, and travel vibration would otherwise work against it.
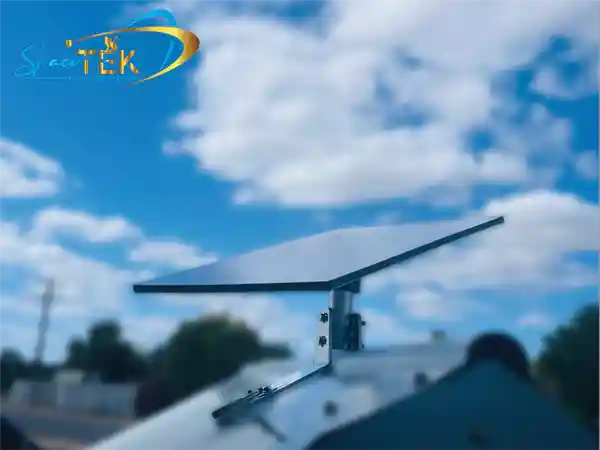
For fixed installs or off-grid setups, our heavy-duty Australian Starlink mounts can help keep the dish steady and aligned.
How Can Australian Weather Affect Starlink Signal?
Satellite internet signals use high frequencies, so severe weather and harsh environmental conditions can affect performance. Most everyday weather will not knock the system out, but intense storms, heat, snow, or unstable mounting can cause temporary signal issues.
Consider these local conditions when troubleshooting:
- Heavy rain: Intense downpours can absorb or scatter the signal, causing short-term slowdowns or dropouts until the storm passes.
- Extreme heat: Australian summer heat can push dish temperatures high enough for temporary thermal protection, which may cause dropouts until the unit cools.
- Snow and freezing conditions: In alpine areas, snow build-up on the dish face can block the signal. The Snow Melt setting can help clear ice or snow from the surface.
- High winds: A loose or flexible installation can shift slightly in strong wind, creating micro-dropouts during satellite handoffs.
Good placement and a steady mount make a real difference. Our guide to common Starlink setup issues and fixes covers more ways to improve dish position for Australian conditions.
When Should You Contact Starlink Support for Signal Issues?
If you have checked outages, rebooted the system, reseated the cable, scanned for obstructions, and still have no reliable signal, it is time to lodge a Starlink support ticket. The more detail you include upfront, the easier it is for support to separate a network issue from a hardware fault.
Before submitting the ticket, gather these details:
- The exact app status message, such as “No Signal”, “Offline”, “Searching”, or “Dish Unplugged”.
- The troubleshooting steps you have already tried, including power cycling, cable reseating, and obstruction scans.
- Diagnostic logs or screenshots from the Starlink app, if available.
- Clear photos of the dish location, sky view, dish face, and both cable connection points.
- Your dish serial number from the dish stem or app diagnostics.
Then open the Starlink app, go to Support, choose the closest topic, and use the “This did not solve my issue” option to submit the ticket.
If diagnostics show internal hardware failure or a damaged cable, Starlink support can advise on replacement options.
Frequently Asked Questions About Starlink No Signal Fixes
How long does Starlink take to connect after a power cycle?
After a power cycle or full reset, the dish usually takes 5 to 15 minutes to re-align, confirm its location, download satellite schedules, and complete network authentication. Avoid restarting it again while it is still levelling or searching.
What does a solid red light on the Starlink router mean?
A solid red light on the router usually means the router has power but has not established an internet connection after about 20 minutes. Start by checking for a loose cable, severe obstruction, or dish communication fault.
How do I submit a support ticket for persistent connection dropouts?
Open the Starlink app, go to the Help Centre, choose the closest troubleshooting topic, scroll to the feedback option, and select that the article did not solve your issue. Add your diagnostic details, photos, and the steps you have already tried.
For a broader walkthrough, read our Starlink troubleshooting guide.
Keep Your Starlink Signal Stable in Australian Conditions
Fixing a Starlink “No Signal” issue usually comes down to a few practical checks: outage status, power stability, cable seating, and a clear view of the sky. Work through them in order and you will rule out most everyday connection problems without wasting time on guesswork.
Once the signal is back, think about what caused the dropout in the first place. A stable Starlink mount, protected cabling, and efficient DC-to-DC power setup can make a big difference for homes, caravans, campsites, and remote work sites across Australia. If you want gear built for local conditions, SpaceTek Australia offers Starlink mounts, cables, and DC power solutions designed to keep your setup secure and dependable.

Leave a comment
This site is protected by hCaptcha and the hCaptcha Privacy Policy and Terms of Service apply.