
Why a Starlink Pole Mount Adapter Makes All the Difference

Investing in a high-quality Starlink pole mount adapter is the most effective way to ensure your satellite internet performs at its peak. This specialised mounting bracket attaches your Starlink dish to an existing metal pole, providing the necessary height and clearance to bypass obstructions that typically cause signal drops. In the vast Australian landscape, where tall gum trees and rolling hills are common, getting your dish above the tree line is often the only way to achieve a stable connection.
Here is a quick overview of what this essential accessory offers:
- Purpose: Securely fastens your Starlink dish to a metal pole for a permanent, elevated installation.
- Ideal Users: Homeowners, rural property owners, and RV enthusiasts who require a long-term, stable setup.
- Pole Compatibility: Designed for metal pipes with a diameter range typically between 31mm and 63.5mm.
- Signal Optimisation: Most premium adapters include a built-in 20-degree tilt to ensure the best possible alignment with the satellite constellation.
- Hardware Support: Compatible with Starlink Gen 3 V4, Standard Actuated, Mini, and High Performance kits.
- Durability: Built to withstand the harsh Australian sun and high wind speeds.
Moving your dish from a ground-level kickstand to a dedicated pole mount isn't just about aesthetics; it is about reliability. Ground setups are prone to interference from pets, wildlife, moisture, and physical damage. By elevating the dish, you lock it into a clear view of the sky, ensuring your internet remains rock-solid through wind, rain, and the intense heat of the Australian summer.
For those looking to maximise their hardware's potential, understanding the nuances of your specific kit is vital. Whether you are looking for a starlink-gen-3-pole-mount-kit-guide or need advice on the best materials for coastal environments, choosing the right adapter is the first step toward a seamless online experience.
Choosing the Right Starlink pole mount adapter for Your Kit

Selecting the correct Starlink pole mount adapter is a critical step in your installation process. Because Starlink has released several hardware versions, a generic approach often leads to poor fitment or even damage to your equipment. You must ensure the adapter is specifically engineered for your dish model and the diameter of your mounting pole.
In Australia, we face unique environmental challenges, including extreme UV exposure and high-velocity winds. A mount that isn't designed for these conditions can lead to "dish-drift," where the dish moves slightly over time, degrading your signal. We always recommend choosing mounts that use high-grade materials to ensure longevity.
Compatibility Across Starlink Generations
Each Starlink kit features a unique connection mechanism. Using an incompatible adapter can damage the delicate locking tabs on the dish mast.
- Gen 3 V4 (Standard): This latest model features a "click-in" tab design. Since this dish is non-actuated (it doesn't move itself), the mount must provide the correct orientation. For more details, see our starlink-gen-3-pole-mount-kit-guide.
- Standard Actuated (Gen 2): This is the rectangular dish with a motorised mast. The adapter for this model slides into the mast and clicks into place. If you are using this reliable workhorse, refer to our starlink-gen-2-pipe-adapter-guide.
- Starlink Mini: While the Mini is designed for portability, many Australians prefer a permanent mounting solution. You can reach new heights installing your Starlink Mini on a pole by using a specialised adapter that provides more stability than the basic included hardware.
- High Performance: These larger, heavier dishes require heavy-duty adapters capable of supporting increased weight and wind surface area. These are typically used for business or high-demand residential setups.
Material Durability and Australian Conditions
Durability in the Australian climate requires more than just strength; it requires resistance to corrosion and UV degradation. A mount that works well in cooler climates may become brittle and fail after a single summer in the Outback.
We prioritise the following materials for our mounting solutions:
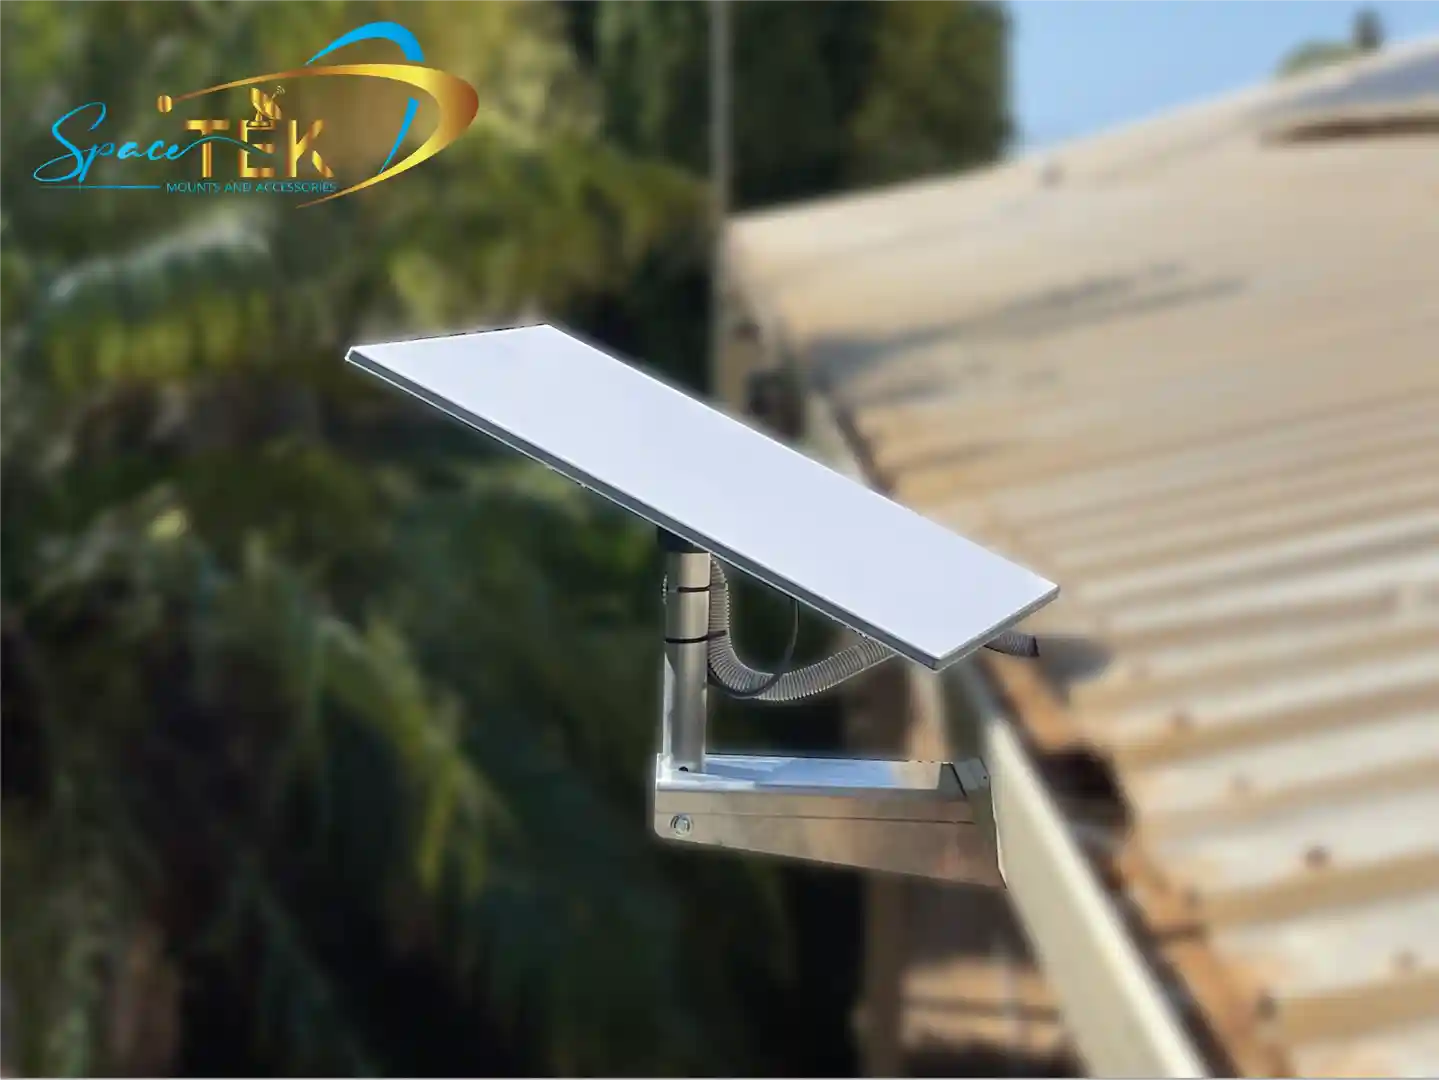
- Aluminium: Naturally rust-resistant and lightweight, aluminium is the ideal choice for roof-mounted poles, especially in coastal areas where salt spray is a factor.
- UV-stabilised PETG or Fiberglass-reinforced Polyamide: These advanced polymers are far superior to standard plastics. They are designed to maintain their structural integrity even under constant exposure to intense sunlight.
- Stainless Steel Fasteners: We utilise Grade 304 or 316 stainless steel bolts combined with brass bushings. This prevents the hardware from seizing over time, allowing for easy adjustments if you ever need to relocate the dish.
Technical Specifications of a Starlink pole mount adapter
Before purchasing, it is essential to measure the outer diameter (OD) of your pole. Most Starlink pole mount adapter models are designed for poles between 31mm (1.25 inches) and 63.5mm (2.5 inches).
A vital safety rule: Metal pipes only. Never attempt to mount your Starlink adapter to PVC or plastic piping. While PVC may seem sturdy, the weight of the dish and the constant vibration from the wind will eventually cause the plastic to crack, which could lead to expensive hardware failure.
Installation and Performance of Your Mounting Solution
Once you have selected the appropriate hardware, the installation of your Starlink pole mount adapter is a straightforward process. However, attention to detail during the setup will ensure your connection remains stable for years to come. A proper installation should be a "set and forget" solution that requires zero maintenance.
Step-by-Step Installation of the Starlink pole mount adapter
Installing your adapter typically takes less than 20 minutes. Follow these steps for a secure fit:
- Prepare the Dish: For Gen 3 models, remove the temporary kickstand by pressing the release tab. For Gen 2 models, ensure the mast is clear of debris.
- Attach the Adapter: Slide the adapter into the dish's mounting port. You should hear a distinct "click," which confirms the locking tabs have engaged securely.
- Prepare the Pole: Ensure your metal pole is plumb (perfectly vertical) and securely fixed to your roof or structure. Any wobble in the pole will be amplified at the dish level.
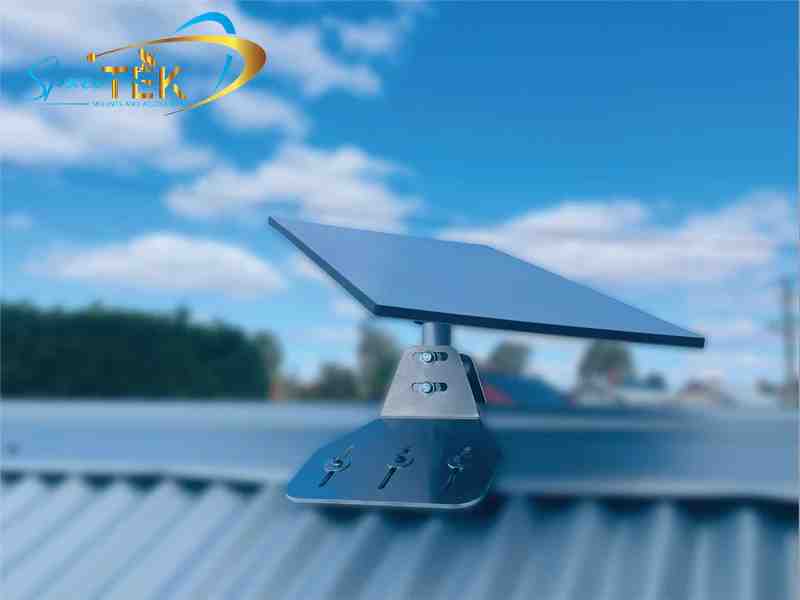
- Mount to Pole: Slide the adapter over the top of the pole. Most SpaceTek adapters use a robust clamping mechanism with multiple bolts for maximum grip.
- Secure and Align: Use the provided Allen key to tighten the stainless steel bolts evenly. Use the Starlink app to check for obstructions and ensure the dish is oriented correctly.
For a more comprehensive guide, you can read our how-to-install-a-starlink-pole-mount-in-5-simple-steps or follow our diy-starlink-pole-mount-step-by-step-instructions.
Why the 20-Degree Tilt Matters
You will notice that many high-quality adapters feature a built-in 20-degree tilt. This is a deliberate engineering choice designed to optimise performance in several ways.
Firstly, the angle facilitates rapid rain runoff, which prevents "rain fade"—a common issue where water pooling on the dish surface interferes with the signal. Secondly, it prevents the accumulation of dust, bird droppings, and debris, which can degrade performance over time. Most importantly, this angle aligns the dish with the optimal orbital path of the satellite constellation. Understanding how adapters solve the alignment problem is essential for any user wanting the best possible speeds.
More Expert Advice
Choosing the right Starlink pole mount adapter is about more than just holding a piece of hardware in the air; it is about protecting your investment and ensuring your household or business stays connected when it matters most. By moving your dish to a permanent, elevated position, you eliminate the risks of ground-level obstructions and accidental damage from pets or weather.
At SpaceTek Australia, we have dedicated ourselves to creating mounting solutions that are specifically engineered for the Australian climate. Whether you are mounting to a tin roof in the Top End or a caravan in the Red Centre, our rust-resistant, high-quality aluminium and UV-stabilised mounts are built to endure the toughest conditions. We focus on precision engineering to ensure that every mount provides a perfect fit for your Starlink kit.
The best mount is the one you only have to install once. Do not settle for flimsy plastic brackets or generic imports that were not designed for the specific weight and wind-load requirements of a Starlink system. Our mounts provide the peace of mind that comes with knowing your internet hardware is secure.
If you are unsure which mount is right for your property or vehicle, our team is ready to assist. We have the local expertise to guide you through the selection process and ensure your setup is rock-solid. For more information or to discuss a custom mounting solution, please contact us for expert advice. We look forward to helping you achieve the best possible connection.
Leave a comment
This site is protected by hCaptcha and the hCaptcha Privacy Policy and Terms of Service apply.