
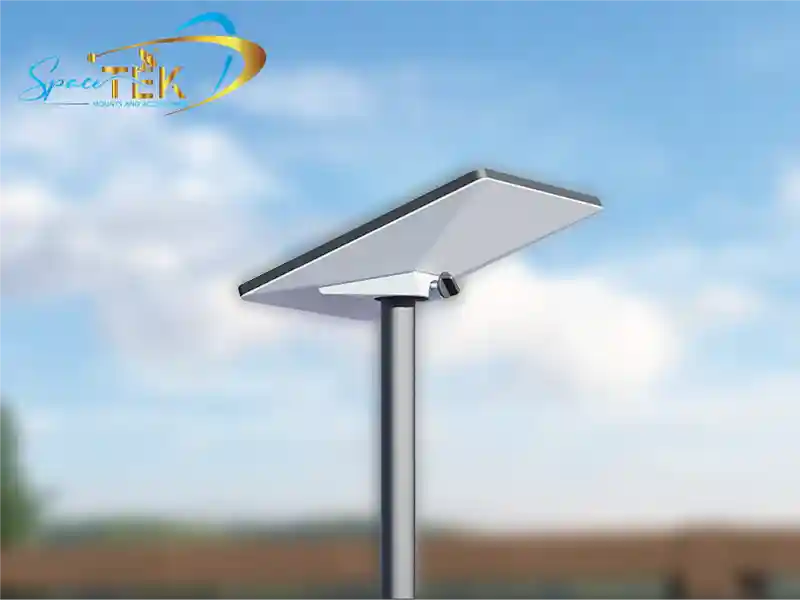
How to Set Up Your Starlink Mini: Quick-Start Overview
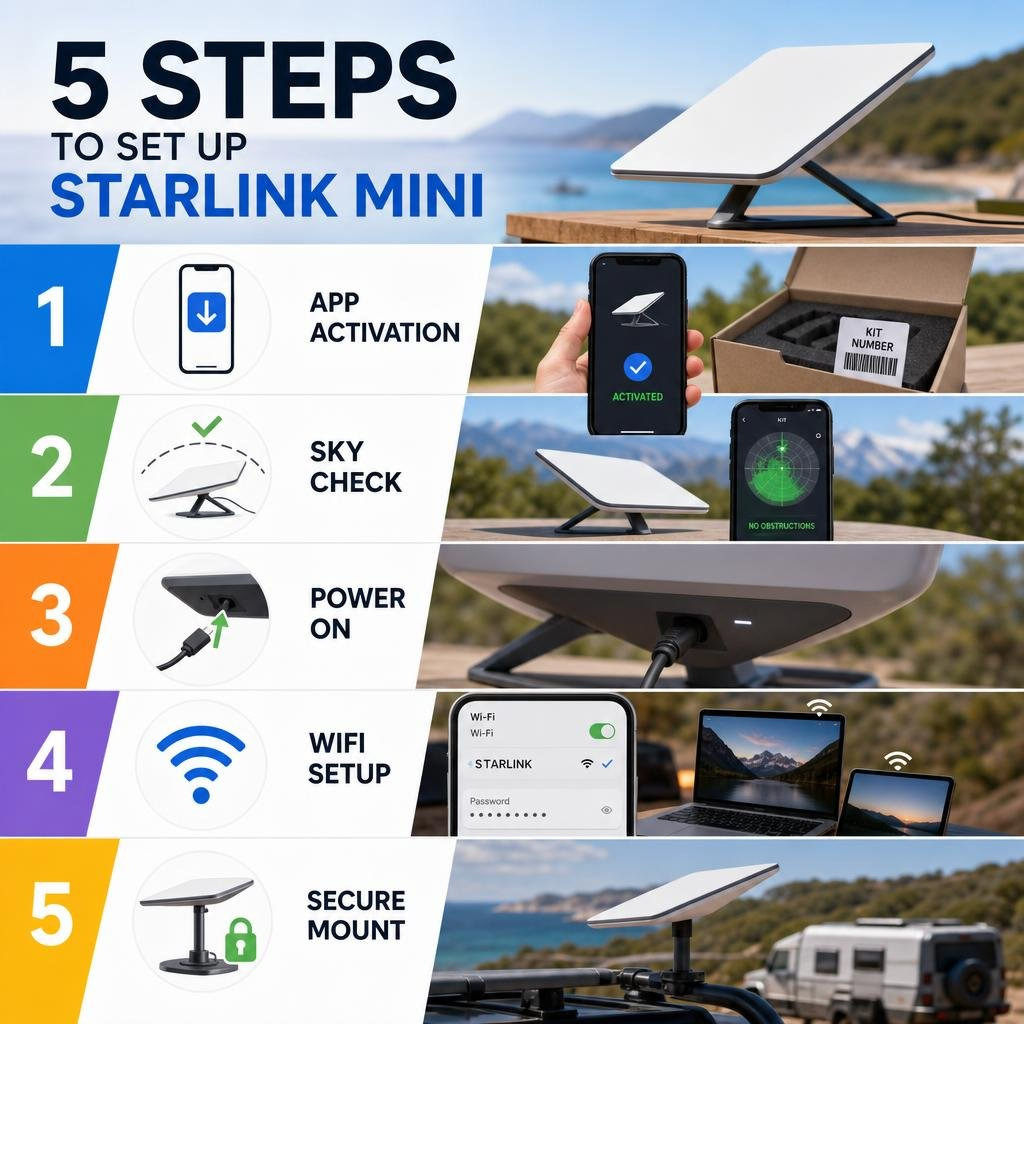
Setting up your Starlink Mini involves downloading the Starlink app, activating your dish using the KIT number, checking for sky obstructions, plugging in the DC power cable, and connecting to the default STARLINK WiFi network to customise your settings. This quick-start process can often get you online within minutes, provided you already have an active service plan and a clear view of the sky.
- Download the Starlink app and activate your dish using the KIT number on the box.
- Check for obstructions using the app's built-in tool before choosing a mounting spot.
- Power on the dish by plugging in the DC cable until it sits flush.
- Connect to WiFi by joining the STARLINK network and setting a custom password.
- Mount it securely using a dish mount suited to your vehicle, caravan, or campsite.
Most simple installs are quick, but permanent vehicle, caravan, or off-grid setups take longer once you factor in mounting, cable routing, and power planning.
So the box has arrived. You've pulled out a compact white dish, a coiled cable, a power brick, and not much else in the way of instructions. If you're planning to use it on the road — in a 4WD, caravan, or off-grid camp — you've probably already noticed that the kit doesn't include a single vehicle accessory.
That's where things get a little more involved. The standard Starlink Mini kit is designed around a 240V wall socket, not a vehicle's electrical system. For Australians heading bush — whether it's a lap around the country or a work stint in a remote area — getting the Mini running reliably takes a bit more than just plugging it in and pointing it at the sky.
The good news? It's still a straightforward setup when you know what you're doing. The Starlink Mini weighs 1.10 kg for the dish alone, or about 1.16 kg with the kickstand, uses a software-assisted manual alignment process, has a 110° field of view, and typically draws 25–40W in normal use. Starlink currently markets Mini speeds as capable of reaching 300+ Mbps, but real-world performance varies by location, congestion, plan, weather, and sky visibility.
This guide walks you through every step, from first activation to off-grid power and vehicle mounting, so you can get connected wherever you are.
To help you plan your next adventure, check out our guide on starlink mini camping setup to see how to integrate this compact dish into your off-grid setup.
What is Included in the Starlink Mini Kit?
When you unbox your new gear, you will find a highly integrated, lightweight package. Unlike the larger Gen 2 or Gen 3 setups, the Starlink Mini combines the dish and the router into a single laptop-sized unit. Here is exactly what is inside the standard box:
- Starlink Mini Dish: The core unit featuring an integrated WiFi 5 router.
- Kickstand: A pre-installed, fold-out stand for quick ground or tabletop deployment.
- Pipe Adapter: A basic adapter used for mounting the dish onto existing poles.
- 15m DC Power Cable: A proprietary cable designed to run from your power source to the dish.
- 240V Power Supply: A standard wall brick that converts household AC power into the DC power the dish requires.
While this kit gets you online at home or in a caravan park with mains power, it lacks the essential accessories needed for vehicle integration or off-grid travel. There are no 12V cigarette lighter adapters, direct DC battery cables, or rugged vehicle mounting solutions included.
To understand how these standard parts fit together before making modifications, you can review the official Starlink Mini Kit Install Guide. For true off-grid freedom, you will need to source reliable aftermarket power cables and vehicle-specific Starlink mounts.
Step-by-Step Starlink Setup Mini Guide
The Starlink Mini uses advanced phased array technology. Instead of physically moving or rotating with internal motors like older models, it uses electronic beam steering to locate and track satellites across the sky. This makes the physical setup incredibly fast, but it also means proper initial placement and configuration are critical for a stable connection.
Step 1: Download the App and Activate Your Dish
Before you lose mobile reception on your way out of town, you must download the official Starlink app.
- Search for "Starlink" in the Apple App Store or Google Play Store and download the free app.
- If you bought your Mini directly from Starlink, it may already be linked to your account. If you purchased it from a retail store like hardware stores, you must activate it online.
- Open the app or visit the activation page on the Starlink website.
- Locate the KIT number, which is printed on the shipping box label and on the back of the dish itself.
- Enter this number to register the hardware to your account and select your preferred service plan.
Step 2: Find a Clear View of the Sky
Your Starlink Mini requires a broad, unobstructed sky view. Starlink lists the Mini's field of view as 110°, so even partial obstructions can affect performance as satellites move across the sky.
- Open the Starlink app and select the "Check for Obstructions" tool.
- Stand in your proposed installation spot and use your phone's camera to scan the sky as prompted.
- Look out for tree branches, high-clearance roof racks, caravan air conditioners, or nearby structures.
- Even a small obstruction, like a single overhanging branch, can cause frequent dropouts during video calls or remote work sessions.
Step 3: Power On and Align the Dish
Once you have found a clear spot, it is time to power up.
- Fold out the integrated kickstand or clip the dish into your chosen mount.
- Plug the 15m DC power cable into the back of the dish. Push the plug firmly until it sits completely flush to preserve the IP67 weather-resistance rating.
- Plug the other end into your power supply. The small LED status light on the back of the dish will turn on.
- Open the Starlink app. If the dish is not aligned correctly, an alert will appear on your screen.
- Follow the live alignment tool in the app, turning the dish manually until the graphic shows perfect alignment.
Step 4: Connect and Customise Your WiFi
With the dish aligned and connected to the satellite network, you can connect your personal devices.
- Open the WiFi settings on your phone, tablet, or laptop.
- Look for the default open network named "STARLINK" and connect to it.
- Once connected, the Starlink app will automatically prompt you to set a custom network name (SSID) and a strong password.
- Save these settings. Your devices will disconnect briefly, and you can then reconnect using your new secure password.
Step 5: Secure Your Starlink Setup Mini with Premium Mounts
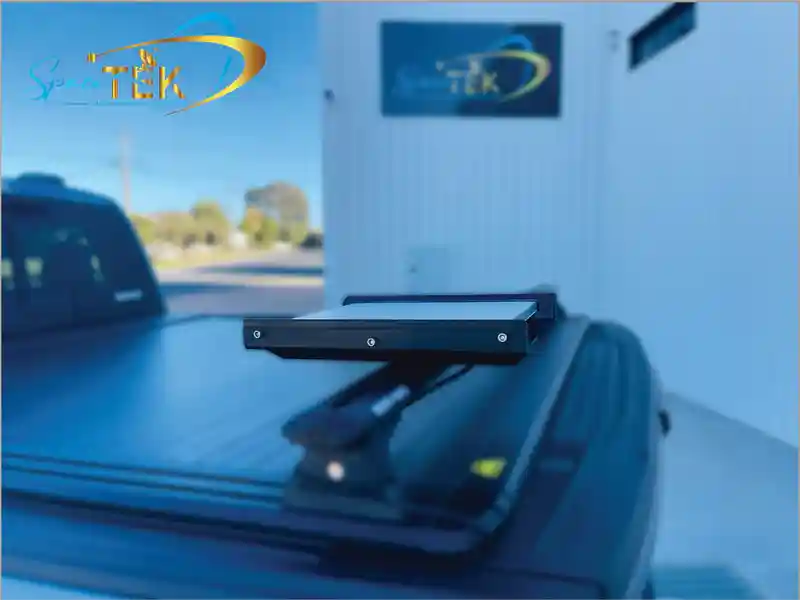
While the built-in kickstand is great for a quick picnic, it is completely unsuitable for high winds, corrugated outback roads, or highway driving. Leaving your dish loose on the ground also makes it a target for dust, mud, and accidental damage.
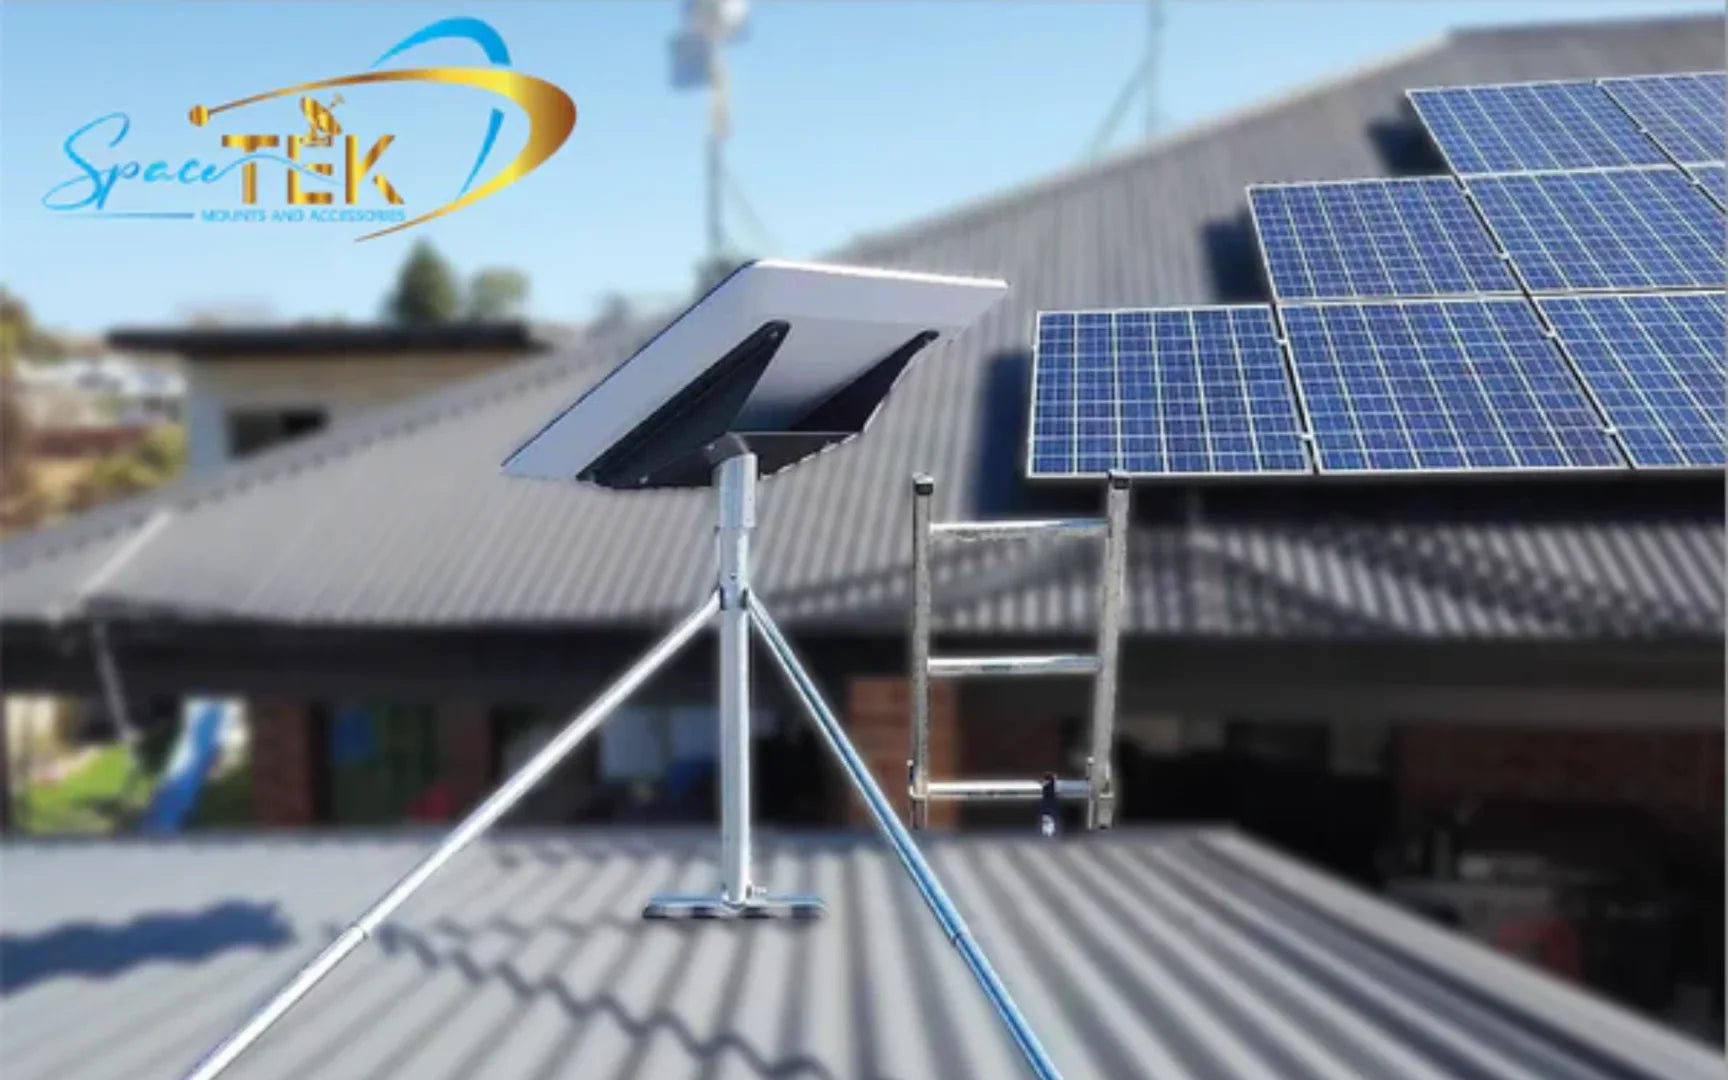
To get the most out of your setup, you need a high-quality dish mount. At SpaceTek New Zealand, we design and manufacture premium Starlink mounts specifically built to handle coastal, rural and alpine New Zealand conditions. Unlike cheap, fragile 3D-printed alternatives that can warp, crack, and degrade under intense sun exposure, our mounts are precision-machined or folded from high-grade aluminium and reinforced composites.
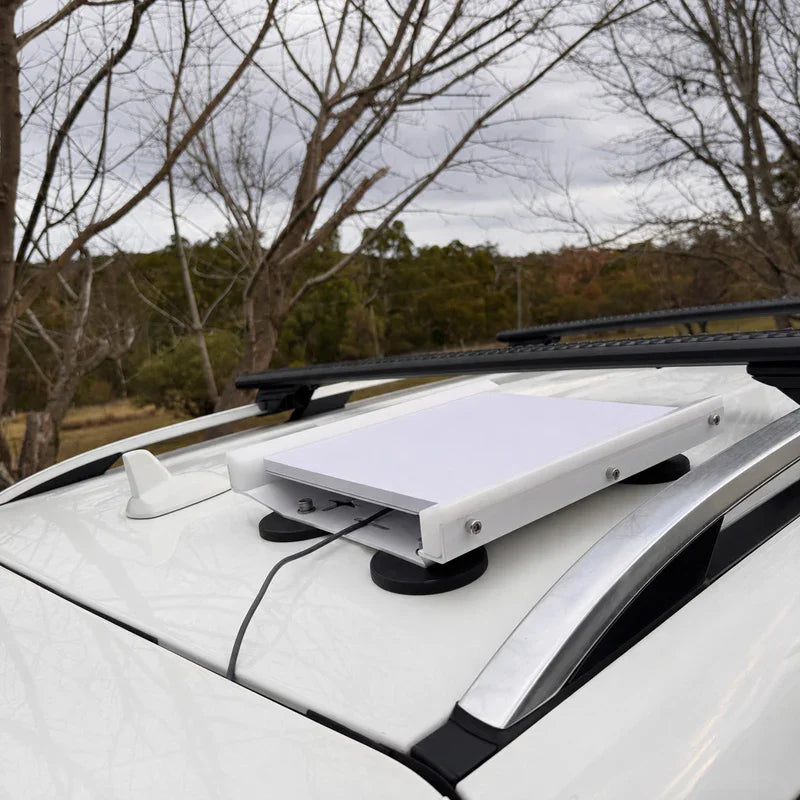
If you are touring in a 4WD or caravan, we recommend using a magnetic roof mount or a roof rack integration system. These keep the dish elevated above ground-level obstructions while securing it firmly to your vehicle. For a deeper look at your mounting options, read our Starlink Mini Mount Complete Guide.
How to Power Your Starlink Mini Off-Grid

The Starlink Mini is efficient compared with older Starlink terminals. Starlink lists average power consumption at 25–40W, with higher short-term demand possible during startup, heavy use, or adverse conditions.
While the kit comes with a 240V wall adapter, running your dish through a traditional 240V AC inverter in your caravan or 4WD is often less efficient than a direct DC setup. Inverters can consume standby power just staying turned on, which drains your house batteries unnecessarily.
Bypassing the inverter and running your Starlink Mini directly on DC power is the preferred approach for many off-grid travel setups. Starlink lists the Mini's input rating as 12–48V DC, 60W max, but real-world vehicle systems still need stable voltage under load.
To do this safely, we highly recommend using our specialised StarPower DC power supplies. Our StarPower V2 and V3 DC power supplies allow you to run the dish directly from your vehicle’s battery system, offering significant DC-to-DC efficiency advantages over traditional AC inverters by eliminating unnecessary power conversion losses.
Using a quality DC-to-DC voltage booster is critical. When running DC power over long cables, the voltage drops. If your battery voltage dips slightly, a low-voltage connection can drop below the minimum threshold required by the dish, causing the Mini to reboot. Our StarPower systems boost and regulate the output to a stable, higher voltage, helping maintain reliable operation even when your batteries are under load. For a complete breakdown of wiring options, check out our Starlink Mini Power Supply Guide.
Advanced Networking: Ethernet Port and Mesh Routers
For most users, the integrated WiFi 5 router inside the Starlink Mini provides plenty of coverage around a campsite or caravan. However, if you need to connect wired devices or extend your wireless range, the Mini has a built-in RJ45 Ethernet port hidden behind a protective rubber plug on the back.
Before you use this port, there are a few important things to keep in mind:
- Weatherproof Rating: Removing the rubber plug to insert a standard Ethernet cable voids the dish’s IP67 weather-resistance rating. If you plan to use the Ethernet port outdoors, you must use a specialized waterproof Starlink Ethernet cable.
- Bypass Mode: If you want to use a high-performance third-party router inside your caravan, you can enable "Bypass Mode" in the Starlink app settings. This disables the Mini's built-in WiFi router entirely, routing all traffic directly to your external hardware.
- Mesh Networking: You can easily extend your coverage by pairing the Mini with a secondary Starlink router. This can be done wirelessly or via a wired connection.
Troubleshooting Common Connection Issues
Even with a premium setup, travelling through remote parts of New Zealand can occasionally throw up connection challenges. Understanding how to diagnose issues quickly will save you plenty of frustration.
How to Fix a Failed Starlink Setup Mini Connection
If your app displays a "No Signal" or "Searching" status, work through these steps to get back online:
- Check the Cable Seating: Unplug the DC power cable from the back of the dish and inspect it for dust or moisture. Plug it back in, pushing firmly until it is completely flush.
- Inspect for Damage: Corrugated roads can cause cables to rub against sharp metal roof racks. Check the entire length of your cable for pinches or cuts.
- Perform a Power Cycle: Disconnect the power source for 30 seconds, then plug it back in. This forces the dish to restart its search sequence.
- Relocate the Dish: If you are parked under heavy tree canopy, you may need to move the vehicle or deploy the dish on a longer cable run away from the trees. For camping-specific tips, read our guide on Starlink Mini camping setups.
Dealing with Slow Speeds or Random Dropouts
If you are connected but experiencing slow speeds, the culprit is usually one of three things:
- Unseen Obstructions: Check the app's obstruction map. Even a thin powerline or a dry tree branch can cause brief, regular dropouts.
- Network Congestion or Plan Limits: Starlink performance varies by location, network load, plan type, and priority. Treat quoted speeds as potential performance, not a guaranteed fibre-equivalent result.
- Thermal Management: The Mini can get warm when working hard in high ambient temperatures. If you are using a protective cover, make sure it is a high-quality polycarbonate model designed with an adequate air gap to prevent thermal throttling.
If your network settings become corrupted or you forget your password, you can perform a factory reset. Locate the physical reset button on the back of the dish, press and hold it for 3 seconds until the LED light blinks, and the dish will reset to its default out-of-the-box settings.
Frequently Asked Questions about Starlink Mini
Does the Starlink Mini work while driving in New Zealand?
Yes, the Starlink Mini can support in-motion use when paired with an eligible Starlink Roam service plan and a secure vehicle mount. Always check the current Starlink terms for your exact plan before relying on in-motion use, as plan names and mobility rules can change.
Our Starlink Mini Mobility Mount is designed specifically for this purpose, keeping the dish flat against your roof rack to minimise wind drag and prevent it from lifting at highway speeds.
What is the best power source for the Starlink Mini when camping?
While you can run the Mini off a portable power station using its 240V plug, the most efficient method is usually running it from a well-regulated DC power setup connected to your vehicle's dual-battery system.
Using high-quality heavy-gauge cabling connected via Anderson plugs is highly recommended. Standard cigarette lighter sockets are notorious for vibrating loose on corrugated roads, which causes power interruptions and reboots.
Which Starlink service plan is best for travel?
For many travellers, the Roam 100GB plan is the most cost-effective starting point, providing a capped high-speed data allowance for general browsing, maps, messaging, and light streaming. As of late June 2026, Starlink lists New Zealand Roam service as starting at $85/month, while independent New Zealand Starlink pricing trackers report Roam Unlimited at around $210/month and Standby Mode at around $15/month after June 2026 price changes. Always confirm pricing in your Starlink account before activating, because Starlink plan names, inclusions, discounts, and regional pricing change frequently.
If you work full-time from the road or travel with a large family, Roam Unlimited may be the better fit. If you only travel a few times a year, Standby Mode can help keep a service line available at a lower monthly cost, but it is low-speed and not a replacement for an active Roam plan.
Conclusion
Setting up your Starlink Mini for the ultimate New Zealand road trip doesn't have to be complicated. By following these five steps and pairing your dish with a reliable DC power solution, you can enjoy high-speed, low-latency internet in the most remote corners of the country.
Do not leave your expensive hardware at risk on a flimsy plastic stand or a cheap, sun-damaged 3D-printed mount. Invest in durable, New Zealand-made gear designed to survive the corrugations, heat, and winds of the outback.
Ready to complete your Starlink Mini setup?
- Explore the full Starlink Mini Collection to find compatible mounts, power kits, and accessories for your setup.
- Choose a secure Starlink Mini Mobility Mount if you need a low-profile vehicle mount for travel and in-motion use.
- Need help planning your installation? Contact the SpaceTek New Zealand team for advice on the right mount and power solution for your rig.

Leave a comment
This site is protected by hCaptcha and the hCaptcha Privacy Policy and Terms of Service apply.