
How to Set Up Starlink Mini Fast and Get Online Anywhere in Australia
To set up the Starlink Mini in Australia, download the Starlink app, activate your service using the KIT number, find a clear 100-degree view of the sky, plug in the DC power cable to boot the dish, and connect to the default STARLINK WiFi network to customise your settings. This simple process gets you online in under 15 minutes from almost any remote location.
How to set up Starlink Mini in five straightforward steps:
- Download the Starlink app from the App Store or Google Play and activate your dish using the KIT number on your quick-start card.
- Find a clear view of the sky using the app's built-in obstruction tool. You need a clear, unobstructed sky.
- Power on the dish by plugging in the DC power cable until it sits flush, then wait a few minutes for the first satellite lock.
- Connect to WiFi by joining the STARLINK network in your device's WiFi settings, then open the app to customise your network name and password.
- Mount securely using the included kickstand for a quick ground deployment, or a purpose-built dish mount for vehicle, caravan, or rooftop use.
Most users are online in under 15 minutes from unboxing.
The box lands on your verandah. You tear it open, and you're staring at a small white dish, a coiled cable, a power brick, and barely a page of printed instructions. Sound familiar?
The Starlink Mini is genuinely one of the simplest satellite internet devices ever made. It combines the dish and router into a single unit that weighs just over a kilogram and fits in a backpack. For Australians in rural and remote areas, where the alternative is a patchy 3G signal or nothing at all, it's a serious game-changer.
But there's a catch. The out-of-the-box kit is designed for a 240V power point and a fixed location. The moment you want to run it from a 12V system, mount it on a caravan roof, or keep it connected while driving across the Nullarbor, you'll quickly notice that several key accessories are missing from the box entirely.
That's exactly what this guide covers. Whether you're setting up at a remote property, heading off on the big lap, or rigging a permanent install on your 4WD, we'll walk you through every method, from first-time activation to off-grid DC power and in-motion vehicle setups built for real Australian conditions.
Learn more about how to get connected with our setup Starlink Mini guide or explore the ideal Starlink Mini camping setup for your next outdoor adventure.
Unboxing the Starlink Mini: What’s in the Kit (and What’s Missing?)
When you first open the Starlink Mini box, the engineering simplicity is immediately obvious. Unlike the larger Standard kits, which require routing a long cable from an outdoor dish to an indoor router, the Mini is entirely self-contained. The router is built directly into the back of the dish.
In the standard retail kit, you will find:
- The Starlink Mini dish with its integrated WiFi 5 router
- A removable plastic kickstand for quick ground setups
- A basic pipe adapter for pole mounting
- A 15-metre DC power cable
- A 240V AC power adapter (standard wall plug)
While this is plenty to get you online in your backyard, it falls short the moment you plan to travel. If you are setting up for vehicle or off-grid camping use, you will notice some major gaps:
- No 12V DC power accessories: The kit only includes a 240V wall plug. To run it off a battery system, you must supply your own 12V adapter or step-up converter.
- No vehicle-grade dish mounts: The included kickstand is easily blown over by coastal gales, and the basic pipe adapter is not designed for corrugated roads or highway speeds.
- No protective storage: The delicate face of the dish is exposed to scratches and UV damage when packed alongside heavy recovery gear in your 4WD.
To understand how the hardware differs from previous generations, you can read the US Mobile Starlink setup guide for a detailed comparison of standard setups.
How to Set Up Starlink Mini: Step-by-Step Alignment and Activation
Setting up the hardware is only half the battle. Before you can surf the web in the middle of the bush, you need to register the dish and link it to an active service plan.
To make this process seamless, always download the Starlink app and set up your account before you lose mobile coverage.
Step 1: How to set up Starlink Mini for the first time using the app
- Download the App: Search for the official Starlink app on the Apple App Store or Google Play Store.
- Locate your KIT Number: Look for the serial number card in your box, or read the label on the back of the dish. It usually starts with "KIT" followed by a string of numbers and letters.
- Activate Service: Open the app, select "Activate", and enter your KIT number. Follow the prompts to select your service plan (such as Roam Unlimited or Roam 100GB) and enter your billing details.
- Power Up: Plug the 15-metre power cable into the back of the dish, ensuring the plug is pushed firmly until it is flush with the casing to maintain its IP67 weather rating. Plug the other end into your power source.
- Connect to the Default Network: Open your device's WiFi settings and connect to the default "STARLINK" network.
- Customise Your Settings: The app will automatically prompt you to create a unique network name (SSID) and a secure password. Once saved, reconnect your devices to your new custom network.
For a deeper dive into first-time settings and account configurations, check out our setup Starlink Mini complete guide.
Step 2: Finding a clear view of the sky and aligning the dish
The Starlink Mini relies on a phased array antenna to track satellites moving overhead. Because it steers the beam electronically, there are no internal motors to point the dish for you. This means proper physical placement is critical.
To get a stable connection, the Mini needs a clear, unobstructed view of the sky.
To ensure you have chosen a good spot:
- Open the Starlink app and select the Obstruction Tool.
- Stand exactly where you plan to place the dish, point your phone's camera at the sky, and follow the on-screen prompts to scan the area.
- The app will calculate if nearby trees, roof racks, or caravan air conditioners will block the signal. Aim for minimal obstructions for uninterrupted video calls and streaming.
- If the app displays an alignment alert, simply look at the alignment tool on your screen. It will guide you to tilt or rotate the dish on its kickstand until it perfectly matches the active satellite path.
For official specifications and safety warnings regarding physical alignment, refer to the official Starlink Mini installation guide.
Powering the Starlink Mini: 12V DC Systems and Off-Grid Efficiency
One of the greatest features of the Starlink Mini is its highly versatile power input. Unlike the larger home units that require pure sine wave AC power, the Mini accepts a wide DC input range. This makes it incredibly easy to integrate directly into your 4WD, caravan, or portable power station.
At startup, the Mini draws a brief peak of power to boot up and search for satellites, dropping to a highly efficient average consumption during active use, idling, and sleep modes.
For off-grid travellers, this means you can easily run the dish for days without draining your auxiliary battery system. You can even run the Mini directly from a high-output USB-C Power Delivery (PD) source, provided you use a compatible trigger cable.
However, running DC power over long distances introduces a major physical hurdle: voltage drop.
Because 12V systems carry high current, running power through thin cables over long distances causes a significant drop in voltage by the time it reaches the dish. If the voltage drops below the Mini's minimum threshold, the unit will constantly reboot, especially during high-load satellite searches.
To prevent this, we always recommend:
- Using heavy-gauge cabling for all custom DC runs.
- Keeping cable runs as short as practical.
- Utilising a high-quality voltage booster to step up your 12V supply to a stable higher voltage before sending it down the line.
To learn more about calculating voltage drops and selecting the right cables, read our comprehensive Starlink Mini power supply guide.
Why direct DC-to-DC power beats AC inverters
Many campers make the mistake of plugging the standard 240V Starlink power brick into an AC inverter inside their vehicle. While this works, it is incredibly inefficient. An inverter must convert your battery's 12V DC power up to 240V AC, only for the Starlink power brick to convert it right back down to DC. This double-conversion process wastes a significant portion of your battery's capacity in pure heat.
By using direct DC-to-DC power supplies, such as our premium StarPower V2 and StarPower V3 series, you bypass the inverter entirely. This direct connection ensures maximum electrical efficiency, minimises battery drain, and allows you to run a custom network setup by clean-powering the dish directly from your 12V or 24V system.
Choosing the Best Starlink Mounts for Australian Vehicles and Caravans
Australia has some of the harshest driving conditions in the world. Between bone-rattling corrugations on the Outback tracks, extreme UV exposure, and heavy coastal gales, a flimsy mount simply won't cut it.
When choosing Starlink mounts, avoid cheap 3D-printed plastic options. They degrade rapidly under Australian UV rays and can easily crack at highway speeds, sending your expensive dish bouncing down the bitumen. Instead, look for Starlink mounts built from precision-machined or folded aluminium and UV-stabilised reinforced composites.
Depending on how you travel, there are four main mounting methods:
- Ground Deployment (Kickstand): Great for quick stops in areas with no trees. Simply fold out the included kickstand and place the dish on a flat surface. However, this leaves your dish vulnerable to theft, curious wildlife, and strong winds.
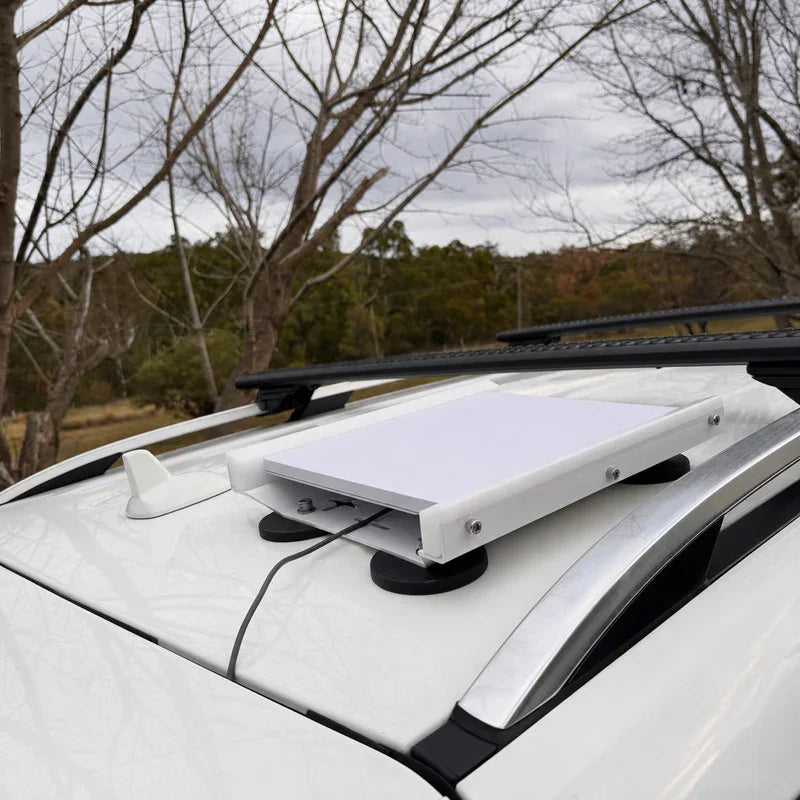
- Magnetic Roof Mounts: The most popular choice for 4WDs and steel-roofed vehicles. High-quality magnetic Starlink mounts utilise heavy-duty earth magnets to lock the dish firmly to your roof while driving, yet allow you to easily remove it to avoid tree obstructions at camp.
- Permanent Roof Mounts: Ideal for caravans and motorhomes. These low-profile dish mounts secure flat to your caravan roof, minimising wind resistance and keeping the dish permanently connected.
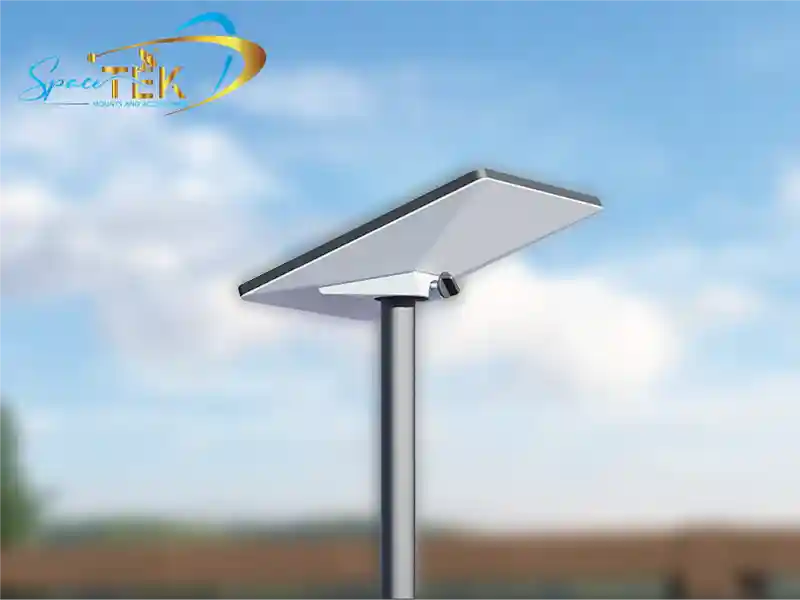
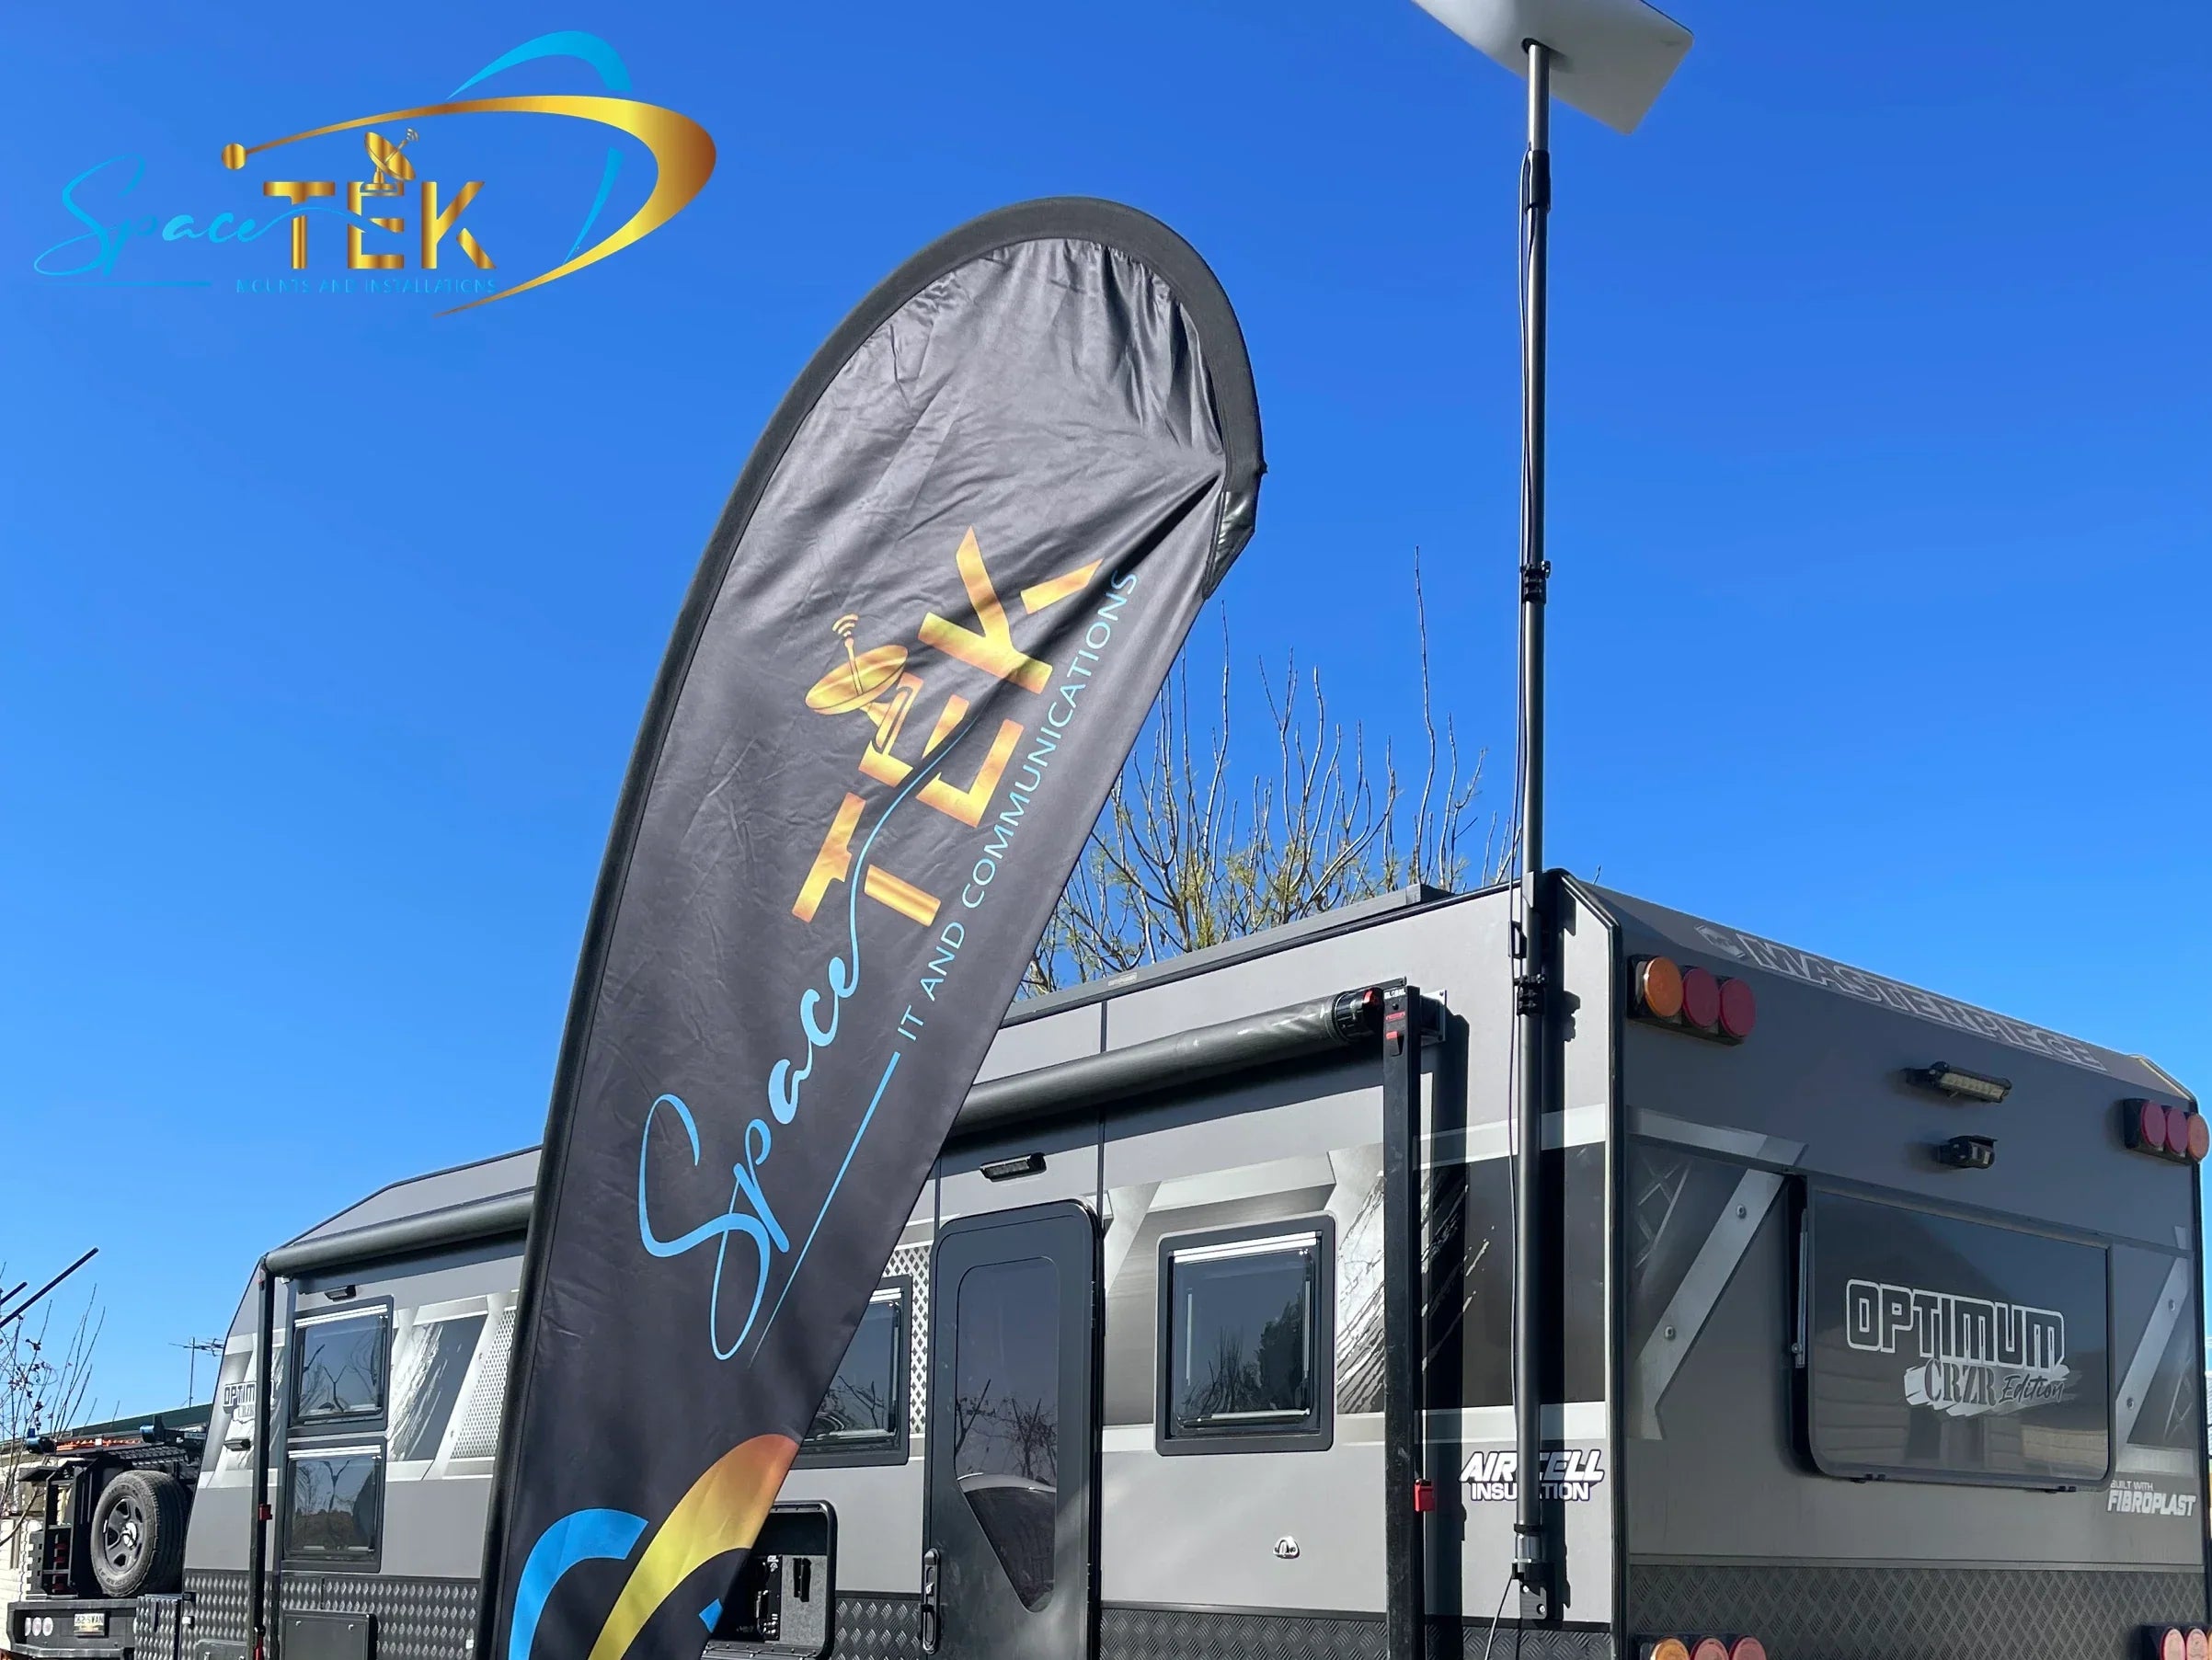
- Pole Mounts: Perfect for wooded campsites. By mounting your dish to a telescopic pole, you can elevate the Mini above your caravan's air conditioner, solar panels, or low-lying tree branches to get a clear line of sight.
For a complete breakdown of every option on the market, check out our Starlink Mini mounting options guide, or browse our heavy-duty caravan and vehicle gear in the SpaceTek Australia Starlink Mini collection.
How to set up Starlink Mini on a vehicle for in-motion use
Yes, you can absolutely use the Starlink Mini while driving! Thanks to its compact design and phased-array technology, the Mini supports in-motion use, provided you meet two main requirements:
- An Eligible Plan: You must be on an active Roam plan that explicitly supports mobile/in-motion data.
- A Secure Mount: The dish must be mounted flat and level on the highest point of your vehicle. Using a specialised low-profile mobility dish mount or a high-strength magnetic roof mount ensures the dish stays put even when hitting corrugations or highway crosswinds.
Always disable power-saving modes in the app when using the system in motion to prevent the dish from entering sleep mode while driving.
Advanced Networking: Ethernet, Mesh, and Router Mini Setup
While the Starlink Mini has a built-in router, its compact size means its WiFi range is slightly shorter than the larger residential Gen 3 routers. If you are trying to get signal inside a heavily insulated caravan, or across a large rural property, you may want to expand your network.
The back of the Mini features a rubber plug covering a standard RJ45 Ethernet port. You can use this port to:
- Hardwire a laptop or smart TV for latency-sensitive tasks.
- Connect your own high-performance third-party router inside your vehicle.
- Set up a wired or wireless mesh network using additional Starlink Router Mini nodes to extend your coverage.
Note on Weatherproofing: The Mini is IP67 rated, but plugging a standard, non-waterproof RJ45 Ethernet cable into the back will void this rating. Always use a specialised waterproof Ethernet cable with a rubber sealing collar if your connection is exposed to the elements.
When setting up a mesh network with a Router Mini, you can choose between two methods:
- Wireless Mesh: Place the secondary router within two rooms of the dish, power it on, open the Starlink app, and select "Pair New Mesh Node" when the notification pops up.
- Wired Mesh: Run a waterproof Ethernet cable from the Mini dish's RJ45 port directly to the WAN port on your secondary Router Mini. This ensures maximum speeds and zero interference over long distances.
For detailed wiring diagrams and port configurations, refer to the official Router Mini installation guide.
Troubleshooting Common Starlink Mini Issues
Even with the best gear, remote travel can throw up occasional challenges. If your connection drops out, use this quick troubleshooting checklist to get back online fast.
- Status Stuck on "Searching": This means the dish cannot find the satellites. Double-check your surroundings using the app's obstruction tool. Even a single overhanging tree branch or a nearby caravan air conditioner can block the signal. Move the dish to a completely clear area.
- Dish Won't Power On: Check the LED status light on the back of the dish. If there is no light, check your power source. If you are running on a 12V system, check your cable connections and test the voltage at the end of the cable run. Voltage drop is the number one cause of boot failures.
- Slow Speeds or High Latency: Typical speeds in regional Australia range from 50-150 Mbps down and 5-20 Mbps up. If your speeds drop significantly, check for active downloads on your connected devices, run an obstruction scan, or check the app for regional network outages.
- Random Dropouts While Driving: Ensure your dish is mounted completely flat and has a 100-degree clear view of the sky. If you are driving through heavily forested areas, the signal will drop momentarily as trees block the satellite line of sight.
- WiFi Network Disappeared: If your custom network name is no longer showing up, you may need to perform a factory reset to restore default settings.
For more detailed diagnostic steps and solutions, read our Starlink Mini troubleshooting guide.
Frequently Asked Questions about Starlink Mini Setup
Can I run the Starlink Mini directly off a 12V battery system?
Yes, the Starlink Mini accepts stable, regulated DC input from 12V to 48V. You can power it directly using a high-quality 12V cigarette lighter adapter, a direct-wire Anderson plug connection, or a high-output USB-C Power Delivery source. Always ensure your cabling is thick enough to prevent voltage drop over long runs.
What service plan do I need for in-motion use in Australia?
To use your Starlink Mini while driving, you must be subscribed to a Roam plan (such as Roam Unlimited or Roam 100GB) that supports mobile use. Standard residential plans are locked to a single fixed address and do not support in-motion data. If you are storing your caravan between trips, you can pause your Roam plan to save money, or switch it to Standby Mode.
How do I factory reset the Starlink Mini?
To factory reset your Mini and clear all custom WiFi names and passwords, locate the small reset button on the back of the dish (near the power port). Press and hold the button for 3 seconds until the LED light blinks rapidly and then shuts off. The dish will reboot with its default "STARLINK" network name.
Setting up with SpaceTek
Setting up the Starlink Mini is incredibly straightforward, but getting the absolute most out of this compact powerhouse requires the right supporting gear. By skipping inefficient AC inverters in favour of direct, high-efficiency 12V DC power supplies, and upgrading to rugged, Australian-made dish mounts, you ensure your setup remains reliable no matter how far off the beaten track you venture.
At SpaceTek Australia, we specialise in precision-engineered Starlink mounts and off-grid power solutions designed specifically to withstand the harshest corrugated roads, coastal winds, and extreme UV rays our country has to offer.
Ready to build the ultimate off-grid internet setup for your caravan, 4WD, or remote property? Explore our range of premium, rust-resistant, and non-3D-printed mounting solutions today!

Leave a comment
This site is protected by hCaptcha and the hCaptcha Privacy Policy and Terms of Service apply.