Is Switching to Starlink Worth It for Australians?

Switching to Starlink is worth it for most Australians outside major cities — especially if you're dealing with slow NBN, unreliable fixed wireless, or no viable broadband option at all. Here's the quick version:
- Rural and remote users — Yes, almost always. Starlink delivers speeds of 150–400 Mbps where DSL or Sky Muster struggle to hit 25 Mbps.
- Farming, off-grid, and caravan users — Yes. Portable and mobile setups make Starlink one of the few practical options for connectivity on the move.
- Fringe metro or outer suburban users — Likely yes, if your NBN connection is unreliable or congested.
- City users on strong fibre or 5G — Probably not necessary. You're already well-served.
Australia has a connectivity problem that most city dwellers never think about. For millions of Australians living and working in regional, rural, and remote areas, fast and reliable internet has never been a given.
The NBN's Sky Muster satellite service brought hope, but struggled to deliver. Fixed wireless reaches only so far. And mobile 5G coverage drops off sharply outside urban centres.
That's exactly where Starlink changes the game. SpaceX's low Earth orbit satellite network — operating at roughly 550 km above the surface, compared to 35,000 km for traditional geostationary satellites — dramatically reduces the signal travel time. The result is lower latency, faster speeds, and a service that actually holds up for video calls, streaming, and remote work.
But here's the part that often gets overlooked: Starlink's performance is only as good as its installation. The dish needs a clear, unobstructed view of the sky, and in Australia's varied terrain and getting that right takes more than just plugging it in.
That's what this guide covers. We'll walk through everything from planning your setup and choosing the right dish mounts to understanding plans, performance, and whether Starlink is genuinely the right move for your situation.

The Realities of Switching to Starlink in Australia
When you decide on switching to Starlink, the physical reality starts with a surprisingly large cardboard box arriving at your doorstep. Inside the latest Gen 3 Standard Kit, you will find the Starlink dish (often referred to as 'Dishy'), a Gen 3 Wi-Fi 6 router, a kickstand mount, a power supply unit, and the proprietary Starlink cables.
Unlike traditional internet connections where a technician comes out to drill holes and configure your wall outlets, Starlink is entirely designed as a DIY installation. This is incredibly empowering for rural properties, but it also means the responsibility of securing a stable, weather-resistant connection is entirely on you.
Before you climb up on the tin roof, there are some fundamental realities to understand about how this low Earth orbit (LEO) satellite constellation operates. Traditional satellite internet relies on massive satellites parked in geostationary orbit over 35,000 kilometres above Earth. Because the signal has to travel so far, you get high latency (often over 600ms), making real-time tasks like Zoom calls or online gaming virtually impossible.
Starlink's constellation of over 6,500 active satellites orbits at just 550 kilometres. This proximity is what drops latency down to a highly responsive 22–50ms. However, because these satellites are constantly moving across the sky rather than sitting in a fixed spot, your dish must maintain an active, uninterrupted line of sight to a succession of passing satellites.
If a tree branch, chimney, or roof peak blocks even a tiny fraction of the sky, your connection will drop out when a satellite passes behind that obstruction. This is why understanding the physical environment of your property is the absolute first step, as discussed in our guide on Making the Switch: Key Factors to Consider Before Getting Starlink Satellite Services.
Many Australians who have made the transition find that it completely changes their daily routine. In fact, users transitioning from degrading rural copper lines or highly congested fixed wireless networks often note that it feels like moving from the digital dark ages into the modern world, as highlighted in this personal account of how I finally switched to Starlink — it fixed my rural internet and costs less than I expected.
How to Plan Your Starlink Setup and Avoid Obstructions
%20(3)_compressed.webp?alt=media&token=c9afd902-6ead-4050-b9e1-14e39829896f "Starlink app obstruction scanner tool showing clear sky view")
The golden rule of a successful Starlink installation is simple: zero obstructions. Even a single swaying branch of a gum tree can cause annoying dropouts during a video meeting or gaming session.
To plan your setup properly, you need to use the official Starlink app on your smartphone before you mount anything permanently. The app features an augmented reality (AR) obstruction tool. You stand in your proposed installation spot, point your phone's camera at the sky, and follow the prompts to scan the overhead area.
The app will calculate an obstruction percentage. Ideally, you want this to be 0%. Anything above 5% to 10% will cause noticeable, repetitive disconnections throughout the day. The dish requires a clear 110-degree field of view of the sky to track the satellites. If you are surrounded by tall timber or live in a multi-storey valley, your only option to achieve this clear line of sight is to elevate the dish.
For a comprehensive breakdown of how to prepare your property, check out the How to Install Starlink: Complete Step-by-Step Guide (2026).
Key Steps for Switching to Starlink Successfully
To make the transition from your old DSL, cable, or NBN connection as smooth as possible, follow these step-by-step procedures:
- Scan the sky first: Use the Starlink app to find the absolute best spot on your property with zero obstructions.
- Order your hardware: Purchase the Starlink Standard Kit. At the same time, source your permanent mounting hardware and cable management accessories.
- Unbox and test: Before mounting the dish on the roof, do a temporary "ground test" by placing the dish on its included kickstand in a clear area of your yard, plugging it in, and checking that it goes online.
- Install your permanent mount: Secure your chosen roof or pole mount to your home or outbuilding structure.
- Route the heavy-duty cable: Run the proprietary Starlink cable from the dish location into your home. Ensure you maintain a minimum bend radius of 1 inch and avoid pinching the cable in windows or doors. Use UV-resistant cable clips every 18–24 inches.
- Connect and power up: Plug the cable into the Gen 3 router, connect the power supply, and let the system run its initial satellite acquisition (which typically takes 5–15 minutes).
- Customise your home network: Set up your Wi-Fi name and password in the app.
- Cancel your old service: Once you have verified that Starlink is running stably for a few days, contact your old provider to cancel your previous service.
For more detailed help on getting connected, see our comprehensive walkthrough on How to Set Up Starlink in Australia Step-by-Step for First Timers.
Choosing the Right Dish Mounts for Australian Properties
The temporary kickstand included in the box is great for a weekend camping trip, but it is entirely unsuitable for a permanent home installation. Australian conditions are notoriously harsh. Between baking UV sunlight, coastal salt spray, and intense winds, your mounting hardware needs to be incredibly robust.
At SpaceTek Australia, we design and manufacture premium Starlink mounts specifically for these conditions. Rather than using cheap materials or fragile 3D-printed parts, our mounts are constructed from heavy-duty, precision-machined or folded aluminium and reinforced composites. This ensures they can withstand extreme wind loads without flexing or vibrating, which is crucial because even minor wobbles can degrade your satellite tracking and cause packet loss.
Depending on your roofline and property layout, you will want to consider:
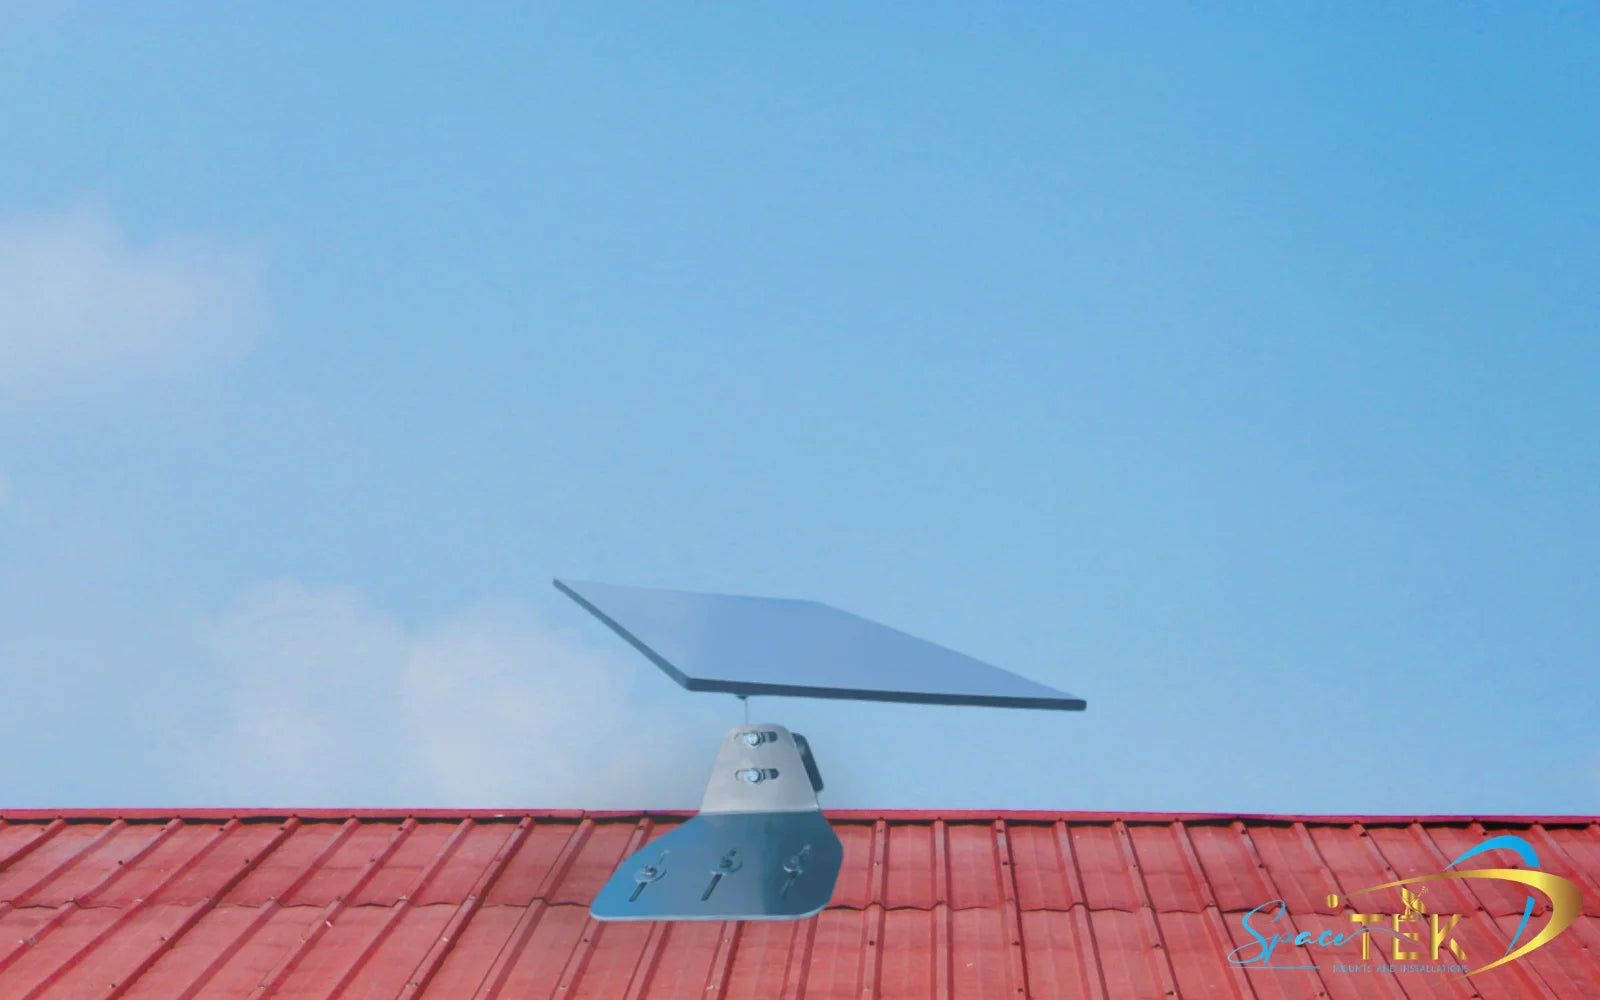
- Roof mounts (gutter, tin, or tile): These elevate the dish to the highest point of your home, clearing lower-level obstructions like fences or garden sheds.
- Wall mounts: Ideal for homes with high gables where a clean, vertical wall install is easier than penetrating the roof.
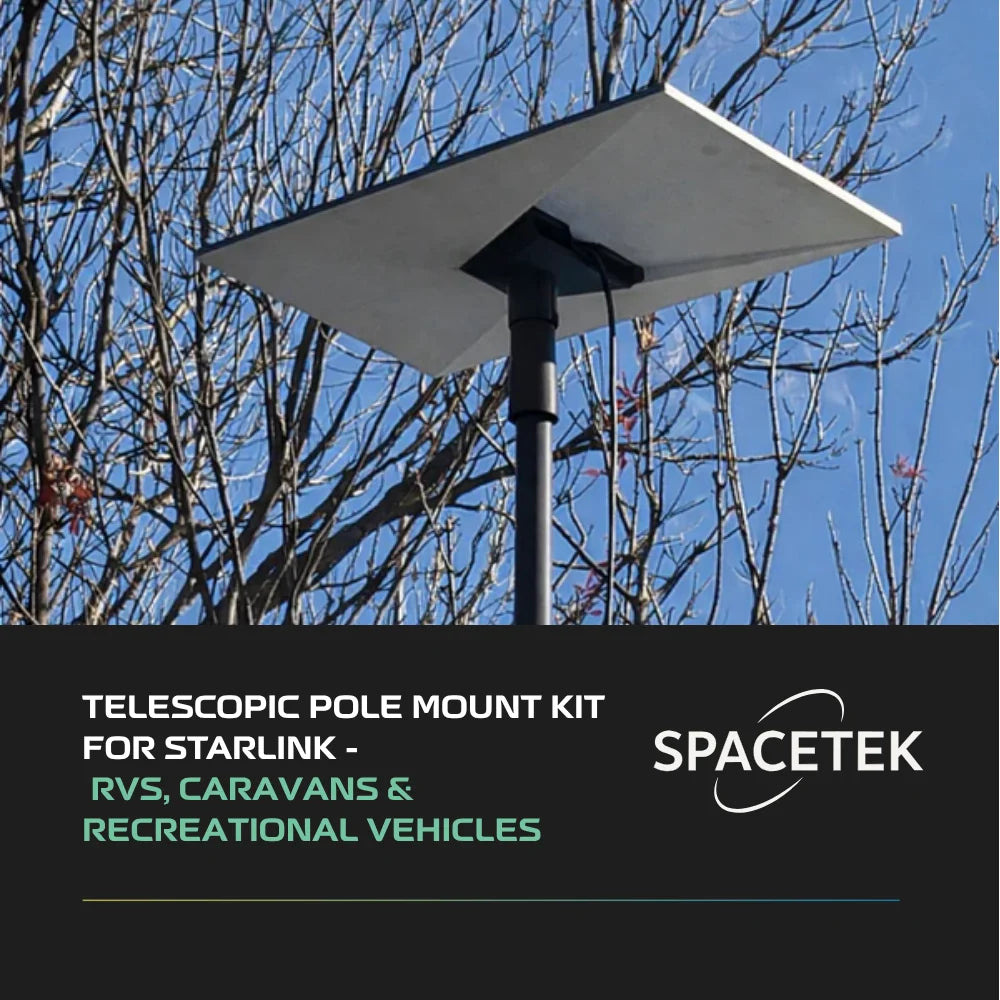
- Pole mounts and mast adapters: Perfect if you need to clear a high roofline or surrounding trees by mounting the dish to an existing antenna mast or a dedicated ground pole.
Optimising Your Setup with DC Power and Mobile Accessories

For off-grid homes, remote worksites, or caravan travellers, running Starlink on standard AC power can be incredibly wasteful. The standard Starlink setup requires you to plug into a 240V wall socket. If you are running on a 12V or 24V battery system in a caravan or off-grid cabin, this means you have to run an AC inverter.
Inverters are notoriously inefficient, losing a significant percentage of your precious battery capacity to heat generation.
This is where SpaceTek's StarPower V2, V3, and V4 DC power supplies come into play. These units allow you to run your Starlink hardware directly from a 12V or 24V DC battery source. By utilizing a highly efficient DC-to-DC conversion process, you bypass the need for an inverter entirely, dramatically reducing your system's overall power draw. This allows you to keep your internet running longer without draining your battery banks.
Additionally, if you are using the ultra-portable Starlink Mini for camping or remote field work, we offer specialised accessories including:
- Starlink Mini mobility mounts: For secure, low-profile attachment to roof racks or vehicle surfaces.
- Heavy-duty suction mounts: Ideal for temporary mounting on the side of a caravan or vehicle panel.
- DC-DC boosters: To ensure clean, regulated power delivery even when your battery voltage fluctuates under load.
Starlink Performance, Plans, and Pricing in 2026

In 2026, Starlink's performance continues to lead the satellite industry, with average download speeds consistently landing between 150–400 Mbps. Upload speeds generally sit in the 20–40 Mbps range. Latency averages between 22–50ms, which is low enough for seamless video conferencing, VoIP calls, and smooth online gaming.
Starlink has structured its plans to cater to different user profiles. All residential plans feature unlimited data, meaning you don't have to worry about throttled speeds or extra charges at the end of the month.
While we won't list specific dollar amounts here (as plans can fluctuate), you can find the most up-to-date cost breakdowns in our guide on the Starlink Australia Price.
For a broader perspective on how these costs stack up against international markets and evolving competition, you can read this Is Starlink Worth It in 2026? Honest Review After Price Hikes & New Competition | Linos NEWS.
Is Switching to Starlink Worth It for Off-Grid and Mobile Users?
If your home has wheels or you live entirely off the grid, the answer is a resounding yes. The introduction of the Starlink Mini and portable Roam plans has completely transformed regional travel in Australia.
With a portable setup, you can pull into a remote campsite in the middle of the Outback and have high-speed internet running within minutes.
When paired with SpaceTek's high-efficiency DC power supplies and rugged caravan mounts, you get a robust, power-friendly system that keeps you connected to emergency services, remote work, or family, no matter how far off the beaten track you wander.
Frequently Asked Questions About Switching to Starlink
Do I need a special dish mount for Starlink in Australia?
Yes, a dedicated, high-quality dish mount is highly recommended for permanent installations. Australian roofs are exposed to extreme weather, and the standard kickstand included in the box is only meant for ground-level, temporary setups.
Using a purpose-built, heavy-duty mount ensures your dish remains perfectly stable in high winds, prevents damage to your roof, and keeps the dish elevated above common obstructions like gutters and tree branches.
Can I run Starlink directly on 12V or 24V DC power?
Yes, you can! By using a SpaceTek StarPower DC power supply, you can power your Starlink system directly from your 12V or 24V caravan or off-grid battery setup.
This eliminates the power loss associated with running an AC inverter, saving you valuable battery capacity and allowing you to run your system much more efficiently.
How does bad weather affect Starlink performance?
Starlink is designed to handle tough weather conditions, but extreme events can have minor impacts:
- Heavy rain: Very heavy downpours can cause temporary signal attenuation (often called "rain fade"), which might briefly slow down speeds or cause short dropouts.
- Extreme wind: If your dish is mounted on a flimsy pole, wind can cause it to sway, leading to tracking issues. This is why using a rigid, high-quality SpaceTek mount is vital.
- Cold and frost: The dish has an automatic heating element that melts snow and ice to maintain a clear line of sight, though this is rarely needed in most parts of Australia!
Conclusion
Switching to Starlink is one of the most rewarding upgrades a regional or mobile Australian can make. It bridges the digital divide, turning frustrating dropouts and endless buffering into a seamless, modern internet experience.
However, to unlock the full potential of your new satellite connection, you must ensure it is installed securely, positioned correctly, and powered efficiently.
At SpaceTek Australia, we are proud to engineer premium, Australian-designed dish mounts and high-efficiency DC power solutions that turn "good internet" into rock-solid, everyday reliability.
Ready to optimise your setup? Contact SpaceTek Australia for custom installation advice and we'll help you get connected the right way.
Leave a comment
This site is protected by hCaptcha and the hCaptcha Privacy Policy and Terms of Service apply.