
Why Off Grid Starlink is Changing Remote Connectivity
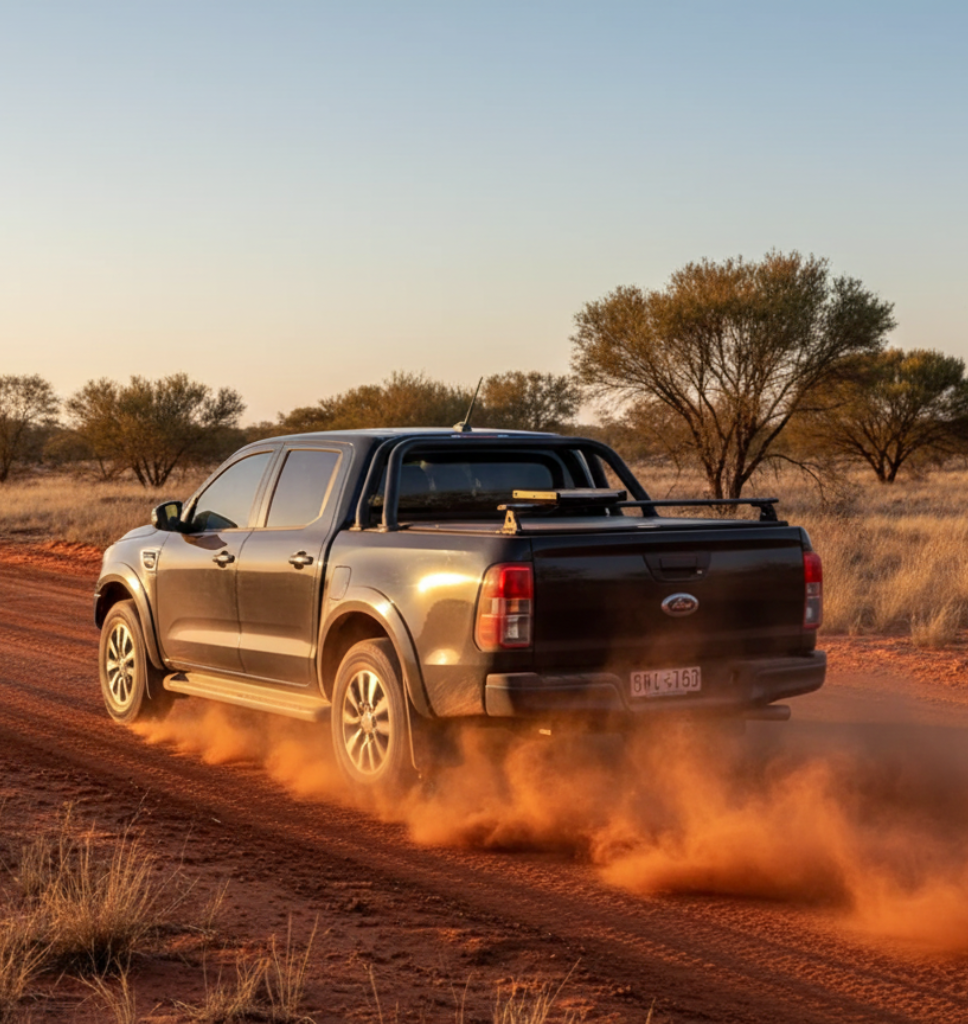
Off grid Starlink is transforming internet access for Australians in remote locations, delivering high-speed connectivity without traditional infrastructure. To make it reliable in harsh conditions, you need smart power, a robust mount, and a clean sky view.
From calculating your power budget to shielding equipment from UV, dust, and heat, a dependable off‑grid setup comes down to well-matched power solutions, weatherproof mounting hardware, and the right plan.
Essential Components for Off-Grid Starlink:
- Starlink Hardware: Mini, Gen 2, or Gen 3 dish and router.
- Reliable Power Source: Solar array, battery bank, or portable power station.
- Secure Mounting System: Weather-resistant, rigid mount for long-term stability.
- Clear Sky View: Unobstructed northern sky for optimal signal.
Key Challenges in Australian Conditions:
- Managing power use in an off-grid system.
- Protecting gear from extreme heat, dust, and UV.
- Achieving a clear line of sight in wooded or hilly terrain.
- Preserving cable integrity in all weather.
As remote communications specialists, SpaceTek Australia builds mounts for reliability and longevity. Our solutions use rust‑resistant aluminium and 316-grade stainless steel, with carbon fibre options where low weight and stiffness matter. All mounts are compatible with Starlink self‑install kits and common fixing methods, making DIY installs straightforward. See our full range of Starlink parts and accessories.
Powering Your Off-Grid Starlink System
Keeping your Starlink running kilometres from the nearest power point is a puzzle of watts, amp-hours, and sunshine. Efficient power delivery is critical for any off grid Starlink setup.
Calculating Your Power Budget
The power draw of your Starlink dish varies significantly by model. Newer models are far more efficient, which means less solar panel area, smaller batteries, and lower overall cost and weight for your setup.
| Starlink Model | Average Power Draw (Watts) | Idle Power Draw (Watts) | Key Features for Off-Grid |
|---|---|---|---|
| Starlink Mini | 25-40W | ~15W | Compact, portable, DC input |
| Gen 3 Standard | 33-39W (up to 50W) | ~20W | Improved efficiency |
| Gen 2 | 50-75W | ~20W | Rectangular dish |
| Gen 1 | ~100W | N/A | Original circular dish |
Direct DC power solutions are far more efficient than using an AC inverter, which can waste 15-20% of your energy. The Starlink Mini accepts a direct 12-48V DC input, while Standard models require 48V, best supplied by a specialised DC-to-DC converter. For more on this, see our Starlink DC power solutions.
To calculate your daily energy needs, multiply your Starlink's average wattage by its hours of use. A 30W dish running for 10 hours needs 300Wh. Always add a 30% buffer for cloudy days and other variables.
Choosing Your Power Source
Australia's abundant sunshine makes solar the natural choice for most off grid Starlink installations. A typical setup combines:
- Solar Panels: Size your array to meet your daily energy needs, factoring in about 5 peak sun hours per day and 75% real-world efficiency. An MPPT charge controller will maximise power generation.
- Batteries: LiFePO4 (Lithium Iron Phosphate) batteries are the clear winner for Australian conditions. They handle temperature extremes, offer a long lifespan, and deliver consistent power. A 100Ah LiFePO4 battery provides around 1200Wh, enough to run a Starlink Mini for over 24 hours. We recommend sizing your battery bank for 2-3 days of autonomy.
- Vehicle Integration: For mobile setups, a DC-to-DC charger is a smart investment to efficiently charge your auxiliary battery bank from your vehicle's alternator while driving. Explore our range of portable Starlink accessories for mobile solutions.
Power-Saving Tips
- Use the Sleep Schedule: Program your dish via the Starlink app to power down when not in use. This can cut daily consumption by over 25%.
- Disable the Snow Melt Feature: This heater draws an extra 50-100W and is unnecessary in most Australian climates. Turn it off in the app.
- Optimise Power Delivery: Use efficient DC converters instead of inverters for Gen 2 and Gen 3 dishes to minimise energy loss. Always use the shortest, highest-quality cables possible to reduce voltage drop.
Installation and Maintenance in the Harsh Australian Environment
Getting online is one thing; staying online through dust, heat, wind, and storms is another. Your off grid Starlink setup must be installed for durability from day one.
Mounting and Placement: Find a Clear Sky View
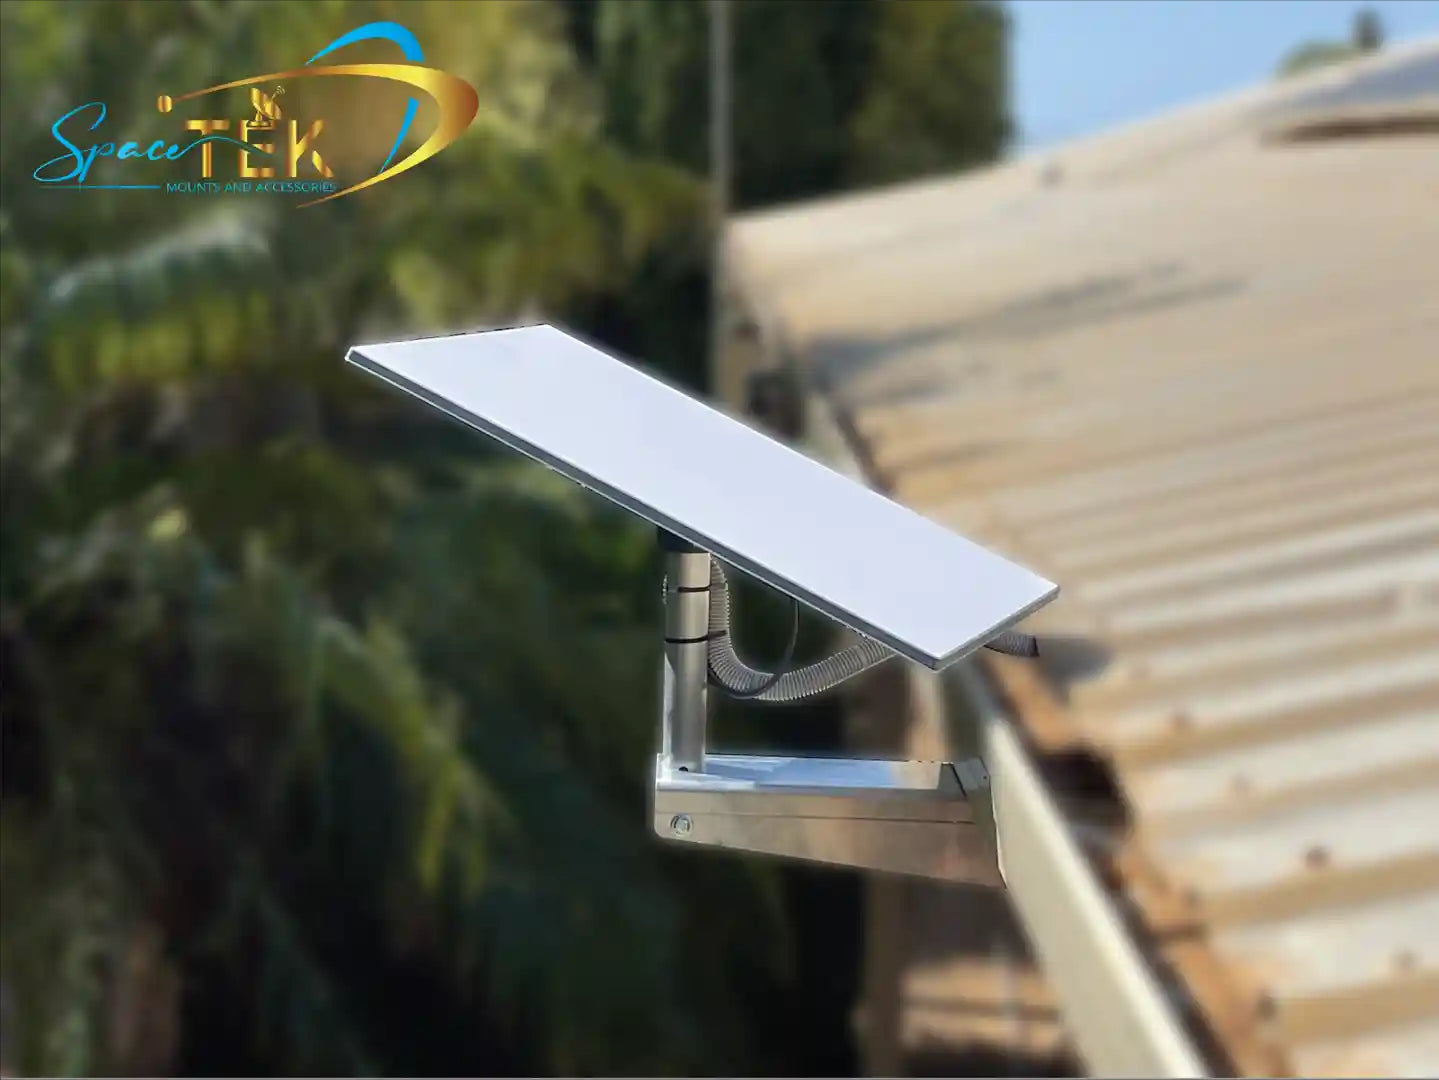
Use the Starlink app’s obstruction checker and aim for a clear, unobstructed view to the north. Even small branches can cause dropouts. In wooded or hilly areas, elevate the dish. A rigid pole mount minimises wobble and avoids outages in wind. Choose hardware designed for Australian conditions: UV‑stable finishes, rust‑resistant fasteners, and vibration‑resistant clamps. Find a mount for your Gen 3 dish.
Products by Starlink Model
All SpaceTek mounts are built from high‑quality materials (aluminium, 316 stainless, and select carbon fibre components), are weather resistant, and work with Starlink self‑install kits.
-
Starlink Mini
- Best for ultra‑low power off‑grid setups. Pair with lightweight poles or compact tripods. Carbon fibre masts reduce weight while maintaining stiffness.
- Compatible with quick‑deploy clamps for utes, trailers, and temporary sites. See our portable and RV accessories and general parts and accessories.
-
Gen 3 Standard
- Efficient dish with improved idle performance. Use fixed roof mounts, heavy‑duty pole mounts, or tripods engineered to resist wind flex.
- Weatherproof cable pass‑throughs and UV‑resistant sleeves maintain signal reliability. Explore Gen 3 mounts and accessories.
-
Gen 2 (Rectangular)
- Proven workhorse. Requires sturdy mast adapters and rigid poles to eliminate movement. Choose mounts with 316 stainless fixings for coastal or high‑corrosion zones.
- Use weatherproof glands and drip loops to protect the proprietary cable. Browse our Starlink parts and accessories compatible with self‑install kits.
-
RV and Portability
- For caravans, vans, and overland setups, opt for quick‑release roof/rack mounts, ladder clamps, and low‑profile tripods. Prioritise low weight and fast deployment.
- Combine with DC power solutions and tidy cable management for fast pack‑down. See our RV and portability range.
Built to Last: Maintenance Basics

Outback gear must endure UV, dust, vibration, and temperature swings. SpaceTek mounts use rust‑resistant aluminium and 316‑grade stainless steel; select models incorporate carbon fibre for stiffness with minimal weight. Protect cables with UV‑resistant sleeves, seal entries with weatherproof grommets, and form drip loops to stop water ingress. A rigid, professionally designed mount keeps the link stable in high wind and heat.
For model‑specific brackets, adapters, cable glands, and DC power, browse our Starlink parts and accessories and portable accessories. For DC power delivery and fewer failure points, see our Starlink DC power solutions.
Conclusion
Correct installation is the difference between constant dropouts and a rock‑solid link. Choose weather‑resistant, high‑quality mounts that are compatible with self‑install kits, protect your cabling, and ensure a stable, obstruction‑free position. SpaceTek designs secure, rust‑resistant, and user‑friendly mounts for Australian conditions—built to last and easy to install.
Need help with your model or setup? Our team can recommend a reliable mounting and power solution for your exact use case—contact us.
Leave a comment
This site is protected by hCaptcha and the hCaptcha Privacy Policy and Terms of Service apply.